

Team Apple, here and reporting for duty! While there’s something about pumpkin spice recipes in the fall, nothing compares to warm, cinnamon-filled, cozy, and comforting apple dessert recipes.
You’ll find no shortage of them here either. From salted caramel apple cake to apple cider cupcakes to cinnamon sugar apple fritters.
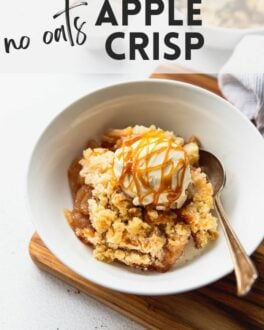
They’re great, but there’s something extra special about this apple crisp. It takes the cake…er, crisp. It’s sweet, soul-warming, and completely nostalgic. And it’s so easy to make, it can satisfy those mid-week craving strikes in no time.
Why is Grandma’s Apple Crisp the Absolute Best?
Either this family recipe came from my great-grandparent’s restaurant in a little town in Iowa, or my Grandma got it off of a sugar sack (yes, I said sack) many, many years ago. As she put it, “I’m 75 years old, so you know that was a long time ago.”
Over the years, my mom has evolved this recipe and it’s what I’ve grown to love. Not just me either, it’s a favorite for everyone who’s tried it (not biased at all…). It’s the buttery crisp topping, that melts in your mouth because there are no oats, and melds into the sweet, juicy apples. There’s nothing like it, and once you have it, you won’t go back.
I honestly can’t eat apple crisp any other way now…and I continue to use it with a variety of fruits. As the seasons change, try it with Cherry Crisp, and Blueberry Almond Crisp. No-oats crisps are truly amazing. Signed, sealed, delivered, I’m yours, easy, best-ever apple crisp.
The Best Apple Variety to Use
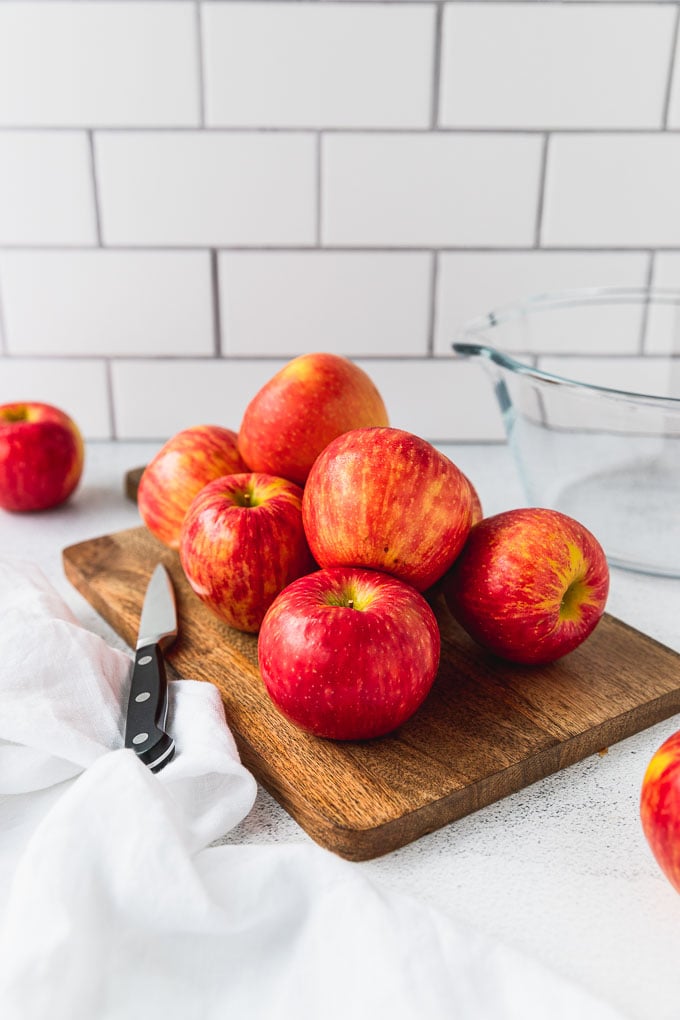
Any apples that are best for baking will work in this recipe. If you’d use it in a pie, you should use it here.
You’ll want to use a variety of apple that is sturdy enough to hold up to the baking. I recommend a sweet yet tart apple for the best flavor, too. I love Jonathan’s if you can find them, or the ever-popular Honeycrisp. A good ol’ Granny Smith apple will work as well, too.
How to Make Homemade No Oats Apple Crisp
This recipe is absolutely so easy to make! From start to finish it takes about an hour, but most of that is the time it takes to bake it. Waiting is always the hardest part.
Please be sure to see the full recipe card below for the complete instructions and notes.
Mix Together the Apple Filling
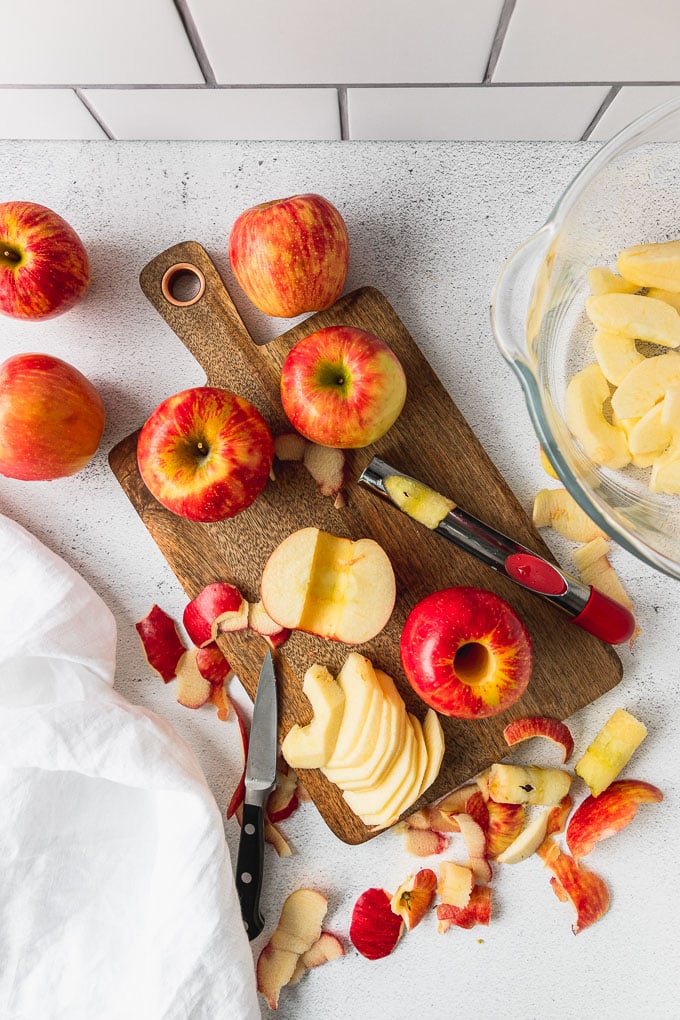
The first step for the filling is to peel and core the apples. Growing up we had one of those super fun apple machines that did it all. But nowadays, I use a paring knife and sometimes an old-fashioned apple corer.
When slicing the apples by hand, cut them into about 1/4 inch slices or a little thinner. They should be thick enough to withstand the baking process without breaking down, but if they’re too thick they’ll take too long to cook.
With the apples sliced, it’s time to mix them with sugar and cinnamon. A little water or apple cider too, to aid in mixing. The apples themselves will release juice, but a little liquid encourages more sauciness and helps the cinnamon mixture stick to the apples.
To make sure it is evenly mixed, take the extra step of mixing the three together before adding to the apples.
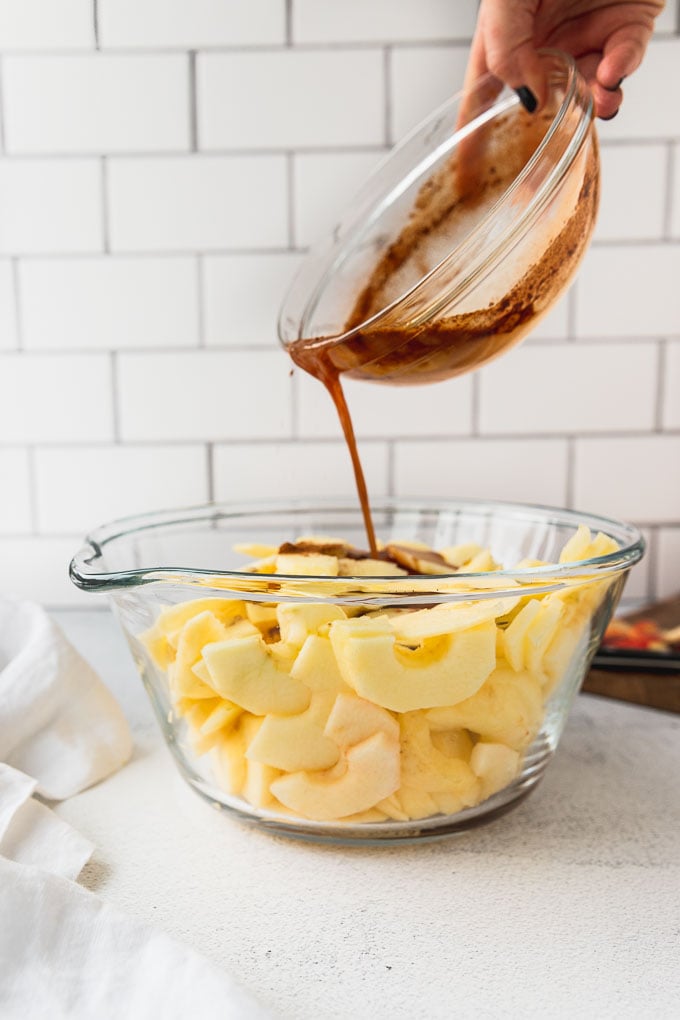

Transfer the apple slices to a baking dish. You can use a ceramic oval baker or an 8×8 or 9×9 glass or ceramic baker.
Blend the No Oats Crisp Topping
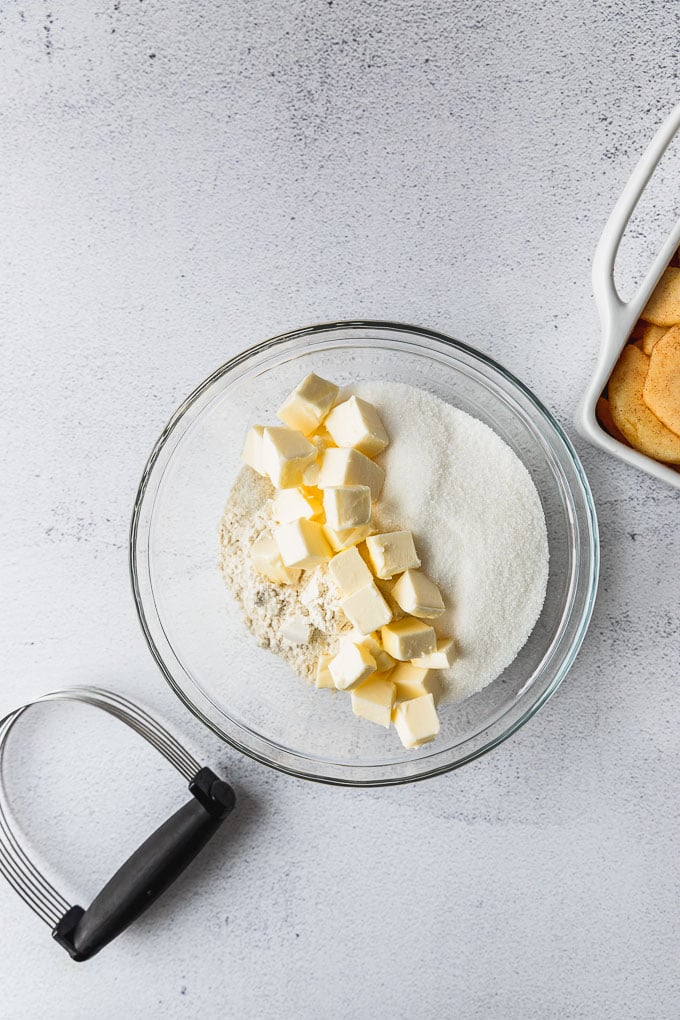
Ah, the melt-in-your-mouth topping made without oatmeal. It’s like a pie crust meets a crisp meets…perfection? It’s similar to a streusel, too, using granulated sugar instead of brown sugar. Anyway, grab a second mixing bowl to prepare it.
Place the cubed butter, all-purpose flour, and granulated sugar in a bowl. The butter is easier to blend if it’s at room temperature. Just be sure your room isn’t too warm, because you don’t want it melted.
Use a pastry cutter, fork, or your hands to blend the butter into the dry ingredients until the butter is into a pea-sized mixture. A few (somewhat) larger chunks are ok; it doesn’t need to be perfect – that’s the beauty of this recipe!
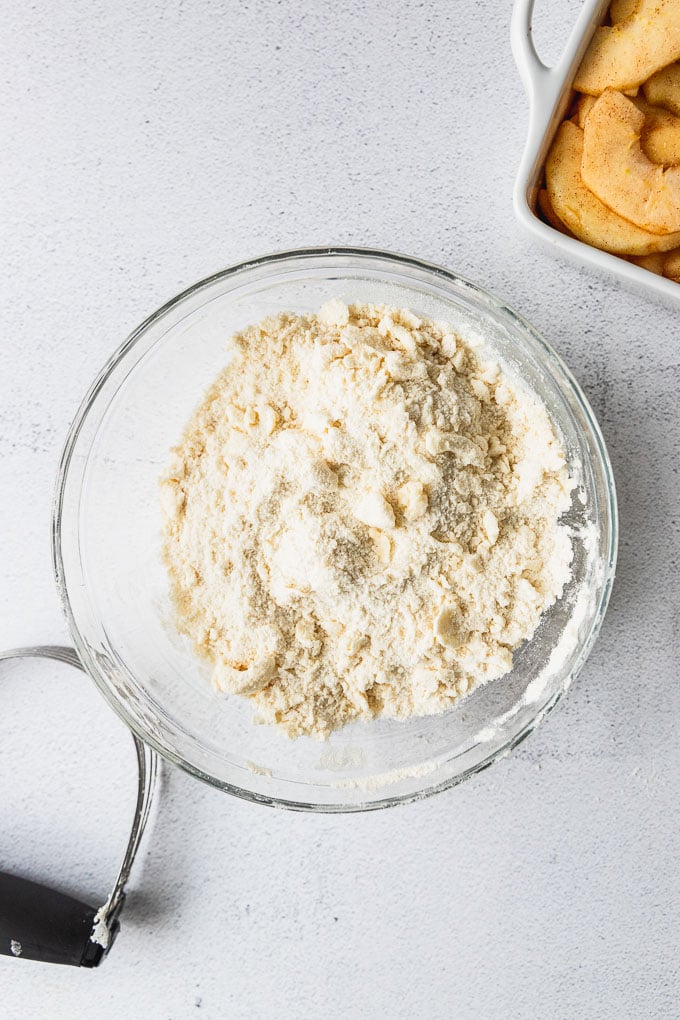
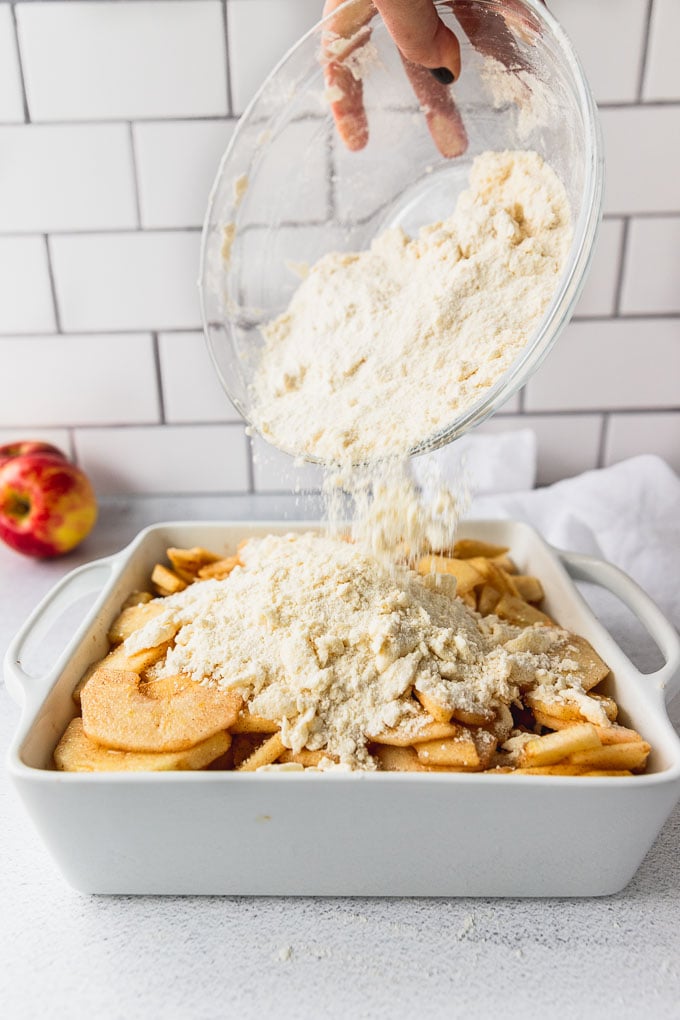
All that’s left to do is pat the crisp topping onto the apple slices. Sprinkle it across the top then use a gentle hand to evenly spread and press it down across the top.
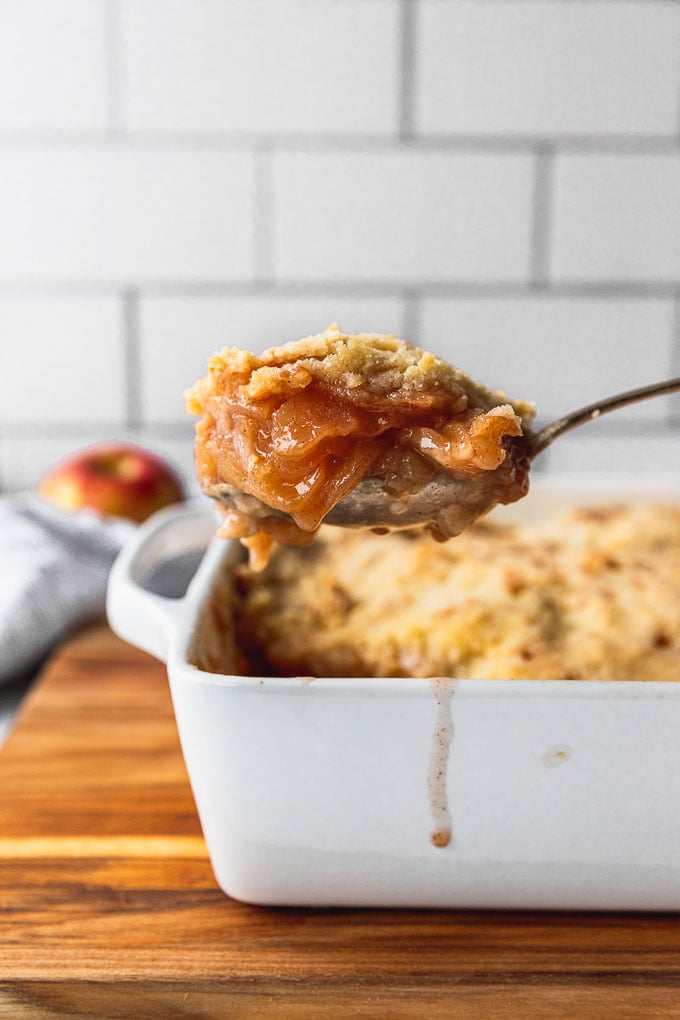
Bake the Crisp
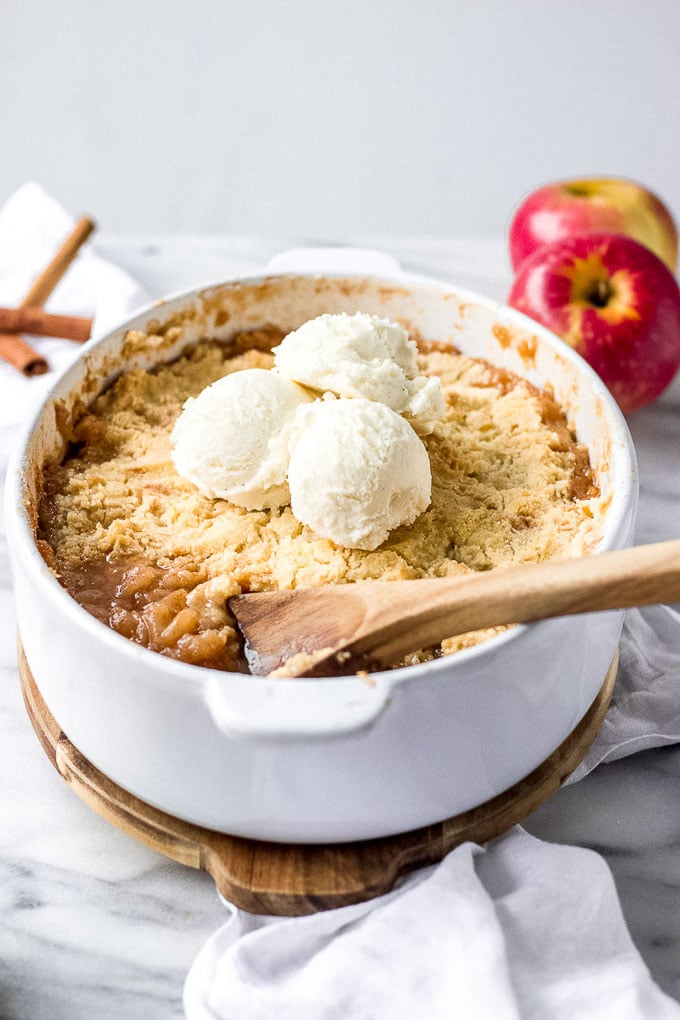
Bake the apple crisp uncovered for about 45-50 minutes, depending on the size of the pan you use. The edges will be bubbling with cinnamon sugar goodness, and the topping should be golden brown. Then, the hardest part is letting it rest for a few minutes.
Serving Suggestions
Yeah, so the whole let-it-set-up thing? Unfortunately, it’s best to let the apple crumble rest for 15 to 20 minutes.
I know, the smells swirling through your kitchen will be magnificent, and it’s going to take every ounce of patience you have. This time gives the filling a few minutes to set up, so it’s not too runny. It also saves you from burning your mouth.
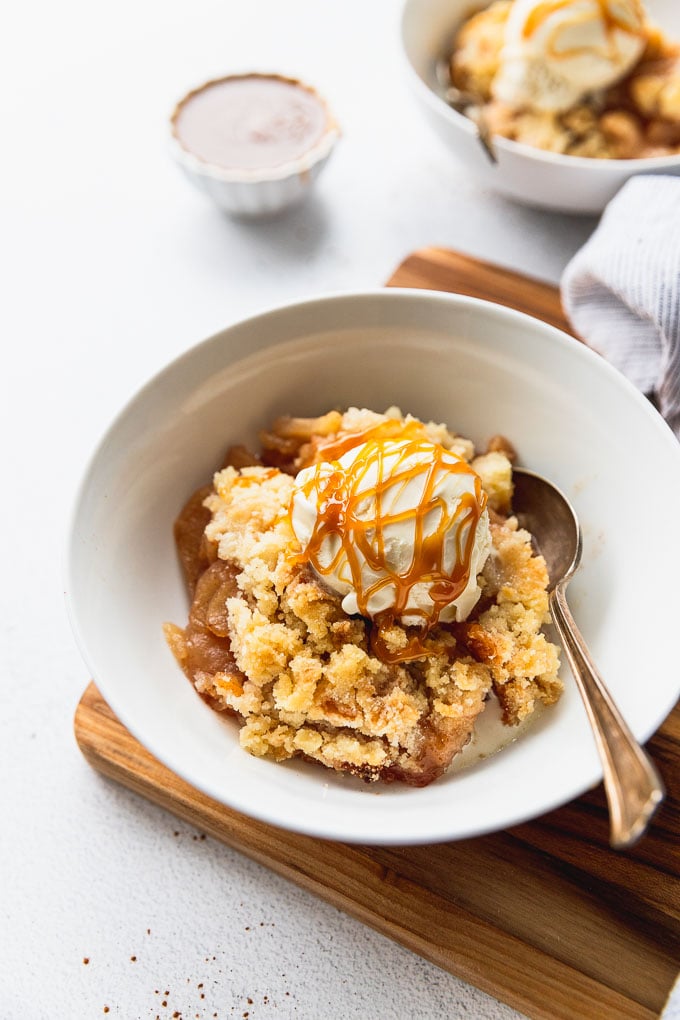
Then, scoop out the apple crisp into bowls. And definitely top it with vanilla ice cream, homemade caramel sauce, and maybe even some whipped cream, if you really want to go all out.
Make Ahead & Storage Tips
You can store leftover apple crisp covered, at room temperature, for a day or two. Trust me, it’s not going to last long. Any longer, or if you prefer right away, store it covered or transferred to an airtight container, in the fridge.
It’s excellent enjoyed by the spoonful, directly out of the pan from the countertop, or the fridge. You can also reheat servings in the microwave until warmed through. To keep an extra crisp crumbly topping, reheat it in the oven.
To prepare this apple dessert ahead of time, assemble it in its entirety. Consider adding a squeeze of fresh lemon juice to the filling for storage, to prevent the apples from browning.
Then, cover and store it in the fridge until you are ready to bake. I do recommend letting it sit at room temperature as the oven preheats in this case, to ensure your dish doesn’t shatter from the temperature change.
Otherwise, you can bake the apple crisp and then reheat it when you’re ready to serve. Alternatively, you can bake it ahead of time the day you’ll be enjoying it, and serve it at room temperature.
Did you make this recipe? Please leave a star rating and review in the form below. I appreciate your feedback, and it helps others, too!

Get the Recipe Apple Crisp Without Oats
Ingredients
Apple Filling
- 6-8 medium baking apples*, sliced, around 2.5-3 pounds
- 1/2 cup granulated sugar
- 1/4 cup water, or apple cider
- 1 teaspoon cinnamon
Crisp Topping
- 1-1/2 cups all-purpose flour
- 1 cup granulated sugar
- 1/2 teaspoon salt
- 12 Tablespoons unsalted butter, room temperature and cubed
Equipment
Instructions
- Pre-heat oven to 375°F. Peel and slice apples into approximately 1/4 to 1/2 inch slices.6-8 medium baking apples*
- In a large mixing bowl or the baking dish you will be using, toss the apple slices with sugar, water (or juice), and cinnamon. Mix well to coat the slices completely, and spread in an even layer in an 8×8 glass or ceramic baking dish.1/2 cup granulated sugar, 1 teaspoon cinnamon, 1/4 cup water
- In a separate medium mixing bowl, combine the flour, sugar, salt, and butter cubes with a pie blender or two forks, until well combined and small crumbles form. Lightly pat the topping over apples in the baking dish.1-1/2 cups all-purpose flour, 1 cup granulated sugar, 1/2 teaspoon salt, 12 Tablespoons unsalted butter
- Bake the apple crisp for 45-50 minutes, until bubbling and the topping is golden brown. Let sit for 15-20 minutes to cool slightly, then serve warm with vanilla ice cream as desired. Enjoy!
Notes
- Apples: You want to use apples that are sweet yet tart and will not break down too much during the baking process. If you can find Jonathan apples, they are best. Honeycrisps are a great option, and Granny Smiths will work in a pinch, too.
- Storage: I usually store the apple crisp on the counter, covered, for the first day (if it lasts that long!). You can reheat in the microwave, oven, or enjoy at room temperature. For longer storage, cover and place in the fridge.
- Reheating: you can enjoy it at room temperature, or reheat individual portions in the microwave. To reheat the entire pan, heat in the oven at 350°F for approximately 10-12 minutes depending on how much is left in the pan.
- Baking Dish: Adjust the size of the pan as needed. A 9×9 pan works just as well. The thickness of the crisp just may vary if using an oval or other shaped baking dish. If using a pan larger than 9×9, you will likely need less baking time.
This recipe was originally published in October 2015. The photos were updated and a video was added in October 2018. No changes to the actual recipe were made.


I made this for Thanksgiving and it was a big hit. I’ve made apple crisp before, but always with an oat topping. I was told by my pickiest eaters that this was the best I’ve ever made. I’ll be only making this recipe from now on. I used Honeycrisp apples and cut back just a little bit on the sugar in both the apple filling and in the topping. The dessert was plenty sweet.
Wow, the highest of compliments from the pickiest eaters! Thanks so much for sharing, Jennifer, I’m so glad to hear everyone loved it!
Wow wow wow
This was SO amazing and super easy and i had all the ingredients so i didn’t need to go to store. We had a little left over and i just ate the rest of it now. So goooood
Yay! I’m so happy to hear you loved it as much as we do 🙂 Thanks so much for your review, Jill!
This is a great recipe. I have made it three times in the past month because it is so good. I use Granny Smith apples and they hold up well. I reduced the sugar and added some lemon juice with the water to keep the apples from turning brown. I used gluten free flour for the topping. Everyone in my family loves this dessert. Thank you for a great recipe.
So great to hear! Thanks so much for sharing, Janice!
I got this recipe in home ec…which tells you how long I’ve been making it. No matter who I serve it to, they always ask for the recipe. Scary how easy it is to make, and how good it tastes!
Always fun to hear others who had this recipe back then too, it sure is a timeless recipe everyone loves. I’m so glad my grandma passed it along to us because it’s definitely our favorite! Thanks for sharing!