
Here we are, lovers of quick and easy sauces like homemade BBQ sauce, luxurious creamy sauces like homemade alfredo sauce, and sauces that are irresistible to dip into. And of course, we are lovers of sweet, caramelized roasted garlic.
There’s no shortage of garlic here in Fork in the Kitchen’s collection of vegetarian dishes, which might as well just be called the collection of garlic recipes. There isn’t a meal, sauce, or pasta that isn’t made better with garlic, and roasted garlic takes this aioli over the top.
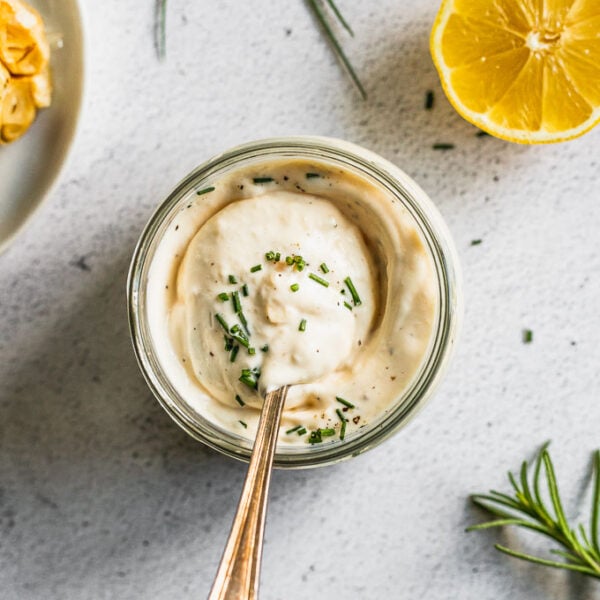
What is Garlic Aioli?
Aioli is a French emulsion that traditionally involves using a mortar and pestle to mash garlic and olive oil into a sauce. Of course, adding some salt, too, but that should be a given by now.
Because this process is quite labor-intensive and is prone to breaking… i.e. not emulsifying and being a weird mixture instead of a silky sauce… many restaurants now turn to this simple method too: using mayonnaise.
Whichever way it’s made, when it comes down to it, aioli is commonly known as a delicious sauce perfect for dipping fries, roasted potatoes, slathering on sandwiches…whatever it’s on, you want.

Ingredient Spotlight
- Mayonnaise is another emulsion, which comes down to combining substances that don’t typically want to go together. Mayo has simply emulsified egg yolks, oil, vinegar, sometimes mustard, and salt.
- Using store-bought mayo to make a simple aioli that is quick enough to make for a weeknight dinner, gourmet enough to serve at a party, and simple enough to slather on a sandwich was a route I just couldn’t resist.
- An entire garlic bulb for roasting! Roasted garlic has the most luxurious, sweet, savory flavor. To use raw garlic, only add 1-2 cloves that are minced or pressed. Raw garlic has a much more pungent bite so you only want to use a little.
- Fresh lemon adds brightness.
How to Roast Garlic
If you’ve been here a while, then you know I love me some roasted garlic. There’s nothing better than the mellow, deep flavor that comes once garlic is roasted in a bit of olive oil and salt. It’s magical.
And it’s so magical when it’s added to a creamy dip that you can literally use on everything. M.A.G.I.C.A.L.
Lucky for you, and me, and all of us, it’s pretty darn easy to roast garlic. It just takes a little time.
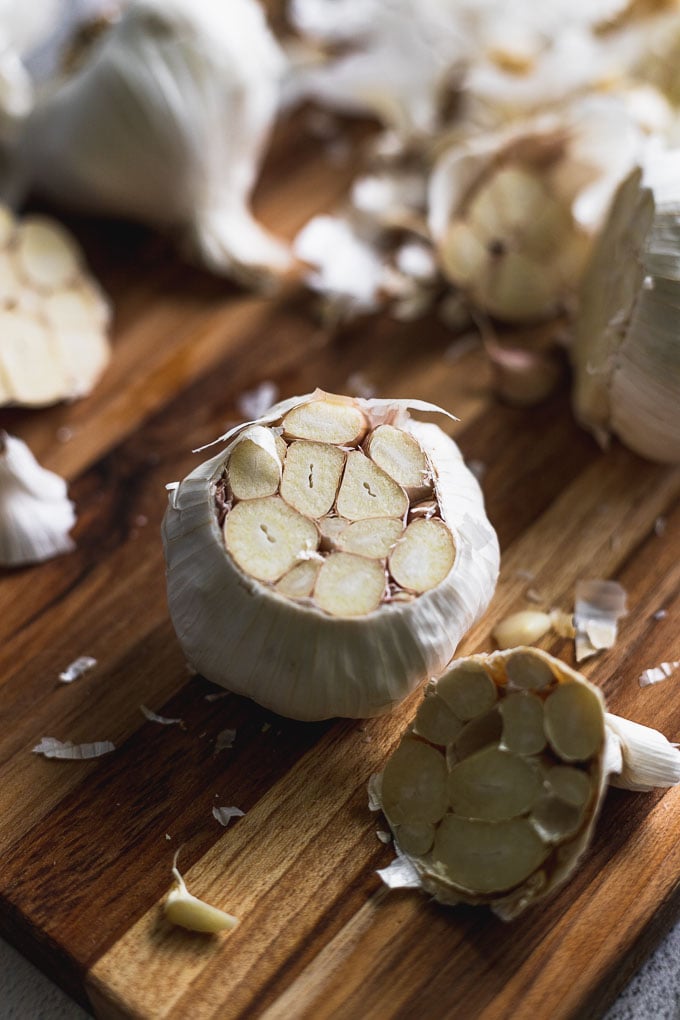
First, cut the top off of a whole garlic bulb. Yep, the whole top. Doing this exposes each clove, making them easier to remove once they’re roasted, and it allows for olive oil to seep in, roasting the cloves themselves.
Place the whole bulb on a piece of foil big enough to wrap around the entire bulb. Once it’s on foil, drizzle a bit of olive oil on top of the bulb, along with a pinch of salt for good measure.
You don’t need a ton of oil on top of the bulb, about a teaspoon or two. Just enough to help it roast up, as you would with roasted veggies.
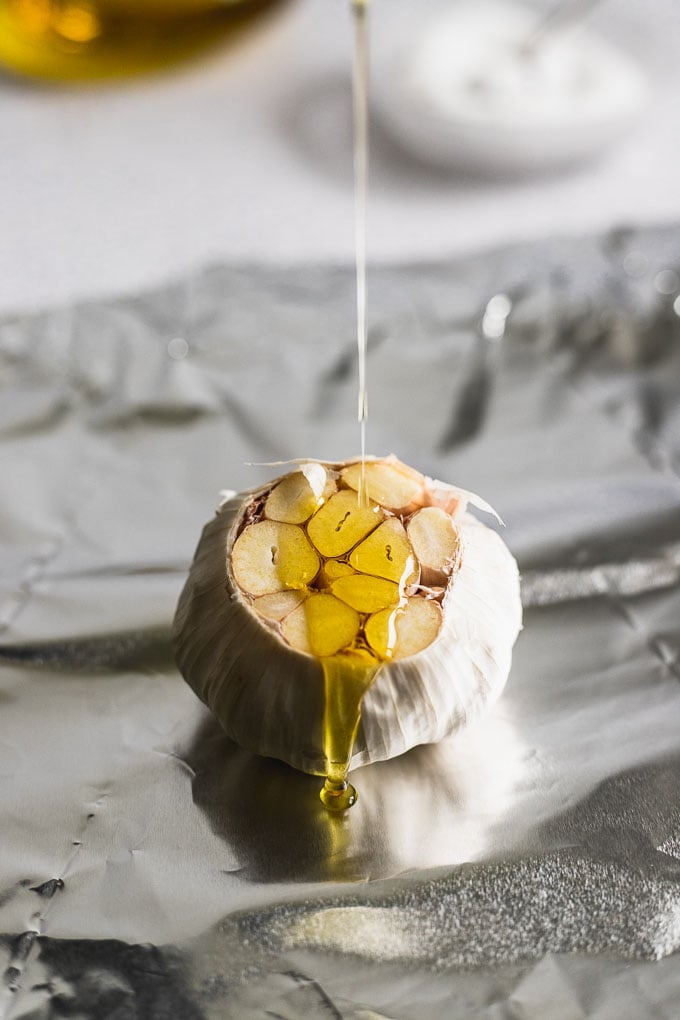
Then, wrap the foil around the garlic bulb, securing any openings so the bulb is fully closed into the foil, and place it in the oven for about 25 minutes.
Trust me, the time it takes to roast the garlic is 100% worth it. Yes, it requires a little more time than if you’d use raw garlic. But I promise you the payoff of roasted garlic is worth it.
It’s so hands-off to roast, leaving you time to pour a glass of wine and relax, prepare the rest of dinner so you don’t have to later, or whatever else will make your life easier!
If you must, you can use raw garlic, but it will have more of a bite, and you will likely only want to use a clove or two.
How to Make Garlic Aioli
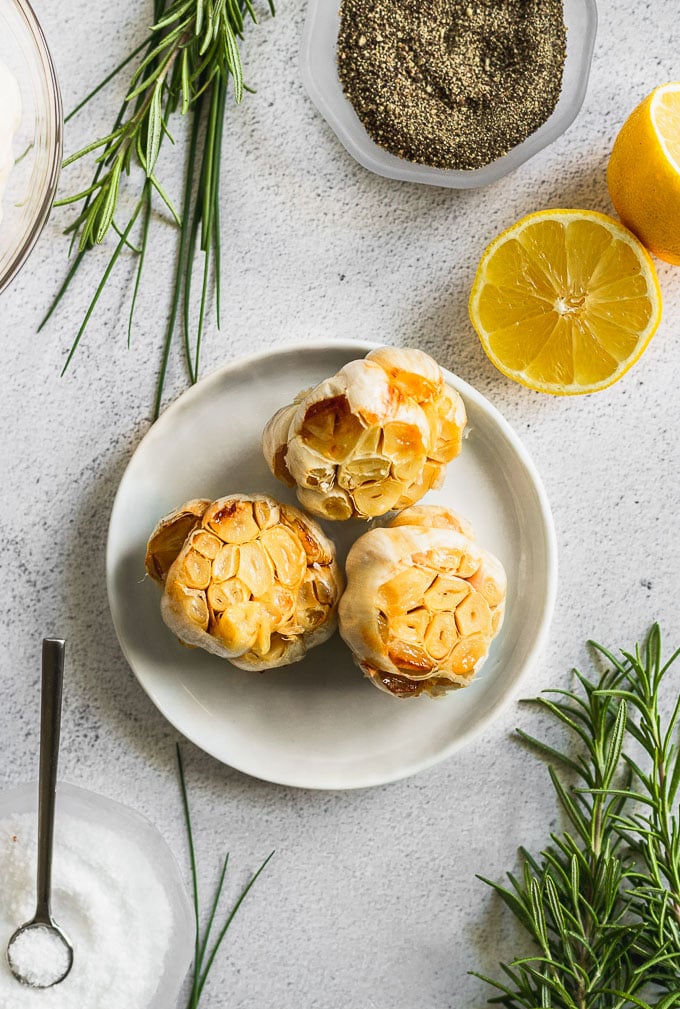
Once the garlic is roasted, let the packet vent out the steam and set it aside until the bulb is cool enough to touch.
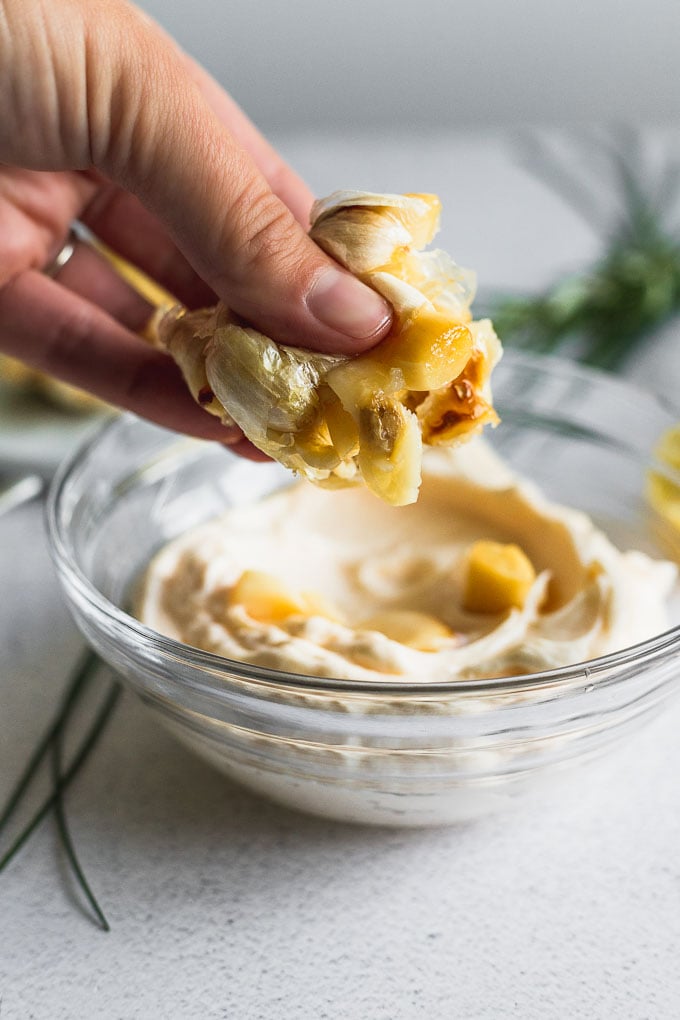
Once cool, take the garlic bulb and squeeze the entire bulb from the bottom, pushing the cloves out of the top. It’s so satisfying to watch all the cloves just pop out, roasted and slightly caramelized, and every bit as fragrant and delicious.
If you don’t want to wait for it to cool down completely to the touch, you can use a towel or potholder to squeeze the cloves out.
I recommend chopping up the garlic cloves once you’ve squeezed them out, before adding them to the rest of the ingredients.
Alternatively, you can use a fork when mixing the aioli and use it to smash the garlic cloves. This will leave larger garlic chunks and create a less-smooth texture.
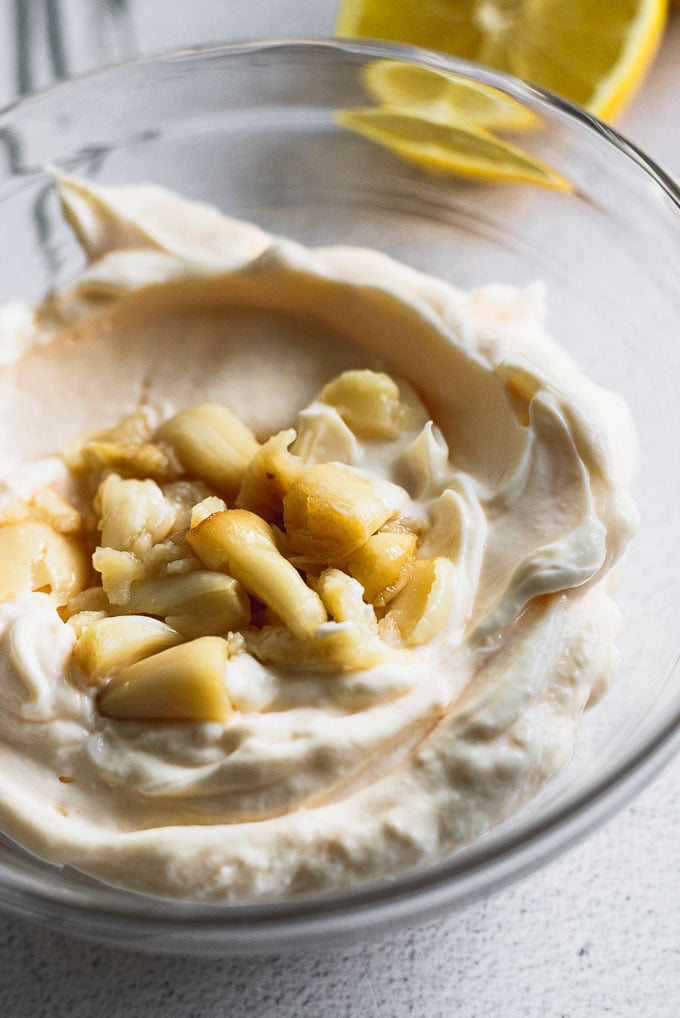
Now that the roasted garlic is complete, it’s time to mix the rest of the aioli!
Start with the mayonnaise and mix in:
- roasted garlic
- lemon juice
- pinch of salt

YES, FOR REAL, THAT EASY.
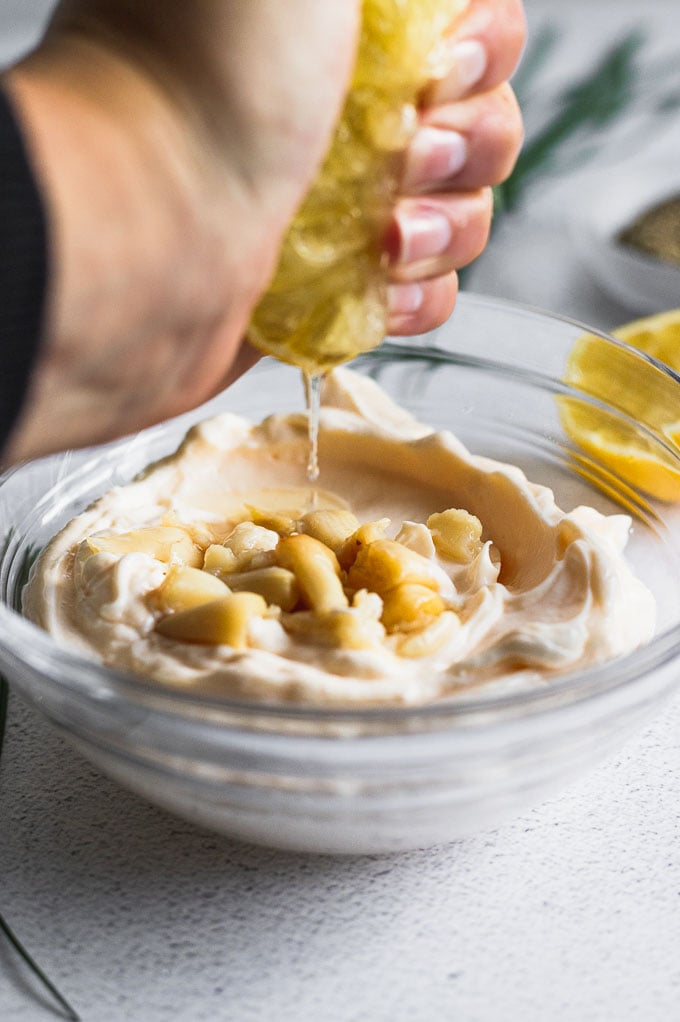
All it took was three ingredients (because you know we’re not counting salt). And to be honest, three ingredients you probably have on hand anyway.
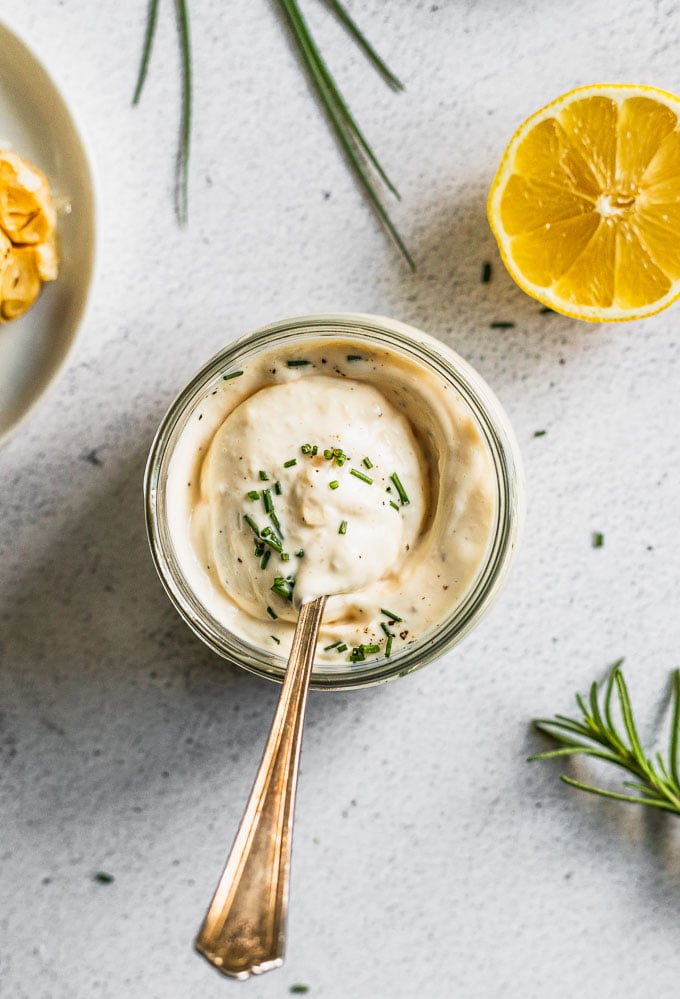
So basically lemon garlic aioli will be a forever thing at your house. For dipping, for spreading, for eating by the spoonful… we don’t judge.
Aioli Variations
The beauty of this simple dip is that it’s easily customizable (you know I love that).
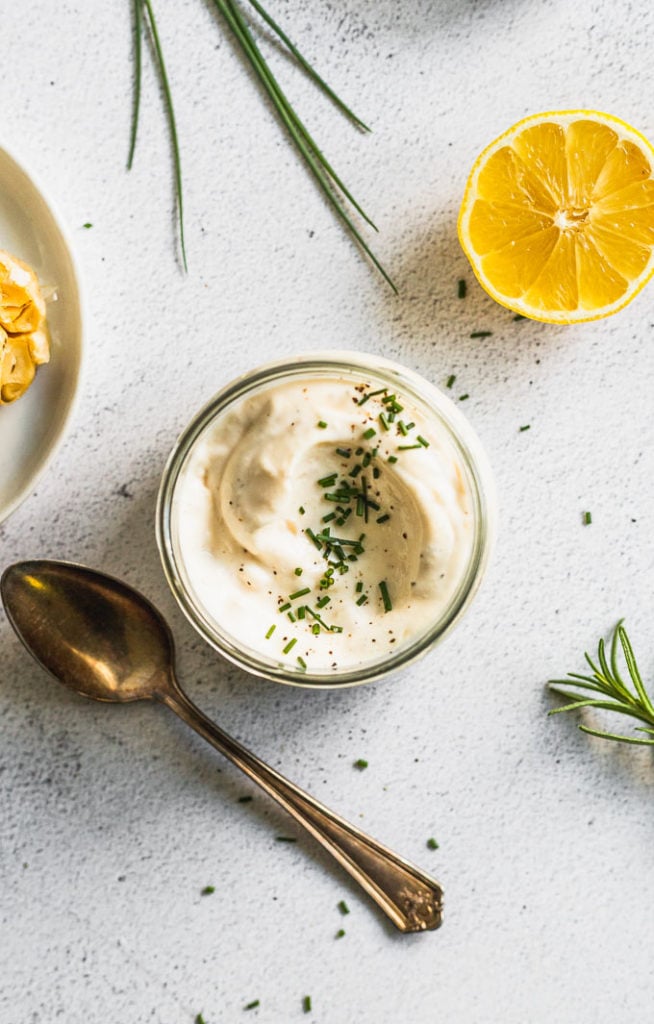
Fresh herbs are an excellent addition. My favorites to add are chives or rosemary, depending on what I’m serving the aioli with. Tarragon is also delicious – and very French. Dried or fresh herbs work when added to aioli.
If you love the bright addition of lemon, you can also jazz it up with lemon zest in addition to the juice, and adjust those amounts as needed.
Recipes to Pair with Aioli
There are endless possibilities for garlic aioli. It’s the condiment of all condiments, and definitely worth using over mayonnaise any day.
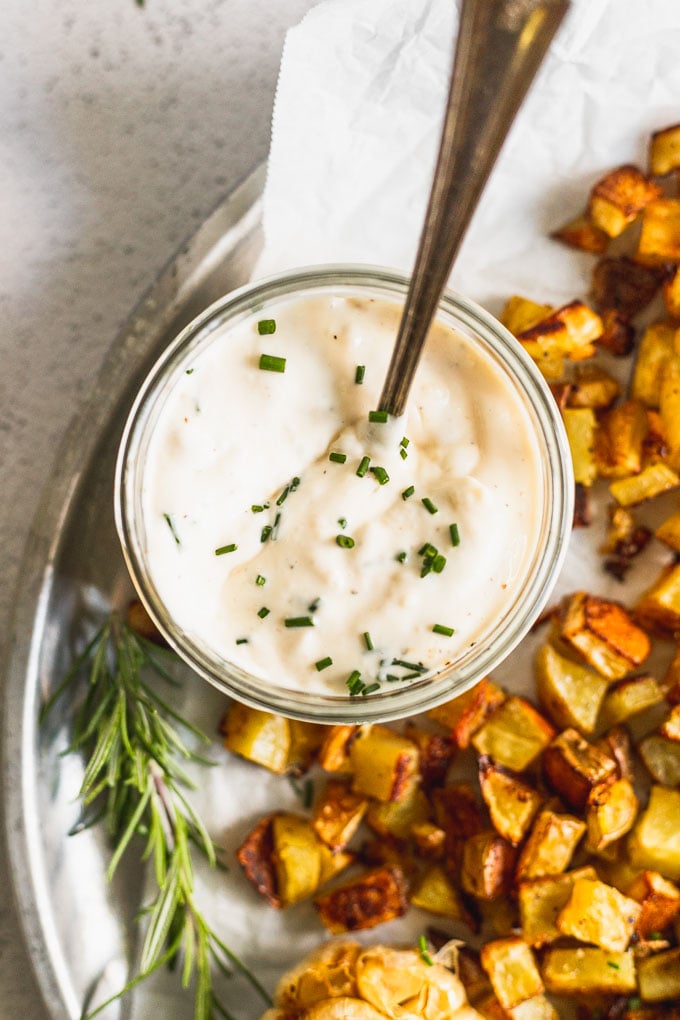
For starters, this sauce is the best kind of dipping sauce. Its creaminess is unrivaled with onion rings, crispy potatoes, and french fries. If it’s fried, crispy, and carb-loaded, it’s going to pair well with aioli.
It’s also great with grilled or baked proteins like rosemary salmon. You can slather it on top or serve it on the side as a dipping condiment.
And of course, aioli is most definitely delicious on sandwiches. Lunchmeat sandwiches, veggie sandwiches, Caprese sandwiches, and especially burgers. You cannot go wrong with creamy mayo and a hint of garlic. There’s no sandwich that isn’t made better with aioli.
It’s delicious with raw or roasted veggies; and delectable when paired with marinated olives and a baguette.
I could go on and on…but I’ll let you get to roasting up some garlic and enjoying this aioli with whatever happens to be on the dinner menu tonight (leave a comment and let us know!).
Storage & Make Ahead Options
Store it in an airtight container, like a jar with a lid, in the fridge for up to a week. Make it ahead of time to enjoy throughout the week, or in advance for a party.
More Creamy Sauce Recipes
Did you make this recipe? Please leave a star rating and review in the form below. I appreciate your feedback, and it helps others, too!
Get the Recipe Quick & Easy Roasted Garlic Aioli Sauce
Ingredients
- 1 whole garlic bulb
- Olive oil, drizzle
- 3/4 cup mayonnaise
- 1 Tablespoon lemon juice, freshly squeezed
- Salt and pepper, to taste
Instructions
- Preheat oven to 400°F. Cut the top off of the garlic bulb, approximately 1/2 inch down, so that the tops of each garlic clove is exposed. Place the bulb in a piece of aluminum foil and drizzle olive oil on top. Wrap the foil around the bulb and bake for 20-25 minutes, until cloves are tender.1 whole garlic bulb, Olive oil
- Meanwhile, in a small bowl combine mayonnaise, lemon juice, and a pinch of salt and pepper. Set aside.3/4 cup mayonnaise, 1 Tablespoon lemon juice, Salt and pepper
- Let the garlic bulb cool slightly until you're able to handle it; turn upside down and squeeze out the garlic cloves. Chop the cloves to desired size (or alternatively mix into the mayonnaise with a fork to break them apart). Stir into mayonnaise mixture until completely incorporated, being sure to taste test for salt levels again.
- Serve as a dip, on a sandwich, or with seafood dinner. Store in an airtight container in the fridge for up to 10 days.
Notes
By the Way…
This recipe is part of our collection of savory homemade sauce recipes. Check it out!


This is a wonderful, quick aioli, and I really don’t care that it isn’t made the traditional way. We used it to !dip crispy smashed potatoes in, and it couldn’t have tasted better. Thank you for a great recipe
One of my favorite combos! Thanks so much for your review, Vivian, I really appreciate it!
I love to dip Artichoke leaves and hearts in this!
What a yummy combination! Thanks for sharing, Debbie!
Definitely a garlic lovers dream! Quick, easy and delicious on everything! Thanks for sharing!
Thanks so much for your review, Martha! I’m glad you enjoyed it!
Martha, thanks very much for sharing this yummy and easy to make recipe. I have been using it for my homemade healthy sandwiches and no longer feel the need to buy sandwiches from the shops which are not as delicious nor as healthy as my homemade ones.
I’m so glad to hear you love it! Thanks for your review!!
Super