

If you are a chocolate dessert lover, then you’ve got to have a chocolate syrup recipe in your back pocket!
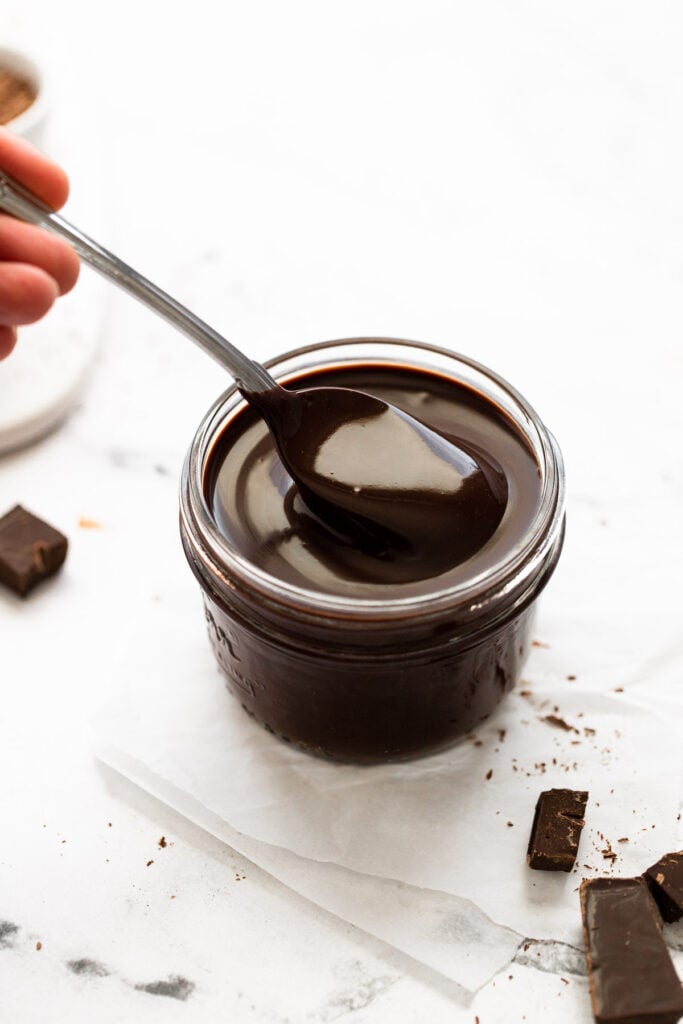
It’s so easy to make in just a few minutes. It thickens up beautifully once chilled. You’re guaranteed to throw out any store-bought sauce you have in your cupboard because this homemade syrup is SO much better.
Growing up, we spent summers churning classic vanilla ice cream in an old-school ice cream maker, and Grandma would make a big batch of her homemade chocolate syrup to drizzle on top.
There was truly nothing better. Now, I’ve finally gotten around to making my own homemade chocolate syrup, inspired by Grandma’s recipe.
It’s time to make it in your own kitchen and add it to your next iced coffee, brownie sundae, or homemade latte!
Chocolate Syrup vs. Chocolate Sauce (and Ganache)
Sometimes chocolate syrup and chocolate sauce are used interchangeably, but there is a difference between the two. Throw in chocolate ganache, a similar type of chocolate…but it’s also different.
Let’s cover the differences between the three to clear up any confusion and maybe help you win some trivia down the road…
- Chocolate Syrup: made with just water – no additional fat like cream or butter. It’s thinner in consistency than sauces and easily mixes into drinks.
- Chocolate Sauce: usually made with the addition of milk, cream, or butter. It’s thicker in consistency. Hot Fudge falls into the chocolate sauce category because it’s made with the addition of fat and is thick.
- Ganache: the thickest of them all, it’s simply chocolate and cream – no added sugar. It can be turned into a dip, frosting, truffles, and more.
Ingredients You’ll Need
There are only 5 ingredients you’ll need for this recipe, and I question even counting a few of them as ingredients (ahem, looking at you, water).
The good news is that I’m willing to bet you have most, if not all, available already!
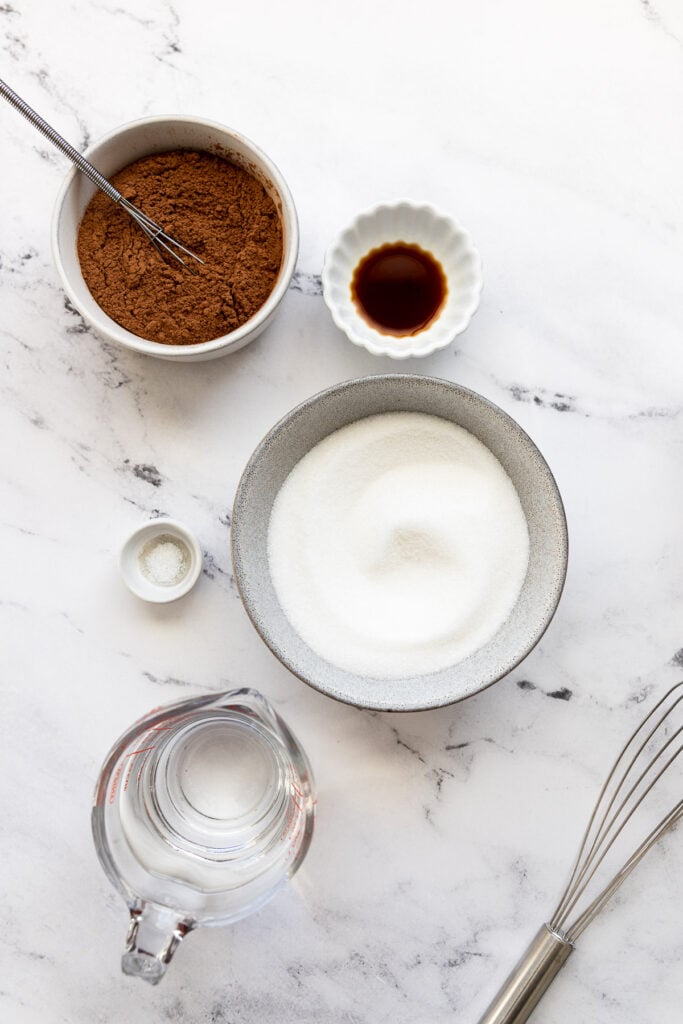
- Cocoa Powder: use 100% unsweetened cocoa (or cacao) powder for this syrup. Find it in the baking aisle of your grocery store. As with most recipes, using a higher-quality cocoa powder like Ghiradelli will result in a more decadent syrup. But the basic Hershey’s cocoa powder will work just fine, too!
- Sugar: good ol’ granulated sugar adds sweetness to the syrup – no high fructose corn syrup in sight!
- Water: if you have filtered water, go ahead and use it for the best flavor. Since we have such few ingredients, quality especially matters.
- Vanilla Extract: rounds out the flavors in the syrup.
- Salt: again, balances out both the bitter chocolate and the sweet sugar (and you know I love how salt is magical when it comes to bringing flavors together!). A pinch goes a long way, and you won’t even taste it!
- I use kosher salt; if you’re using table salt, halve the amount or use even less than half to start.
You’ve got that right, this recipe is gluten-free, dairy-free, and vegan!
How to Make Chocolate Syrup
This recipe is just as easy as making a basic simple syrup recipe, because that’s basically what we’re doing, with the addition of cocoa powder.
Not only is it just as easy, but it’s way more affordable and budget-friendly to make at home than buying storebought. Not to mention the quality and flavor are so much better homemade (move over, Hershey’s, there’s a new kid in town!).
To ensure the syrup is smooth, sift the cocoa powder first.
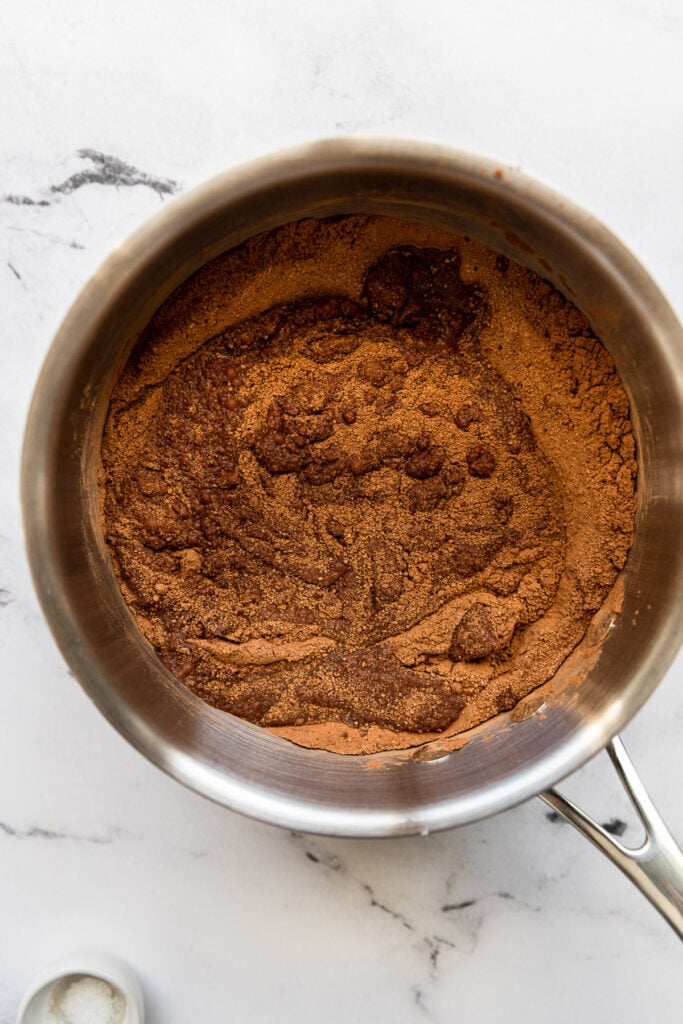
It’s not always necessary, especially if your cocoa powder is super fresh and not already clumpy. But if you have any concerns and want to guarantee the sauce is smooth, sift it!
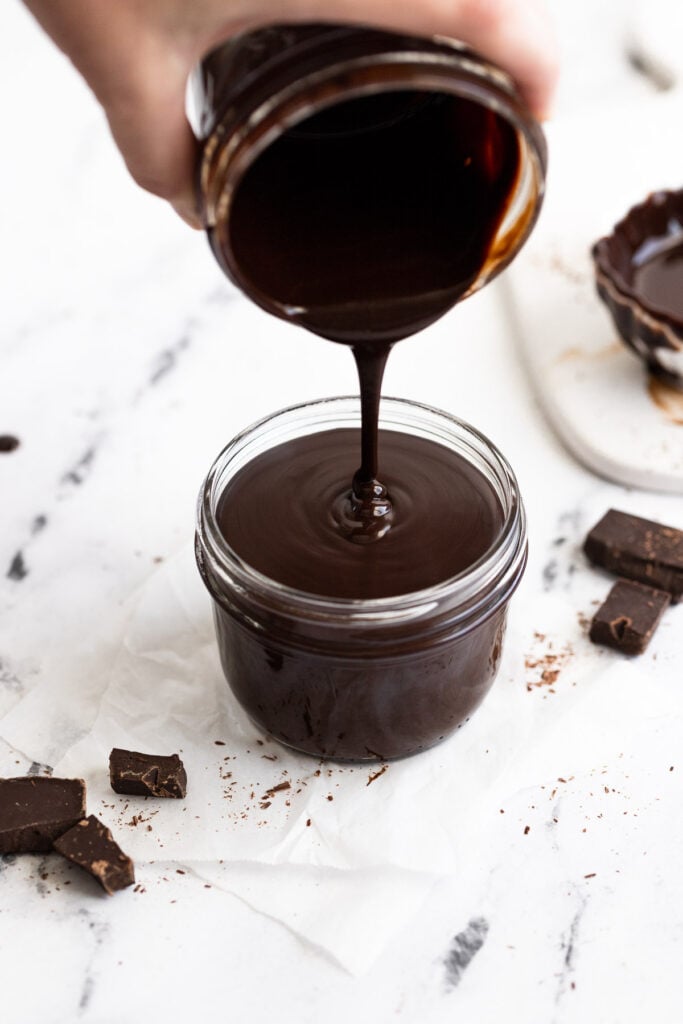
Then, combine the cocoa powder, sugar, and water in a saucepan over medium-low heat. The mixture will take a minute to fully combine. As it heats up, you’ll begin to see it come together into a glossy syrup.
Continue to whisk frequently as the syrup slowly simmers. There’s no need for it to come to a rolling boiling, which often results in a bitter, almost burnt-tasting sauce.
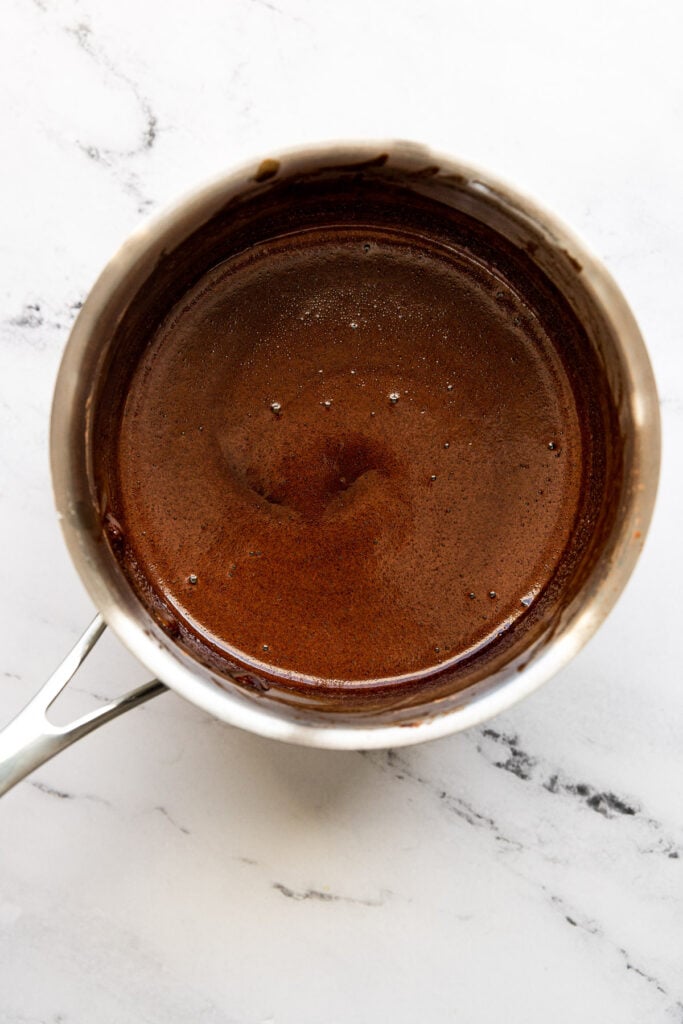
Allow it to slowly simmer for two to three minutes. It will thicken slightly as it simmers. Remove from heat and stir in the salt and vanilla extract.
At this point, the sauce may still seem runnier than you’d like. I assure you, as it cools and even chills in the fridge, that’s when the magic happens!
Upon chilling, the syrup texture and taste develop even more. The result is a thicker, drizzle-worthy syrup that’s shiny with rich, decadent chocolate and a better-than-Hershey’s flavor.
Remember, it’s not hot fudge, so it will remain syrup-like, easily scoopable, and not overly thick.
Storage & Freezing
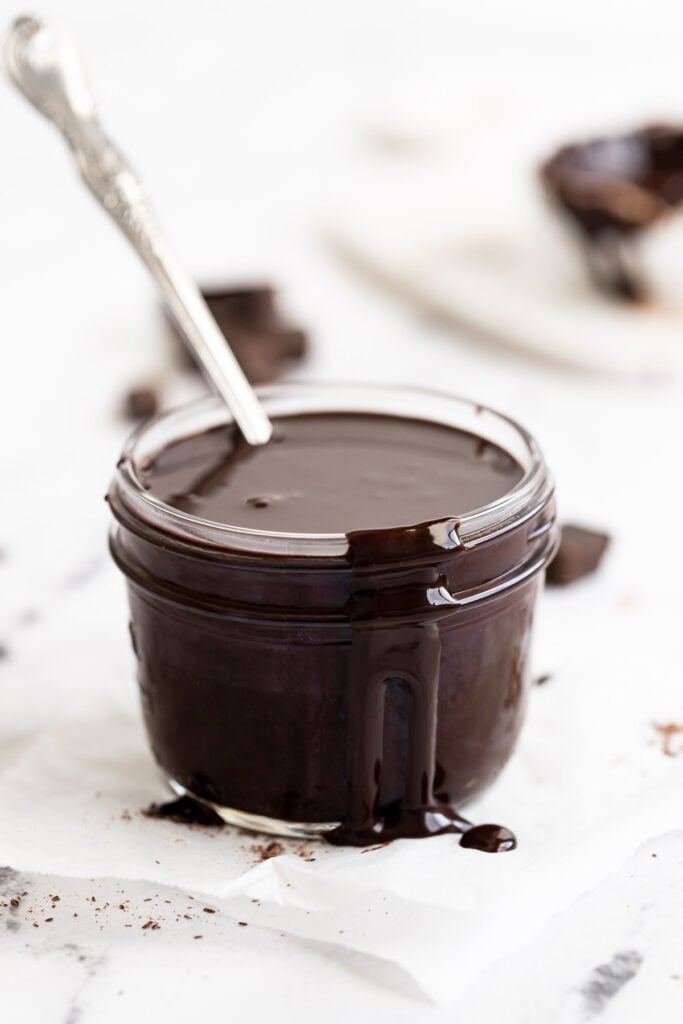
Allow the syrup to cool completely to room temperature. Store it in an airtight container like a mason jar or glass bottle in the fridge. It will keep for at least a month, if not more. If you notice any discoloration or odd film forming on the top, it’s time to toss it.
You can freeze chocolate syrup, too! Place it in a freezer-safe container, ice cube tray, or even better, SouperCubes. If freezing in a mold, transfer the individual servings to an airtight container once frozen.
Thaw in the fridge or at room temperature, stirring until smooth. You can also thaw on defrost in the microwave.
Ways to Use Chocolate Syrup
Aside from sneaking spoonfuls straight out of the jar, there are so many ways to enjoy homemade chocolate syrup!
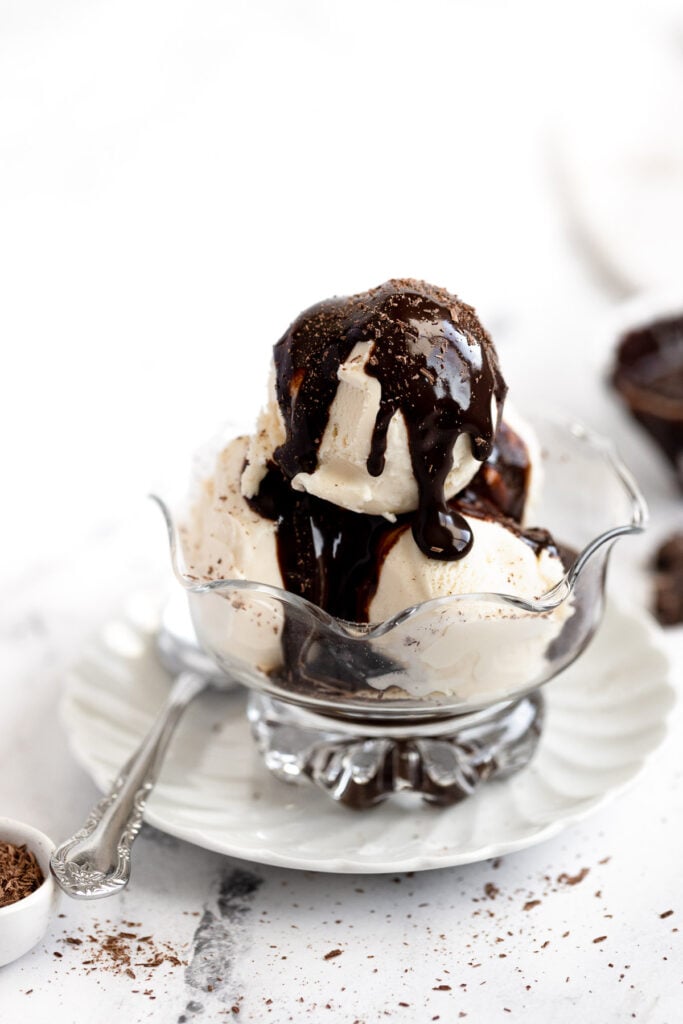
- Ice Cream: of course, this syrup is amazing over ice cream! Add a drizzle of bourbon caramel sauce and your favorite candy to make the perfect dessert!
- Even better, add homemade brownies and make a brownie sundae! Also delicious drizzled on the brownies themselves, but when in doubt, always include ice cream.
- Make chocolate milk or the best hot chocolate. Just add 1-2 tablespoons to a cup of cold or hot milk of choice, stir until combined, and enjoy!
- Stir it in iced coffee, or make iced mocha lattes or a mix-and-match for endless possibilities of flavored iced lattes.
- On that note, make a homemade mocha or add mint syrup or extract and make a peppermint mocha.
- Add it to milkshakes!
- Make chocolate-covered popcorn.
- Drizzle it over slices of cake.
- Indulge at breakfast and use it on pancakes and waffles!
- Add to chocolate cocktails like a Chocolate White Russian.
Tips for the Best Syrup
- Don’t bring it to a rolling boil; or simmer for too long. It may turn burnt and bitter tasting.
- Chilling the syrup before using it will result in the best flavor, so it’s highly recommended you make it in advance.
- That being said, if it seems too runny and you simmered for up to 3 minutes, chill it before you deem it too runny. And remember, it’s not a fudge sauce.
- Use high-quality ingredients so they shine through!
Did you make this recipe? Please leave a star rating and review in the form below. I appreciate your feedback, and it helps others, too!

Get the Recipe How to Make Homemade Chocolate Syrup
Ingredients
- ¾ cup (76 g) 100% unsweetened cocoa powder, + 2 TBSP for a richer syrup; sifted
- 1 cup (210 g) granulated sugar
- 1 cup water
- 1-2 teaspoons vanilla extract
- ⅛-¼ teaspoon kosher salt, *not table salt
Equipment
- Kitchen Scale preferred
- 16-Ounce Wide Mouth Mason Jar for storage
Instructions
- In a small or medium saucepan, whisk together sifted cocoa powder, sugar, and water over medium heat. Bring to a simmer, then lower the heat. Stir frequently as it simmers for about 3 minutes; it shouldn't come to a rolling boil. The syrup will bubble and expand, becoming slightly thicker.¾ cup 100% unsweetened cocoa powder, 1 cup granulated sugar, 1 cup water
- Remove from heat and stir in vanilla extract and salt. Allow to cool, and transfer to a glass jar or bottle. Chill in the fridge before using for optimal flavor and texture – it thickens up quite a bit in the fridge and the flavor really comes together!1-2 teaspoons vanilla extract, ⅛-¼ teaspoon kosher salt
- Store in an airtight container in the fridge for up to 1 month. Use it to make chocolate milk, hot cocoa, mochas, drizzle on desserts, ice cream, and more!
Notes
- Yield: This recipe makes approximately 1 1/2 cups.
- Salt: half the amount (or less) if using table salt.
- Too runny? Be sure you simmered the syrup for at least 3 minutes; then chill completely in the fridge where it will thicken.


Easy to make.It was perfect in my peppermint mocha!I will definitely make this again.❤️
I’m so glad to hear! Thanks so much for taking the time to leave your review, Denise!
Just made this and it is delicious. It’s really easy to make and tastes so much better than store bought.
I’m so glad you enjoy it! Thanks, Angel!
Perfect for mocha cappuccinos, hot or frozen. So easy and way better than store bought syrup!
I’m so happy to hear you loved it! Thanks, Patricia!
My grandson asked for chocolate syrup for his waffles so I went on my phone and found your recipe. It looks and taste great. My grandson Jaxon gave it 2 thumbs up!
Thank you!
Best Grandma right there! I’m so glad he loved it – thanks for making and taking the time to leave your review, Melissa!
I made this when I ran out of the store bought bottle I as using, and I am never buying store bought again! It’s so rich. So smooth. So delish. Perfect recipe!
Best compliment ever! Thank you so much, Rachel!
This looks so good!
Can I use monk fruit for a sugar free option?
Hi Linda! I haven’t tried it myself but my instinct would be that yes it would work; please let me know if you give a try!
Thanks for this recipe. We were getting a gritty sauce because we didn’t use enough liquid to dissolve all the sugar. Of course we couldn’t wait for it to cool but it was still wonderful over vanilla ice cream.
Thanks for sharing, Mark! Waiting for it to cool is definitely too hard 🙂
Thank you for this recipe! Turned out great never thought it would actually be so easy!
You’re so welcome – I’m so happy to hear you enjoyed it! Thanks so much for making it and taking the time to leave your review, Katrina!
I ran out of the name brand syrup and found your recipe. It was very quick and easy to make. Much better than store bought and highly rated by both me and my grandkids! It’s my go-to recipe for chocolate syrup from now on.
That makes me so happy to hear! Thanks, Marcia!
This recipe was so good and so tasty. Thanks so much for this! I loved making it and felt great saving money.
I’m so glad to hear you loved it! Thanks, Mckensie!
So creamy and a rich taste
Thanks, Cecilia!
Delicious!! Our 100% go to!! Love it on ice cream – cold & hot milk – coffee – anything!! I once added hazelnut extract!! Oh man was Num!! Never ever buying store brands again!!! THANK YOU!!
Thanks so much, Tammy, I’m so happy to hear it’s your go-to now! And holy YUM, I’ve got to try hazelnut extract in it now…like a Nutella dream come true! 😊
This sauce is always delicious!
I’m so glad you enjoy it! Thanks, Trisha!
I had run out of store-bought syrup and just made your recipe an hour ago, using some 10-years-past-expiration cocoa powder sitting in the back of a cabinet. I’m enjoying it as we speak over some ice cream – insufficiently cooled to thicken very much, but that’s OK.
It is really excellent, far more chocolatey and less chemical tasting than my last two purchased containers, the house brands of two different grocery chains. As simple as it is, you’ve come up with a terrific recipe. I’m the proverbial happy camper right now!
Yay, I’m so happy to hear it! I love the straightforward ingredients, too. Thanks, Art!
Your recipe was delicious, I added a dash of cayenne pepper to it…
Oh, yummy! thanks for sharing, Lyn, I’m glad you enjoyed!
Delicious! Super rich and chocolate-y, not to mention easy! I was craving an iced mocha and was out of chocolate sauce, so glad I decided to make my own. I did sub in some black cocoa, which took it over the top!
Awesome, I’m so glad to hear it was just what you needed! Thanks, Adelaide!