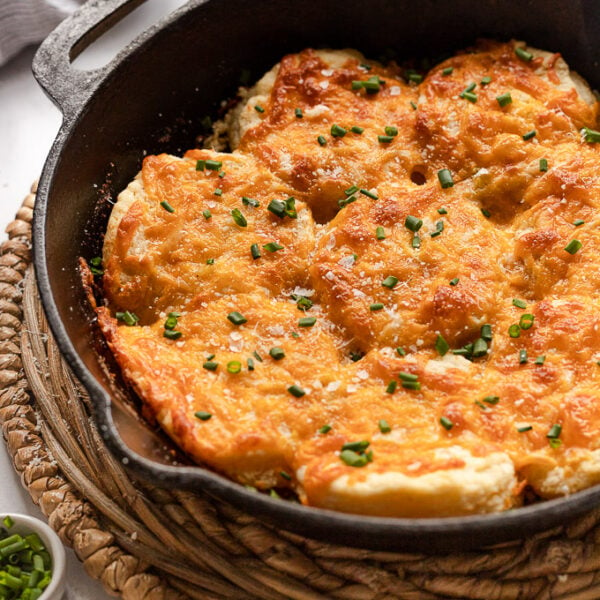

If you are looking for the ultimate biscuit experience, then you are absolutely in the right place. These garlic cheese biscuits are not for the light-hearted. No, not at all. They’re for the all-in lover of carbs, cheese, garlic, and all things indulgent.
They’re not just any garlic cheese biscuits, no, they take garlic cheese biscuits and go to a whole new level. One unimaginable. And I have my childhood to thank for it.
My mom made a similar type of recipe way back then, using store-bought biscuits as a shortcut (more on that later). As we reminisced on the foods she would make then, and how our food lives have changed since, the memory of these biscuits popped up like a kid of Christmas morning.
I knew I HAD to recreate them using a flaky homemade biscuit recipe. Of course, if you want to take the shortcut way, I’ll leave you with tips to do that too, but the homemade way is pretty easy to do in itself and delivers a whole lotta goodness. So let’s get to baking!
What You’ll Need to Make Garlic Cheese Biscuits
You will need the homemade biscuit ingredients to start:
- All-Purpose Flour: my biggest flour tip is to weigh it out to make sure you don’t have too much flour.
- Unsalted Butter: THE thing to remember when making biscuits is to keep the butter COLD. I recommend cutting up the butter and placing it back in the fridge until you’re ready to cut it into the dry ingredients.
- Milk: I use whole milk, but feel free to use what you have on hand.
- Salt: need I say more?
- Baking Powder: helps to lift up those biscuit layers!
- Cream of Tartar: also helps to lift the flaky biscuit layers and adds an ever so slight tang.
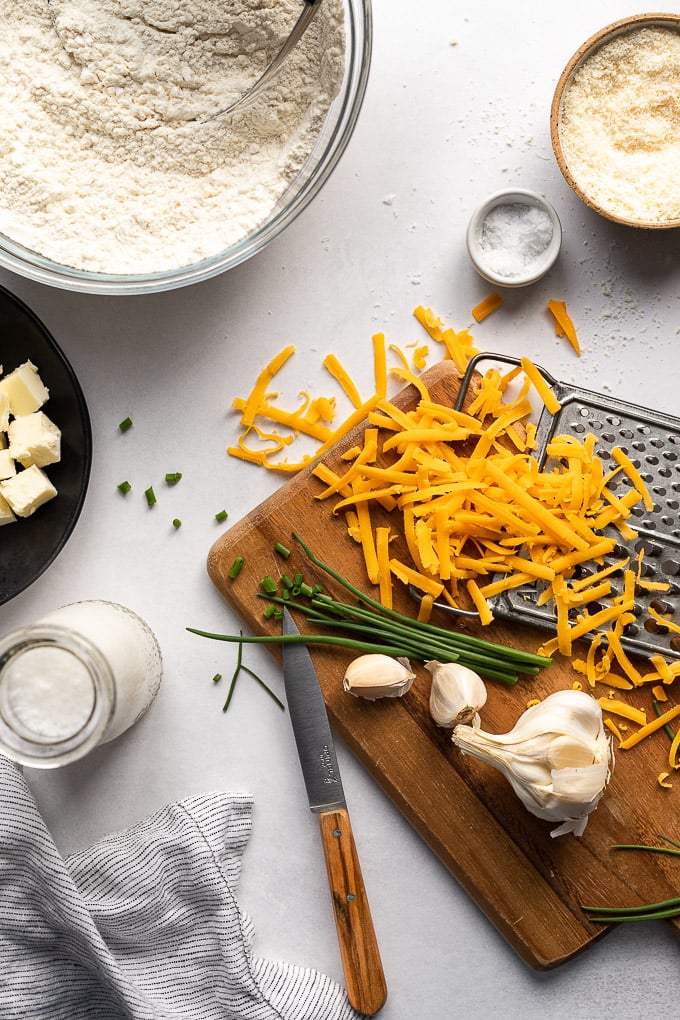
The ultimate ingredients:
- More Butter: Wait. For. It.
- Garlic: Hiiiiighly, highly recommend using a garlic press to mince the garlic for this recipe so that it’s all the same size and will therefore be easier to evenly disperse around the biscuits.
- Cheddar Cheese: Sharp, melty cheddar cheese coats the top of the biscuits.
- Parmesan Cheese: Optional, but why would you not add more cheese? Parmesan cheese adds in salty, complex cheesiness to the biscuits.
How to Make Cheesy Biscuits
There is no need to worry about making flaky homemade biscuits! It’s a fairly simple and easy process and we’re going to walk you through it step-by-step.
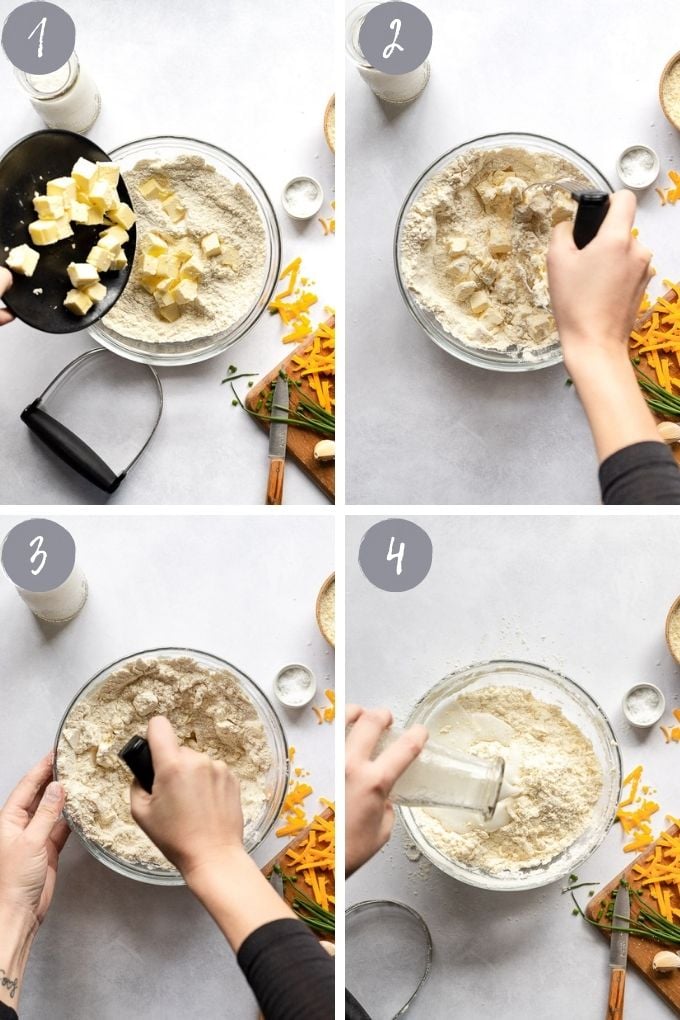
Start by mixing together the dry ingredients. You likely want to dice the butter and place it back in the fridge before you do this, to ensure that the butter stays SO COLD. Cold butter is what helps give us layers and layers in our biscuits.
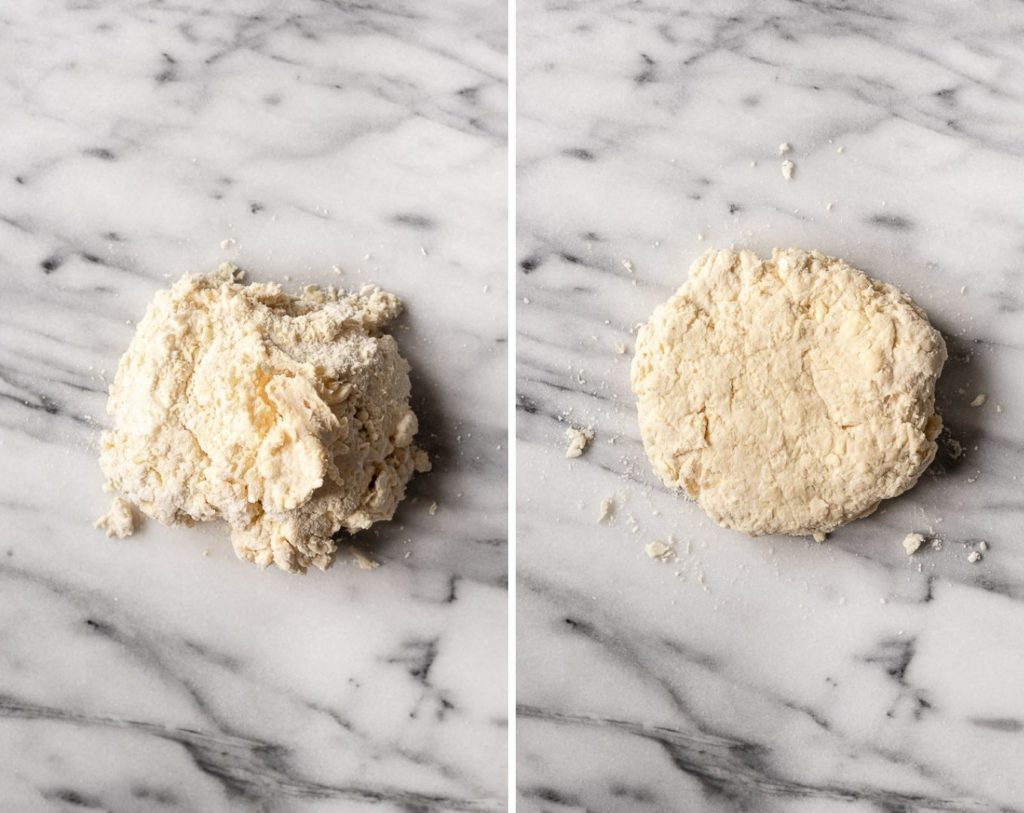
Then, use a pastry cutter to blend the butter into the dry ingredients until small pea-size bits are formed throughout. Gently stir in the milk just until combined, then transfer the dough onto a lightly floured surface and press it together into a disc.
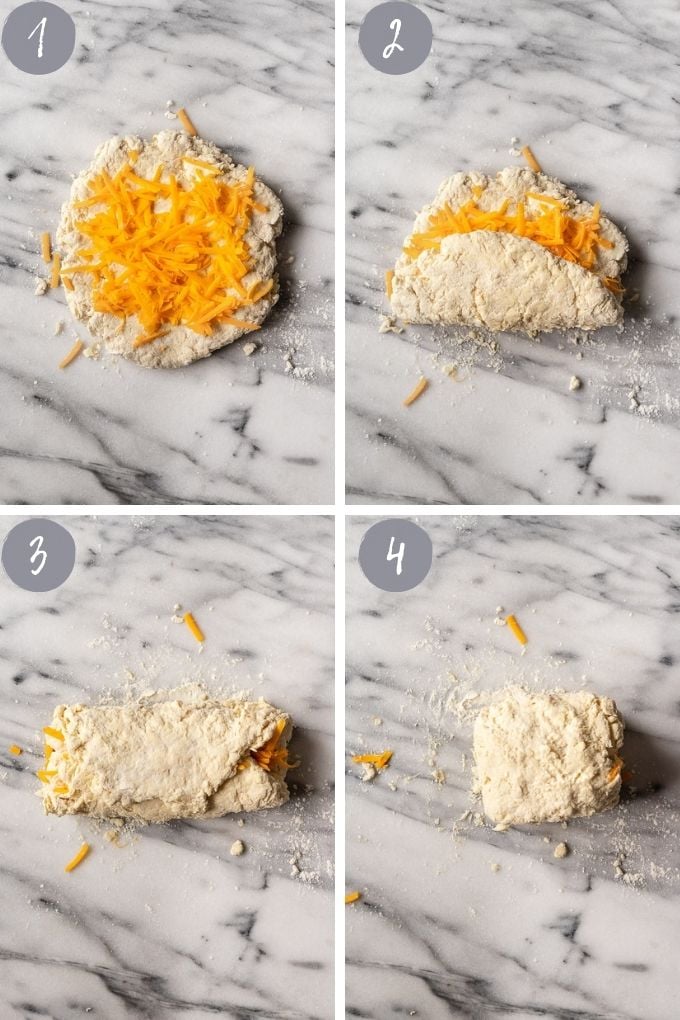
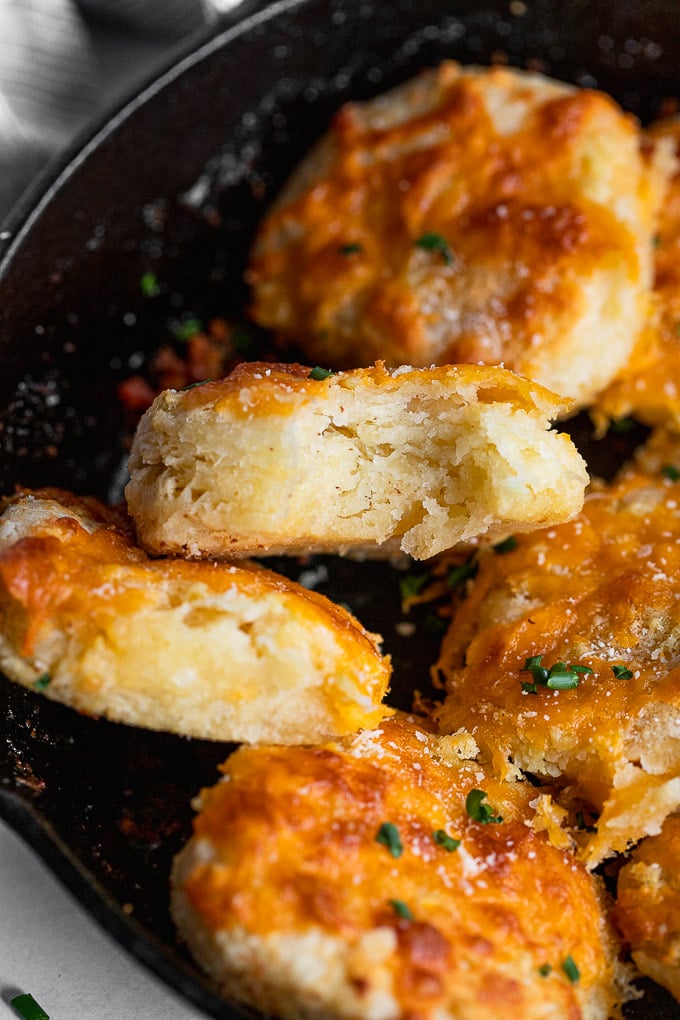
Then, fold one side of the dough in, followed by the next, and again once over. This helps create more layers in the dough. And if you want to be really really extra, add in a layer of cheddar cheese before folding as pictured here. DO note, the cheese sinks into the dough and it doesn’t necessarily result in a gooey cheese center.
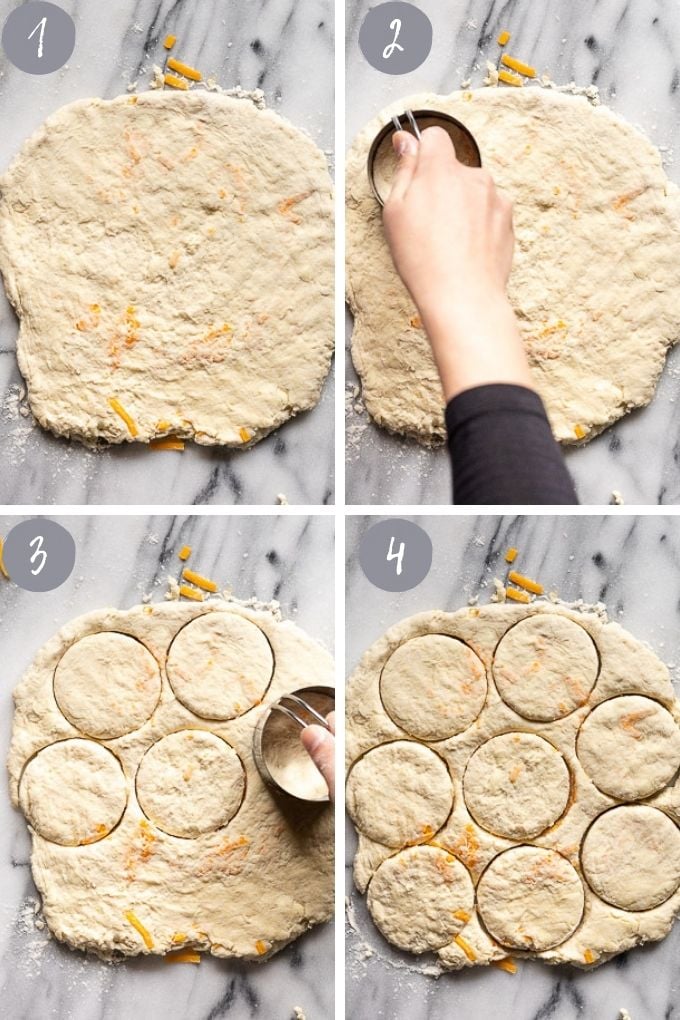
After you’ve folded the layers, use your hands to gently press the dough into approximately a 10-inch circle that’s about 1/2 inch thick. Use a 2 3/4 inch biscuit cutter or drinking glass to cut out 8 biscuits.
BUT WAIT! While you’re preparing the biscuits, the butter for the garlic needs to be prepped. Place the butter in a 10-inch cast-iron skillet (a round cake pan will also work!) and then place it in the oven while it preheats. Once the butter has melted, remove it and pour it into a small bowl with the minced garlic, then add a pinch of salt.
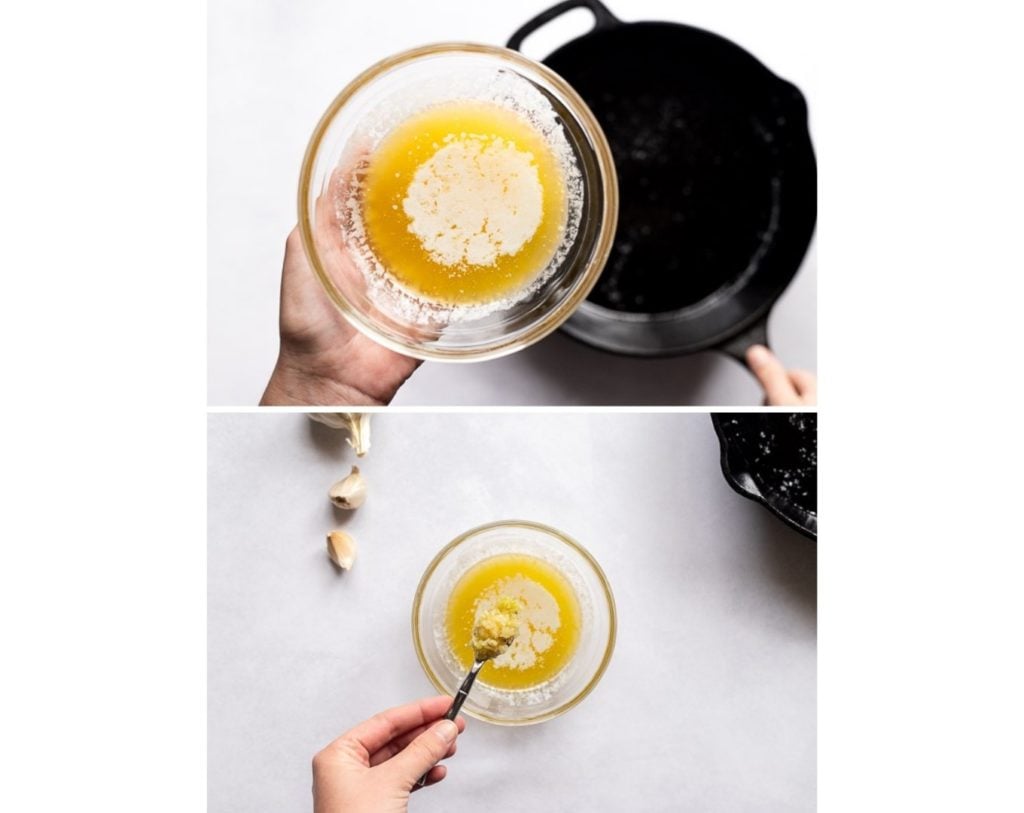
Adding the warm butter to the garlic helps give it a jump start on cooking and caramelizing while infusing the butter with garlic. P.S. did your butter get a little browned while melting? Never worry about that because BROWN BUTTER is a thing of beauty.
With the butter prepped, and the biscuits cut, place the biscuits in the skillet. Then, pour that fragrant, luscious garlic butter on top, using a pastry brush as needed to spread the garlic across the biscuits evenly.
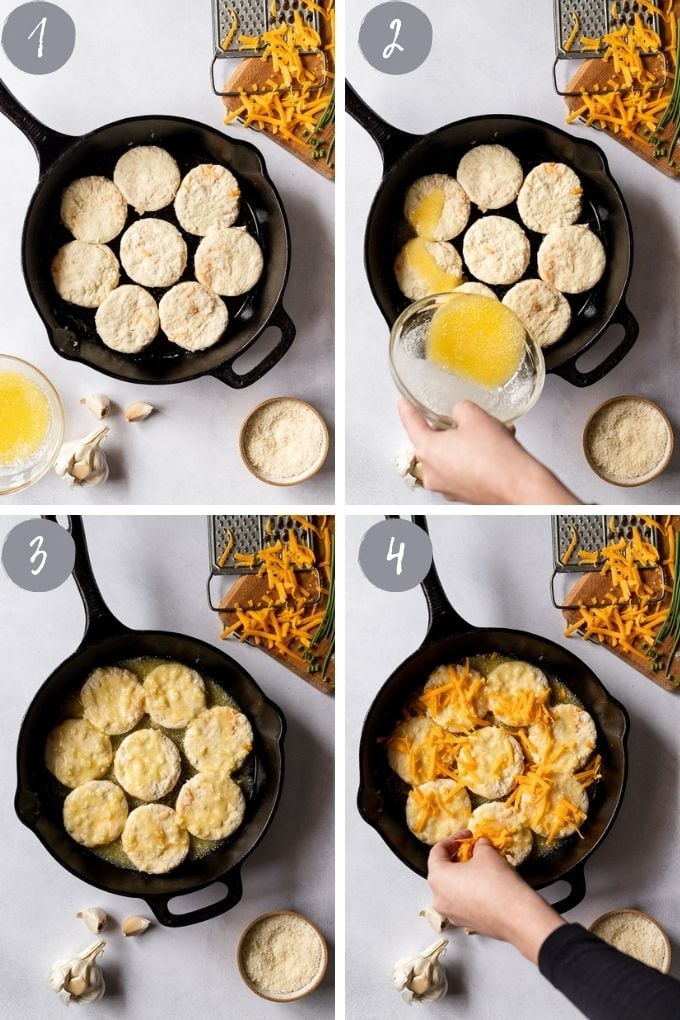
Now, the cheesy part. Evenly sprinkle freshly shredded cheddar cheese and parmesan across the top of the biscuits.
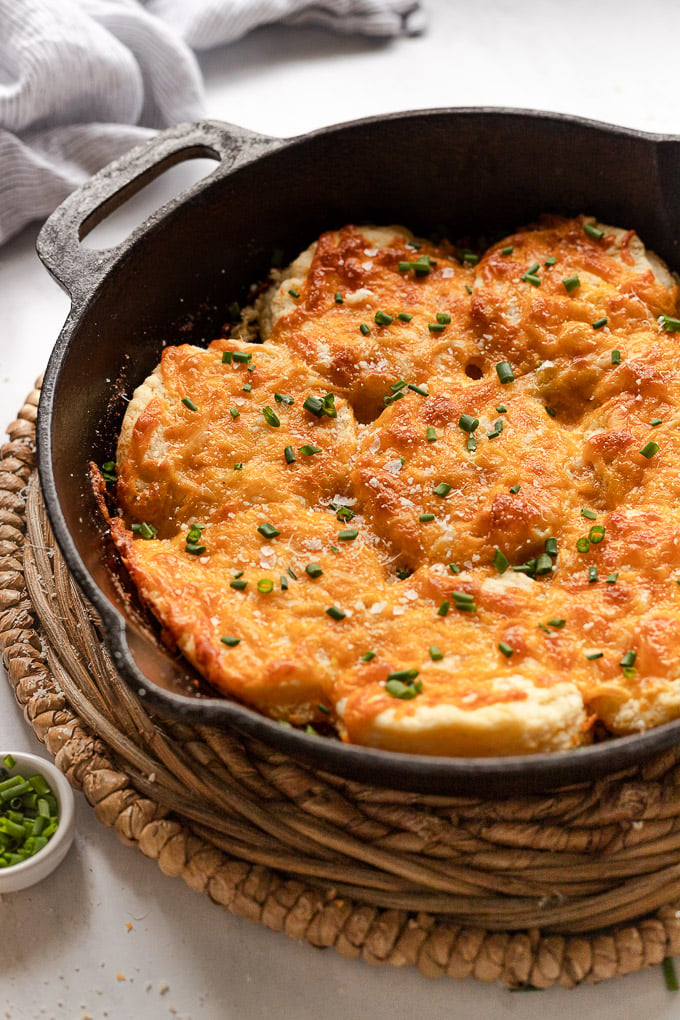
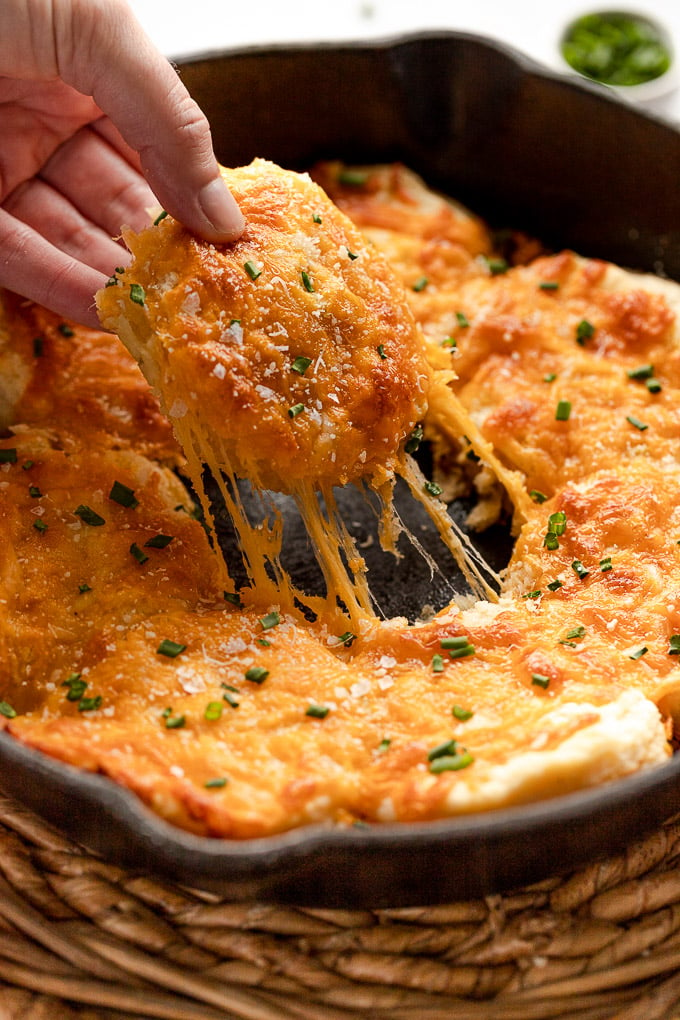
Then, bake the biscuits until they’ve risen, and the cheese is melted and golden brown.
The Shortcut
Ok, I did tell you that my mom’s original version was not made with homemade biscuits. It’s true! And if you need to take a super easy, quick shortcut because it’s a Wednesday night and you need COMFORT ASAP and a cheesy garlic biscuit would pair perfectly with your homemade chili or tomato soup (or insert your ultimate cozy yet lazy dinner here).
If that’s the case, then you can go ahead and use flaky store-bought biscuits like Grands. Just follow the directions outside of making the biscuits – the melting butter, adding garlic, topping with cheese – directions. You get the idea. Super easy, super quick, and there will be zero judgment from me for taking the easy approach if you need to (although I’m always a fan of homemade).
Recipes to Make with Cheddar Biscuits
- Super Savory Vegetarian Meatballs
- Vegetarian Chili
- Roasted Tomato Ginger and Carrot Soup
- Whole Roasted Garlic Herb Cauliflower
- Parmesan Rosemary Crusted Fish
Get the Recipe Ultimate Garlic Cheese Biscuits
Ingredients
Homemade Biscuits
- 2 ¼ cups all-purpose flour, 270g
- 1 Tablespoon granulated sugar
- ½ tsp fine sea salt
- 2 ½ tsp baking powder
- ½ tsp cream of tartar
- 9 Tablespoon cold unsalted butter, small cubed
- ¾ cup whole milk, cold
Cheesy Garlic Butter
- 6 Tablespoon unsalted butter
- 5 garlic cloves, minced
- 1/4 tsp fine sea salt
- 3-4 oz. cheddar cheese*, shredded
- ¼ cup parmesan cheese*, freshly grated or finely shredded, optional
Instructions
- Preheat the oven to 425°F. Place 6 tablespoons of butter in a 10-inch cast-iron skillet or round cake pan and put it in the oven to melt. Remove it once the oven is preheated and butter is melted. Once it's removed, pour the butter into a small bowl with minced garlic and 1/4 tsp fine sea salt. Set aside.
- Meanwhile, begin prepping the biscuits by combining the dry ingredients in a large mixing bowl. Add the small butter cubes and use a pastry cutter to cut the butter into the flour until small, pea-sized bits are formed throughout.
- Pour in the milk and stir until just combined. Turn the shaggy dough onto a lightly floured surface and form it into a disc. Flatten the dough out slightly and then fold the left side into the middle of the dough, followed by the right side (it will look similar to a burrito). Then, fold the bottom up to make a tall square-type shape. If you'd like to put cheese inside the dough, layer half of the shredded cheese on before folding.
- Use your hands to gently press the dough into a 10-inch circle that's approximately ¾ inch thick. Take a 2 ¾ inch biscuit cutter (or drinking glass) and cut 8 biscuits out of the dough. Place them in the skillet.
- Drizzle the melted butter on top of the biscuits. You may need to use a pastry brush or spoon to spread the garlic evenly across the tops of the biscuits. Sprinkle the shredded cheese(s) on top of the biscuits evenly.
- Bake the biscuits for 15-19 minutes until the cheese is melted and slightly golden brown, along with the biscuit edges that you can see. Top with chives if desired and serve immediately.


