
Before we get into it, there is only one way to start and it’s with a disclaimer. Be warned: once you start making homemade pasta, you’ll never look at pasta the same way again and meatless meals at home will never be better.
You’ll be non-stop making ridiculously delicious pasta at home. Store-bought pasta will no longer be the go-to for pasta night, and pasta at restaurants is going to be questionable. Because every time you do go to a restaurant, you’ll wonder if it’s homemade pasta, and you’ll start saying to yourself “I might as well have just made this at home, it’s better that way!”.
If you’ve never made homemade pasta before, this might all sound extreme, but it’s only bound to happen once you get to discover how easy it really is to make homemade pasta, and how it’s just about 823,540,231 times better than anything else.
So let’s get to it, shall we?
Homemade Pasta Dough Ingredients
There are four simple ingredients that you need to make homemade pasta that can be found in your local grocery store. Plus salt and pepper, which aren’t included when I say 4 ingredients, assuming you always have those in your pantry.
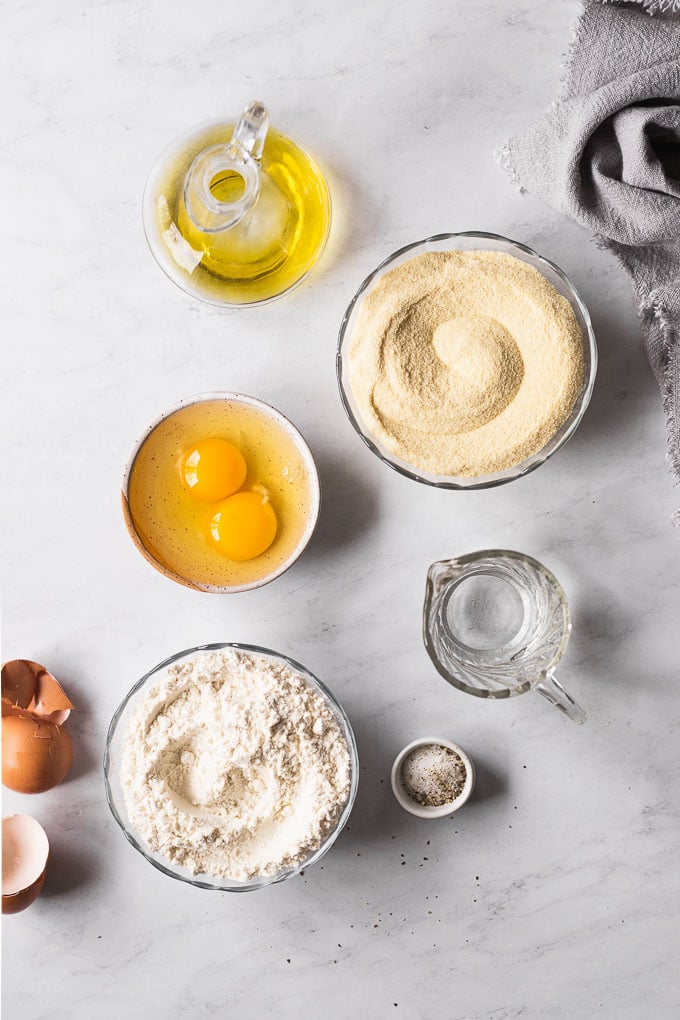
The simple ingredient list is just one more reason to love this pasta recipe! As always, be sure to see the full recipe directions below; here’s the overview:
- The Flours – there are so many ways to make fresh pasta that it can be hard to decide what the best flour for homemade pasta really is. My favorite combination is a blend of both all-purpose flour and semolina flour. The result is a silky pasta that also has some texture and bite to it. As you experiment more with making pasta, you can adjust the ratios and find which combination you like best.
- Eggs – fresh pasta is made with flour and eggs when it comes to its most simple form.
- Olive Oil and Water – both liquids help bring the pasta dough together.
- Salt and Pepper – both go into the pasta dough! No, the black pepper in the dough is not a traditional pasta move, so do feel free to omit it if you’d like, but I find it adds a uniqueness to the pasta, with a little bit of spice to the dough and added texture.
You could also use a finer flour than all-purpose, and go with 00 pasta flour, if you’re fancy like that.
Equipment You’ll Need
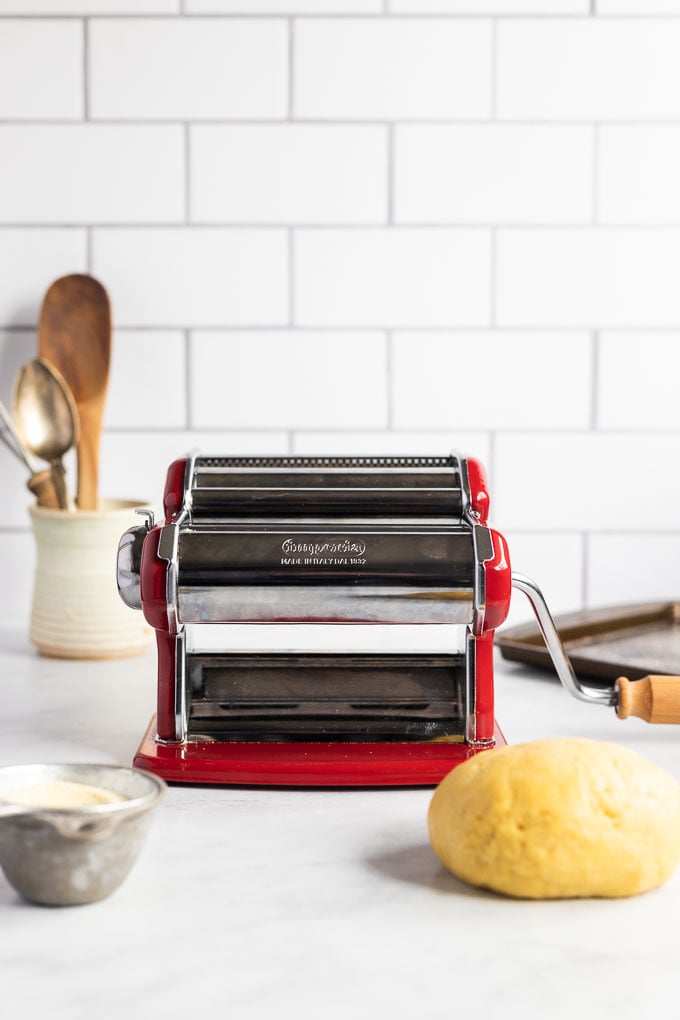
I highly recommend having a pasta machine on hand for making homemade pasta. While it’s not essential to making it, it does help you roll out perfectly uniform sheets of fresh pasta, eliminating any thicker spots. The same goes for cutting fettuccine-type noodles, you’ll have a more uniform noodle using the pasta machine.
If you don’t have a pasta machine, you can make it by hand by rolling it out with a rolling pin and simply using a pizza cutter or pasta wheel to create noodles or folding sheets of pasta, and simply using a knife to cut the noodles. This will result in a more rustic style pasta, which is my favorite kind anyway.
You’ll also want a mixing bowl to mix the pasta dough together, otherwise, you can go all in and mix it together directly on the countertop like the pros.
How to Make Fresh Pasta From Scratch
I’ll walk you through each step of the press to make fresh homemade pasta dough! Be sure you check out the video in the recipe card or this post to see the process unfold!
Step 1: Mix the Dough
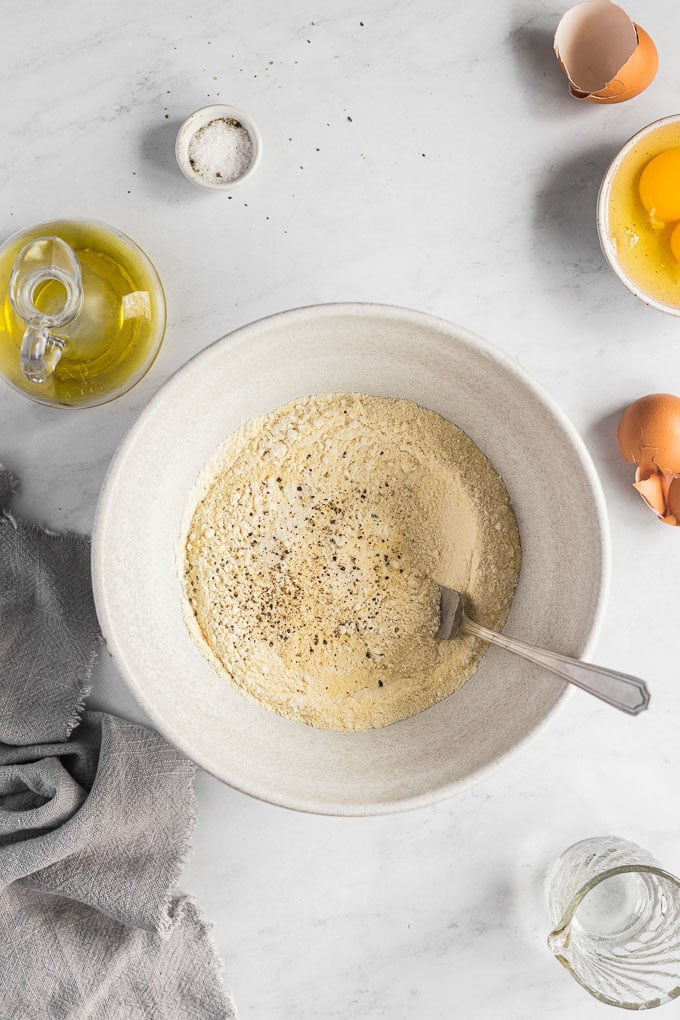
First, combine the semolina flour, all-purpose flour, salt, and pepper in a bowl. Simply use a fork to incorporate the ingredients together to prepare them for the wet ingredients. I recommend using a medium-sized mixing bowl to help you in the next step. It will be easier if your bowl isn’t too big.
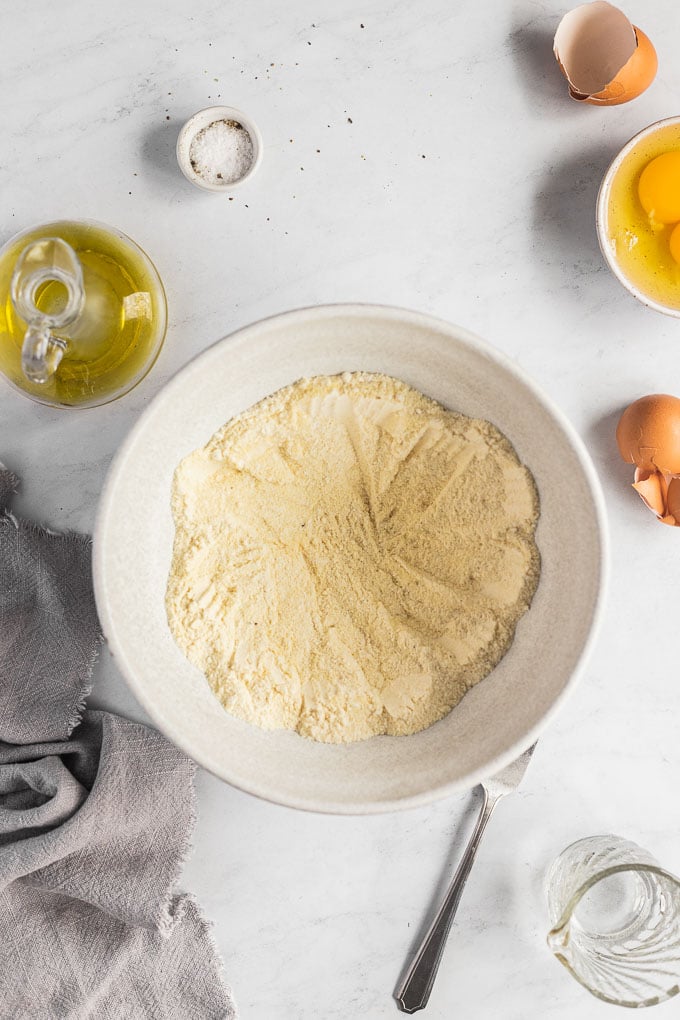
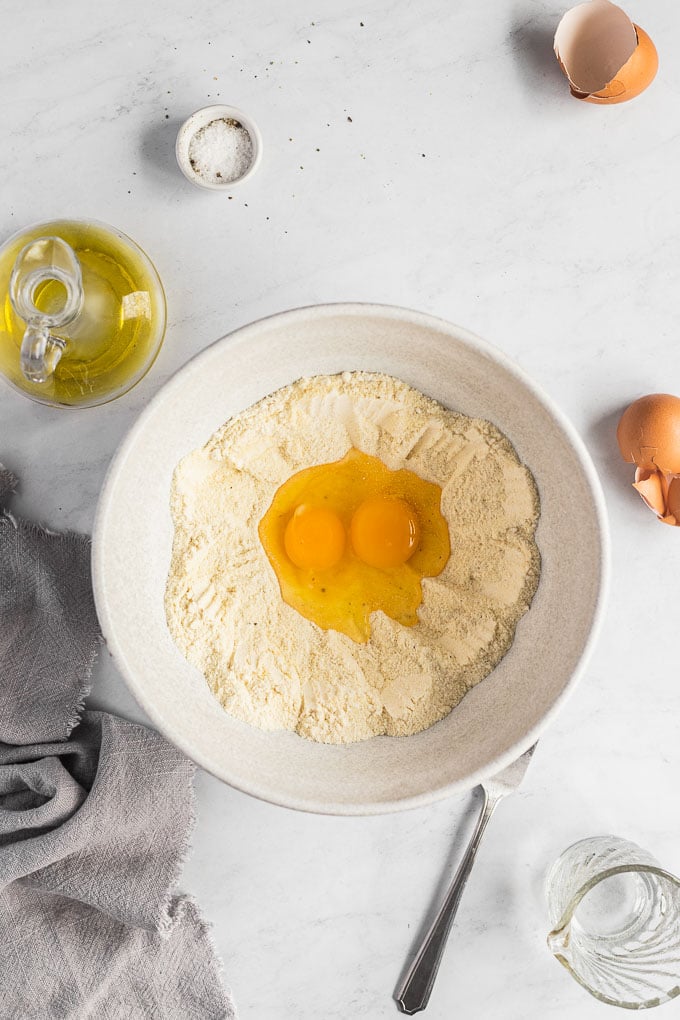
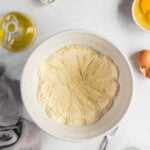
Once you’ve stirred the dry ingredients together, create a “well” or a crater in the middle, leaving flour on the bottom and sides to “catch” the liquids. Then, pour the eggs, olive oil, and water into the center of the well.
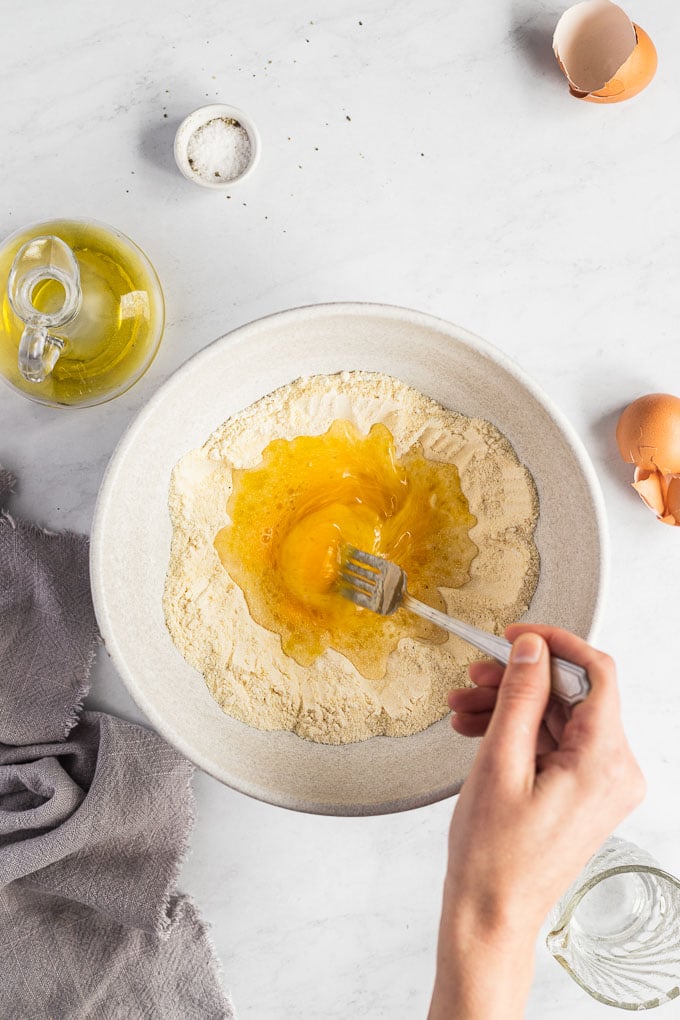
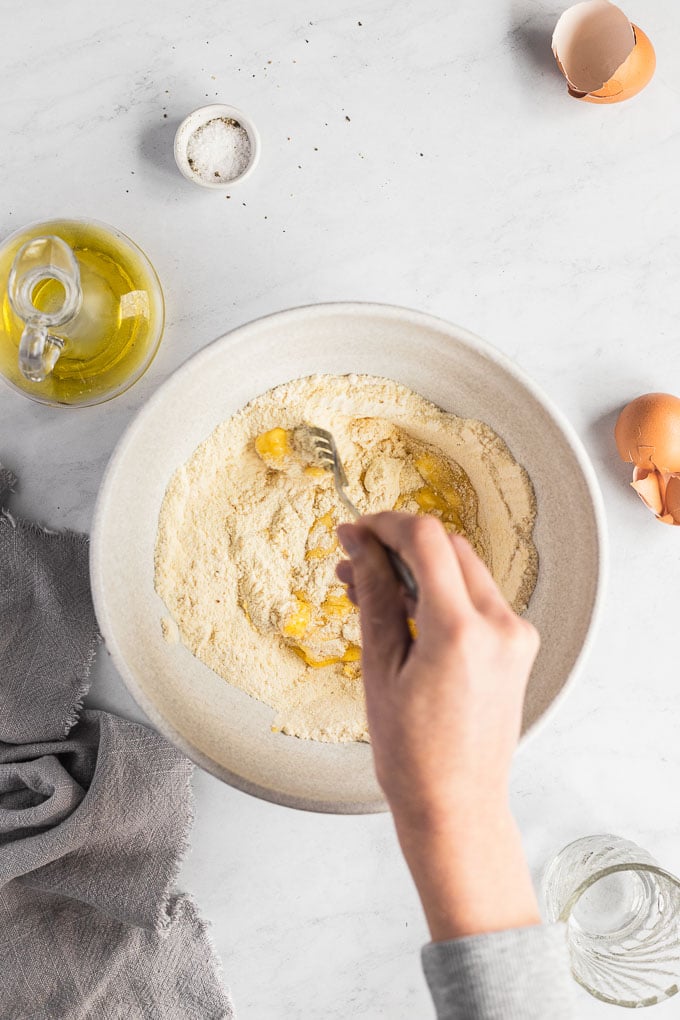
Using a fork, gently whisk together the eggs and liquids together. This is something you could also do before you add them to the dry ingredients, but I find it just as easy to do inside – and it saves a dish. Then, begin working the fork around the edge of the liquid, incorporating the dry ingredients bit by bit.
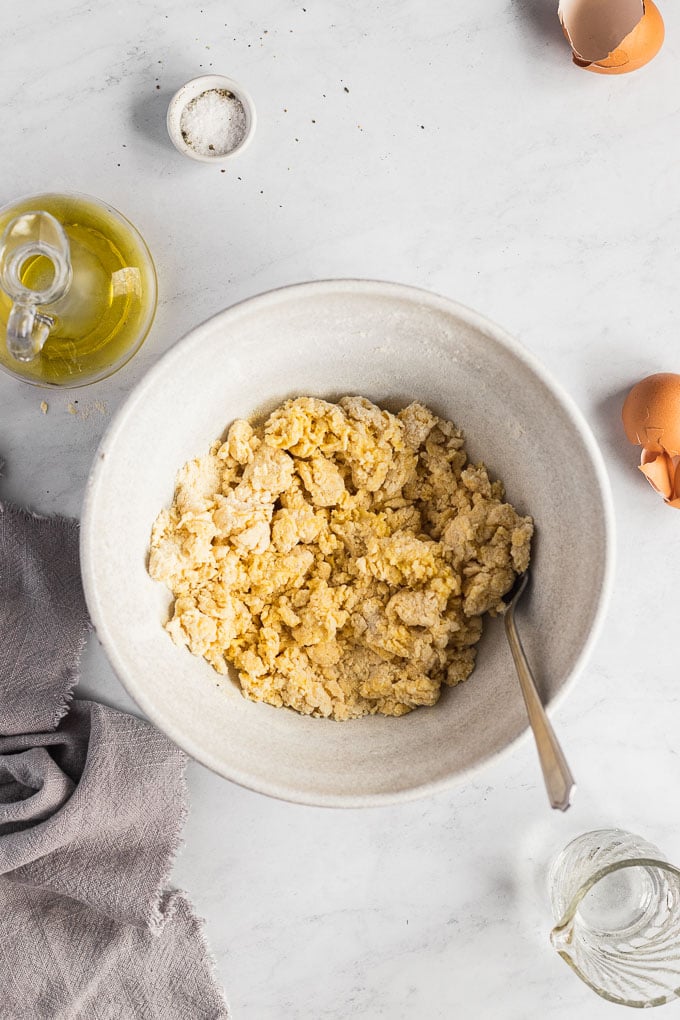
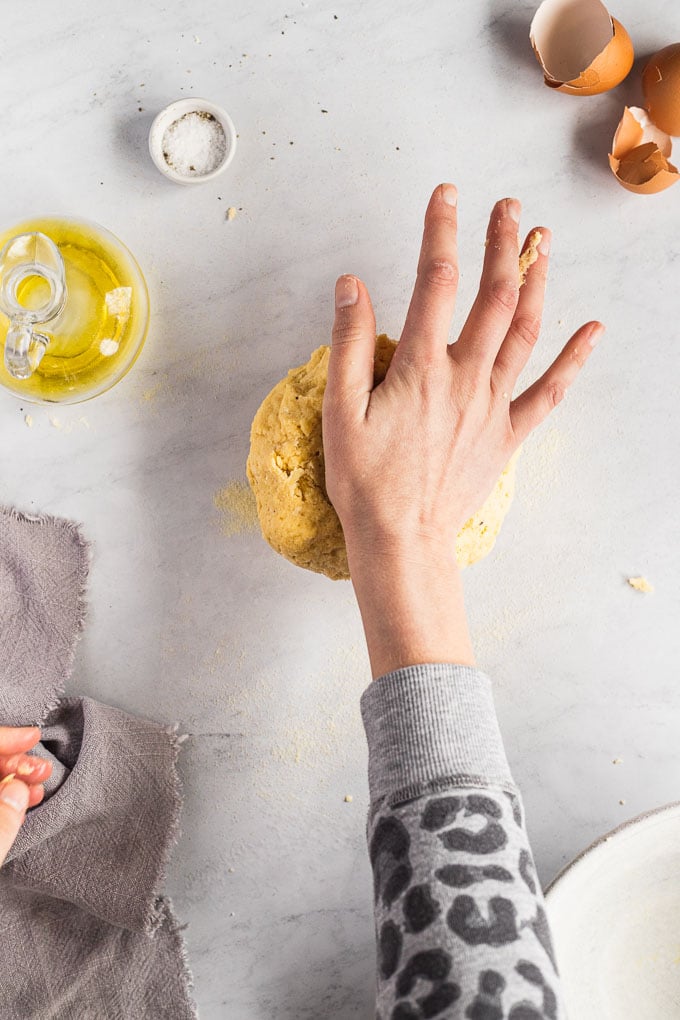
Once a shaggy mess has formed, get your (clean!) hands in there and begin working the dough until it comes together completely. Start kneading the dough ball to incorporate in any flour that is remaining in the bowl.
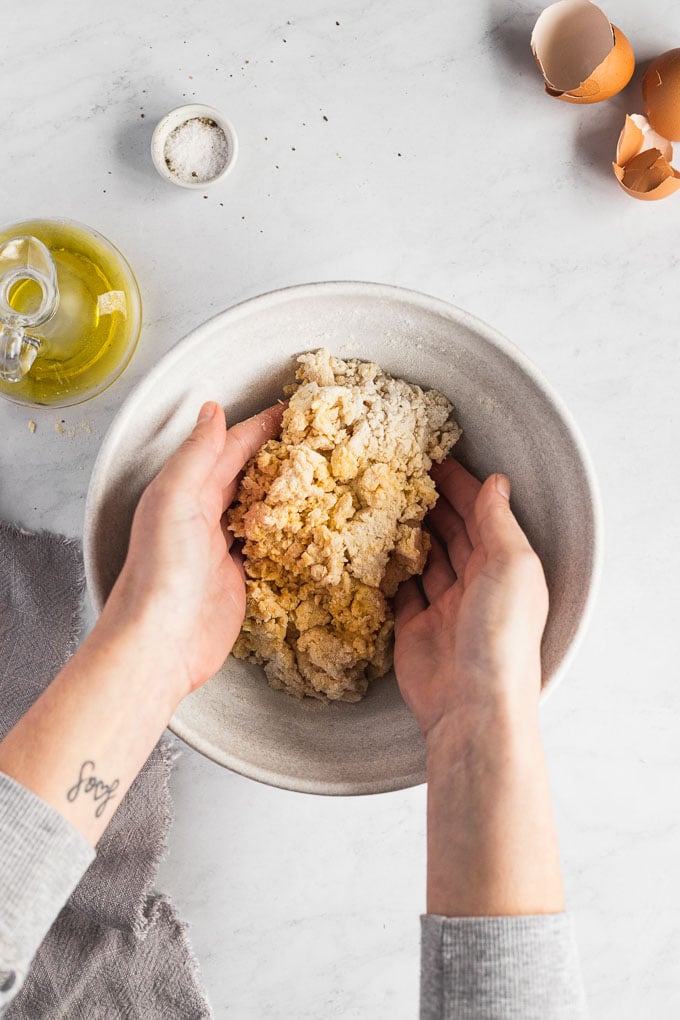
Then, you can transfer the dough ball to the counter and knead it there for a few more minutes. At this point, you may feel like your dough is too wet or dry. Keep kneading for a minute or two before trying to fix it just to be sure the dough has come together.
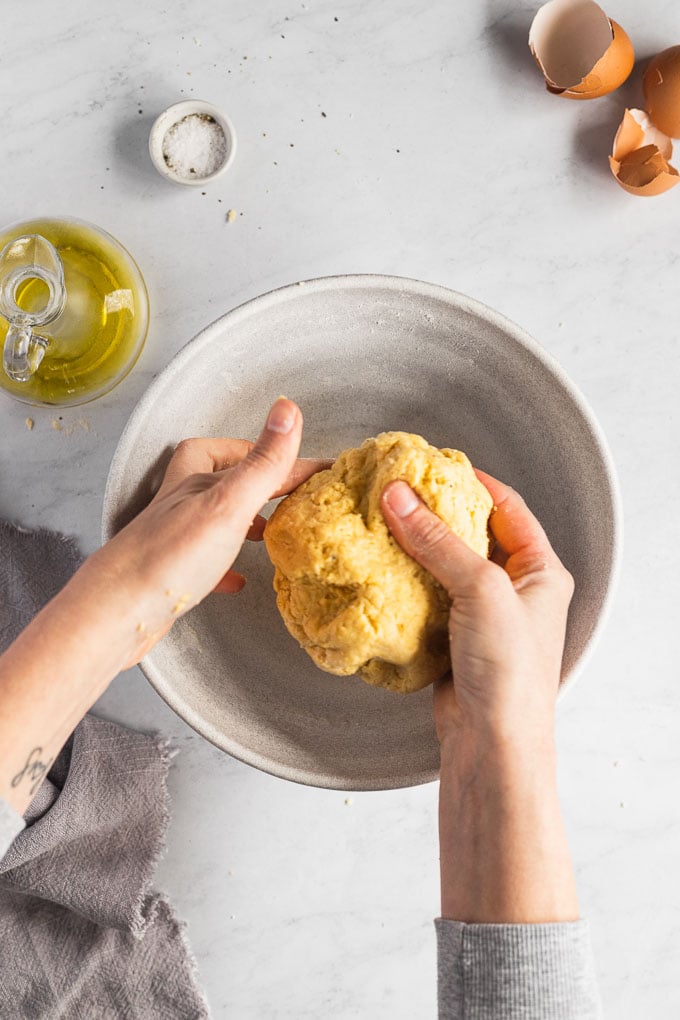
You want the dough to be tacky and slightly sticky. This texture will continue to form the more you knead the dough, so don’t worry yet if it’s not quite there! If the dough seems too wet and is excessively sticking to your hands, add a little more flour, only about a teaspoon or two at a time, kneading between each addition to fully incorporate.
If the dough seems too dry (and you’ve kneaded it for a minute to be sure it’s still dry), press the dough out slightly and knead in only about one to two teaspoons of water at a time. This part is an art, not a science, so use your best judgment, and patience, and keep kneading!
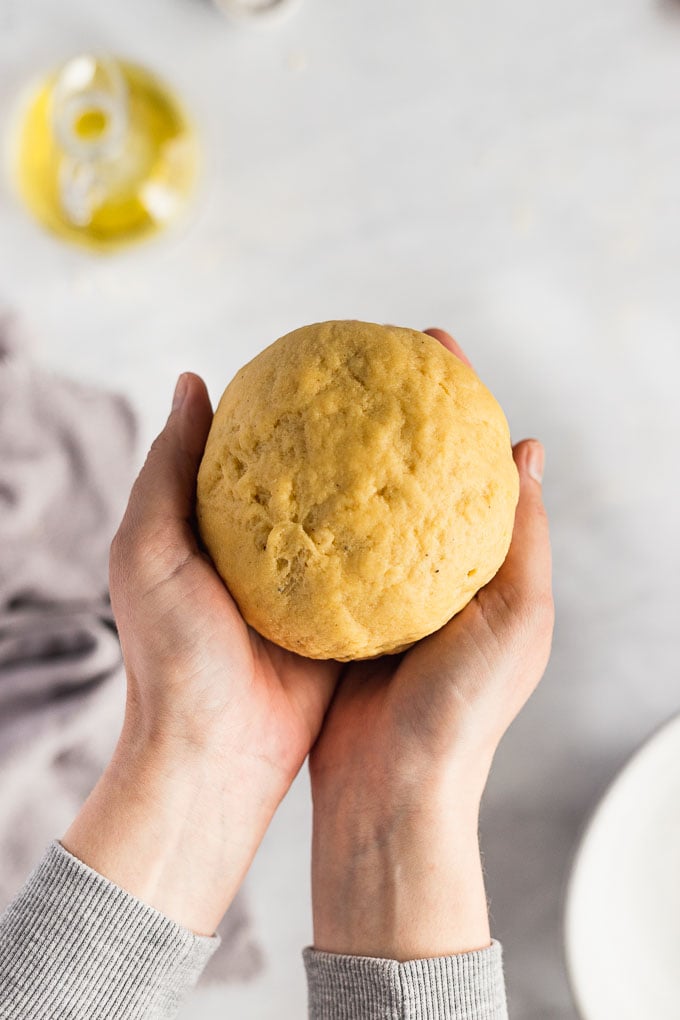
Continue to knead the dough in your hands or on the counter for 3-4 minutes.
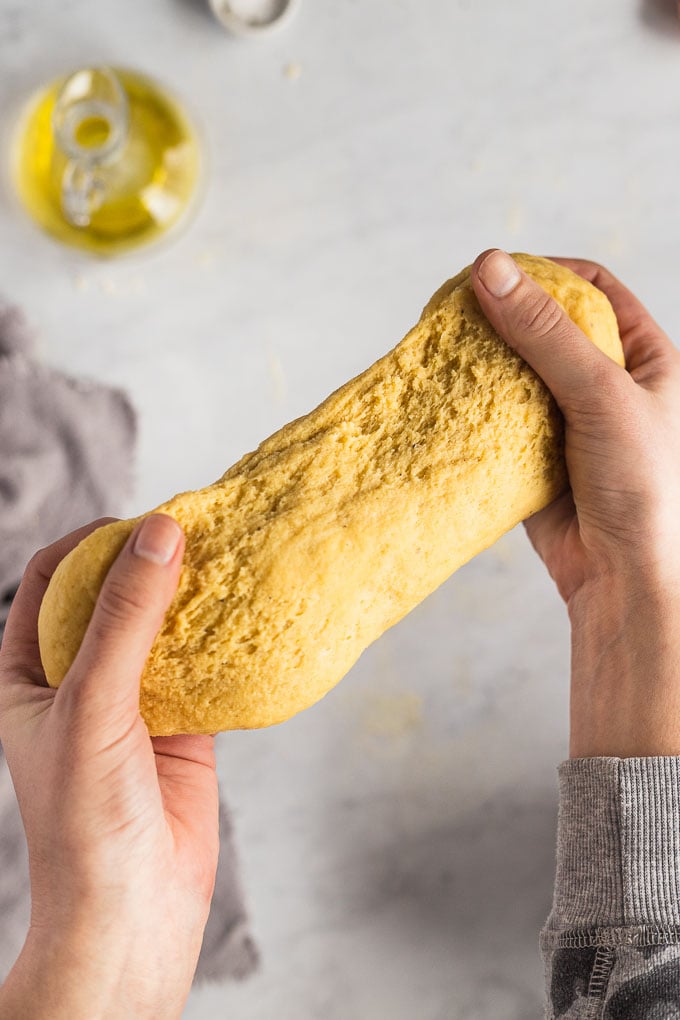
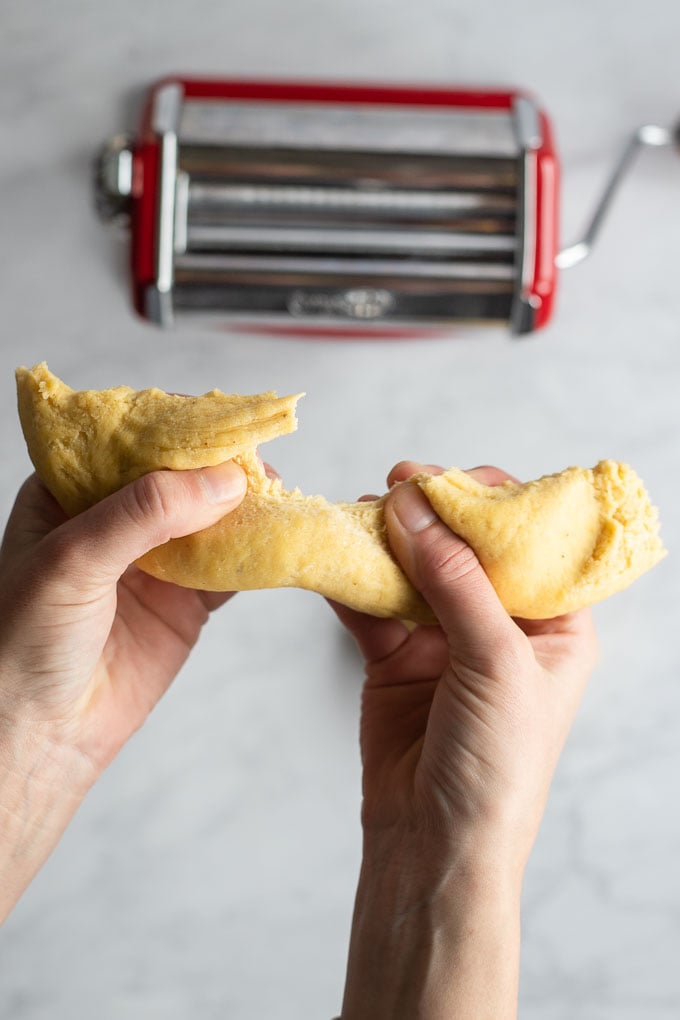
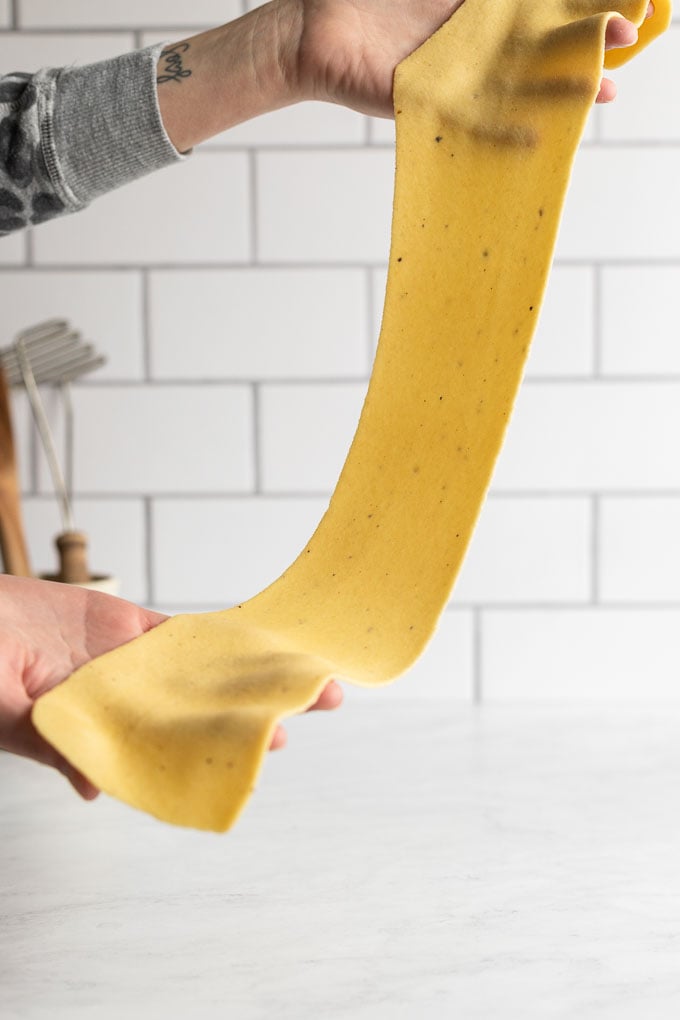
Stretch the dough apart to test the elasticity at this point. The goal is that you are able to stretch the dough out pretty far without it tearing or ripping. If it does tear immediately, then you’ll need to continue kneading to further develop the gluten.
Once your dough feels tacky and elastic but is not sticking to your hands, it’s time for the next step!
Step 2: Rest!
Now is the time for both you and the dough to rest. All good things come with time, right? So pour yourself a glass of wine and cover your dough with plastic wrap or – even better – Bee’s Wrap (affiliate link) and let it develop further.
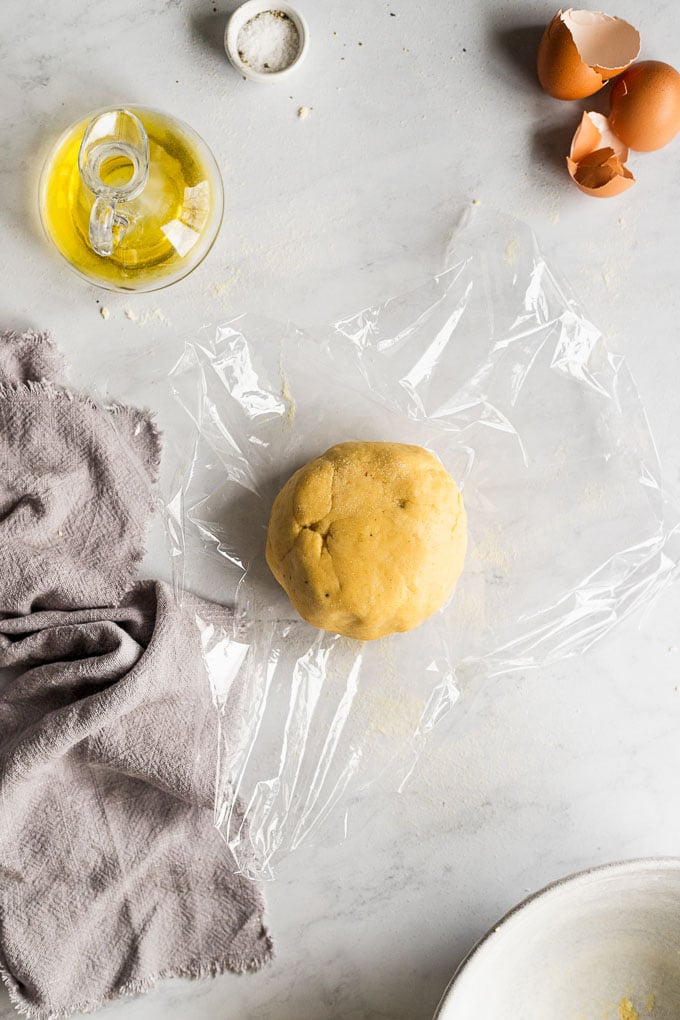
Let the dough ball sit at room temperature on the counter for 30-60 minutes. This will give you time to enjoy that glass of vino, prepare your sauce, or keep dancing away in the kitchen!
Step 3: Roll Out the Dough
Now, your homemade pasta dough has rested, as have you (unless that kitchen dance party kept going) and now you’re hungry. You’re not too far away from having fresh pasta on your table and in your belly, because once it’s rolled out, it doesn’t need long to cook!
As mentioned, there are two routes to take when rolling out fresh pasta dough: a pasta machine or by hand and a rolling pin. Now, using my hand-crank machine gives me all the Italian pasta-making authentic vibes. It’s easy to use, a great price point (especially compared to other stand-mixer attachments) and I’ve had it for years without an issue! Bonus: all you have to do is wipe it clean!
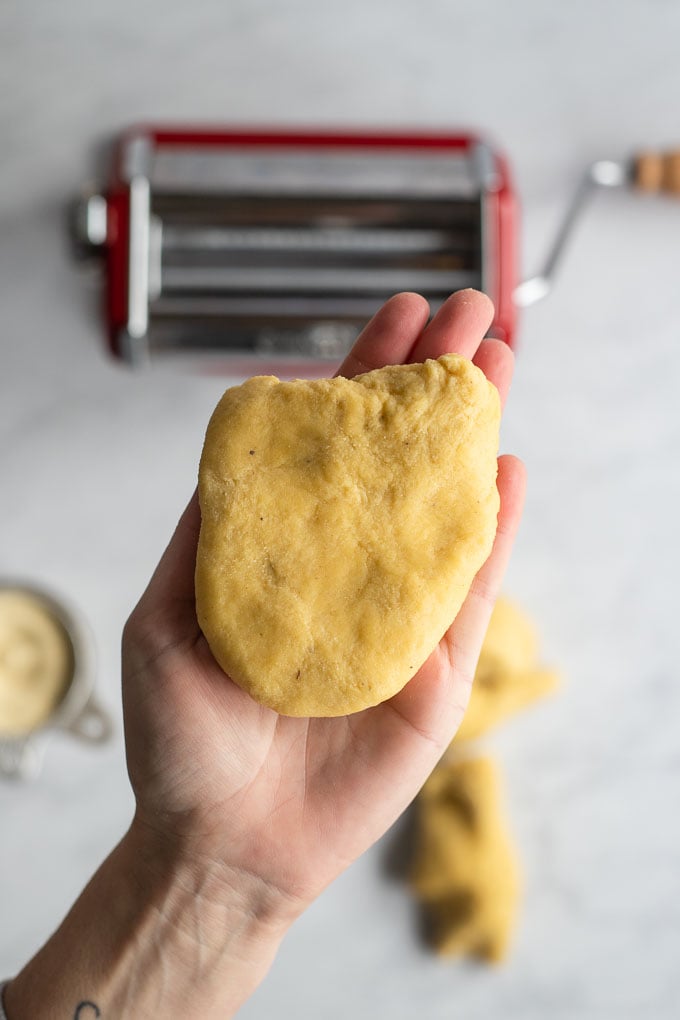
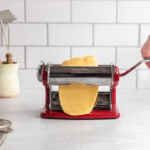
To start, divide the fresh pasta dough into at least 4 sections. Take one of the sections out, and cover the remaining with a tea towel or plastic wrap. Form the first section into somewhat of a rectangle shape by pressing it between your palms, making it just thin enough that you can thread it into the pasta machine on its thickest setting.
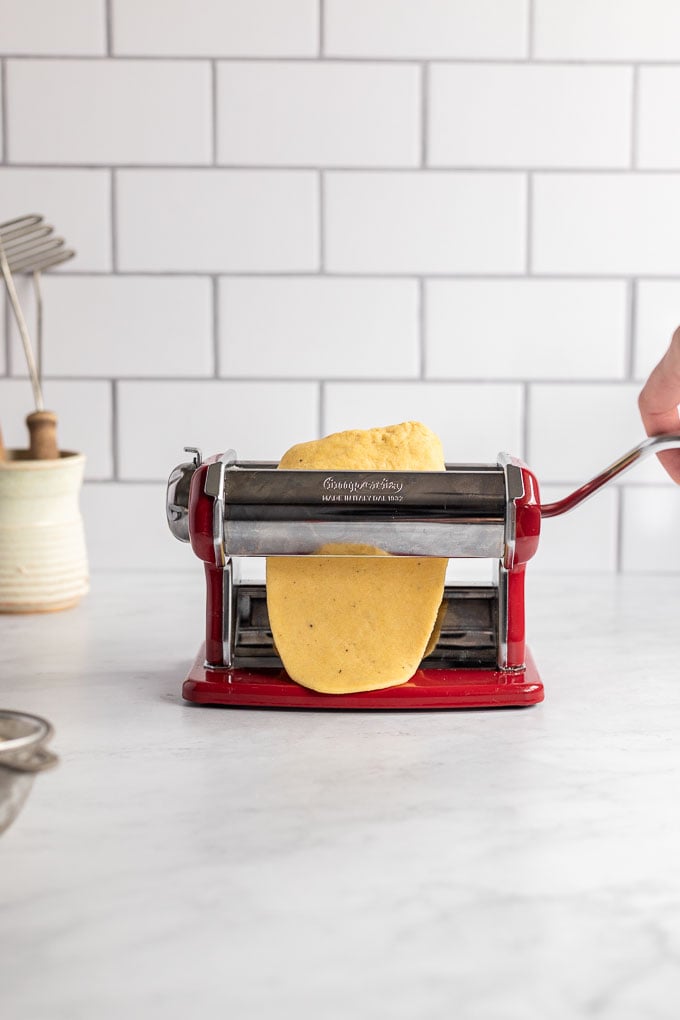
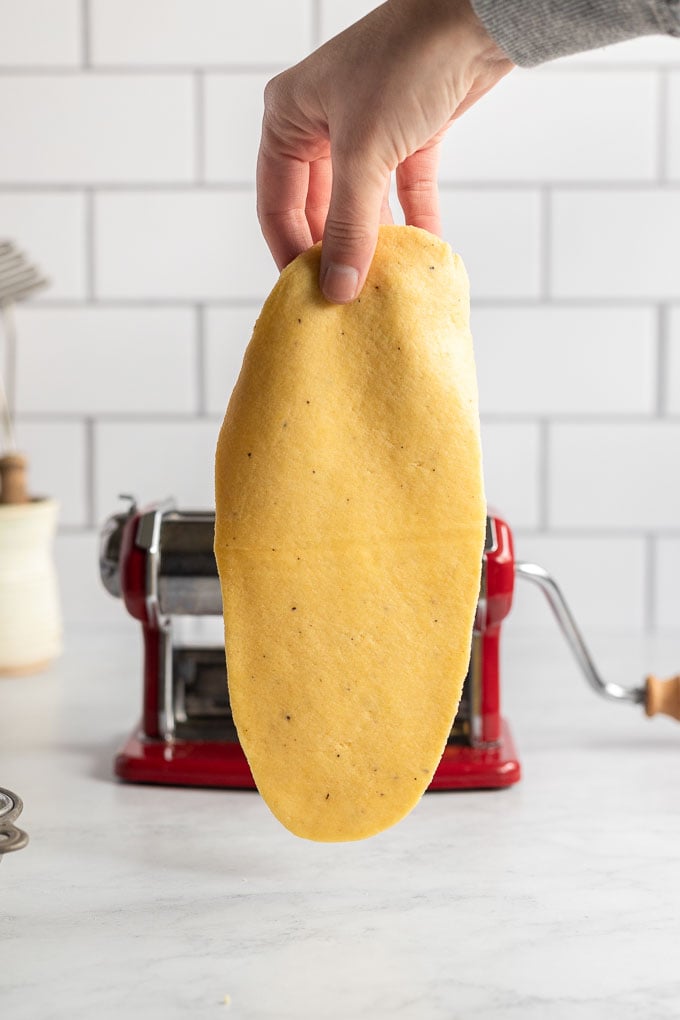
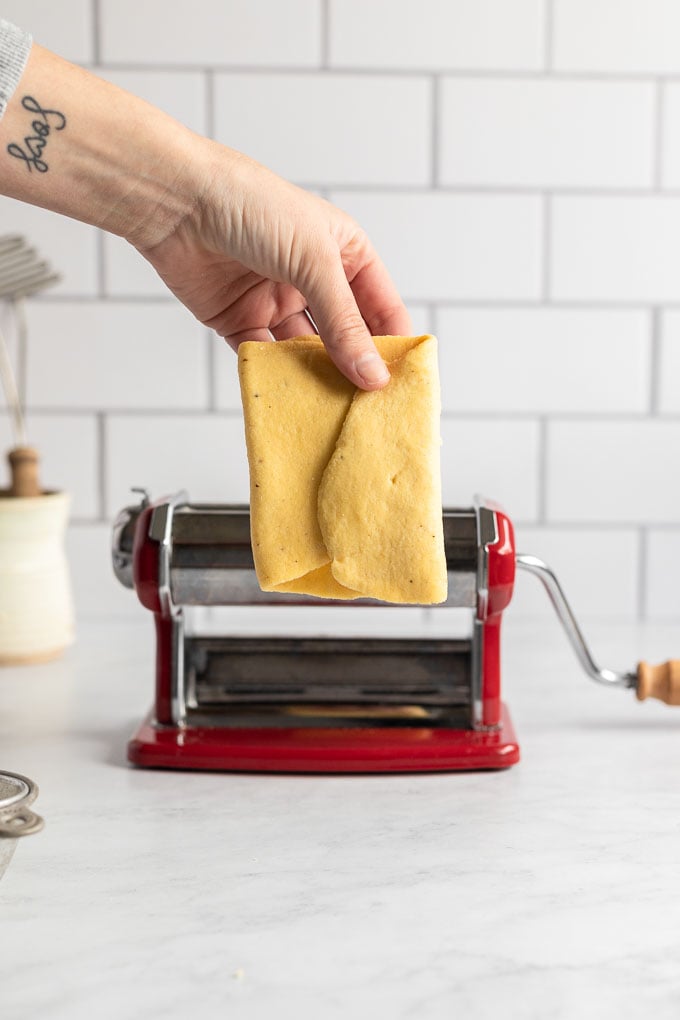

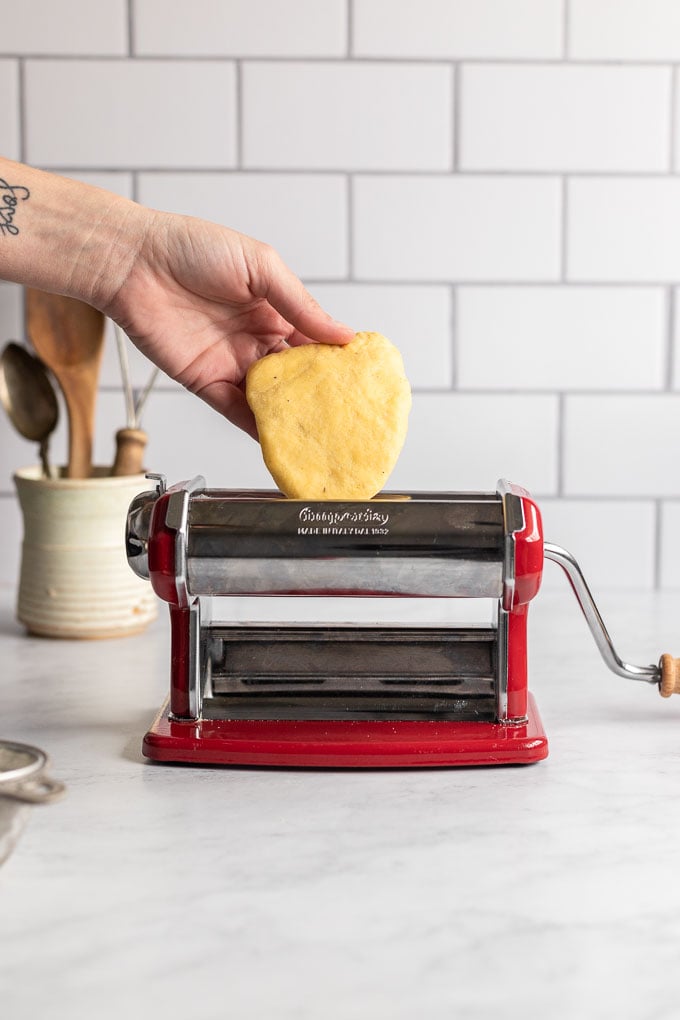
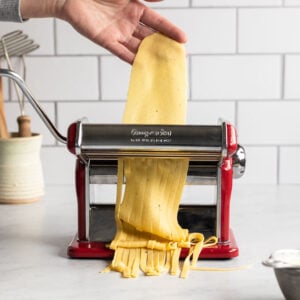
Run the piece of pasta through the machine on the thickest setting (photo 5). Once it’s through the first time (photo 6), fold in any wonky edges to form another rectangle (photo 7).
Then again, run it through on the thickest setting (photo 8). Continue folding, shaping, and pressing on the thickest setting until a pretty uniform rectangle has formed. It’s this shape that the final piece of pasta dough will be (photo 9).
Does it need to be perfect? Not at all, mine never are perfect. This is rustic homemade pasta after all.
Then, continue working the sheet through the settings on the pasta machine from thickest to thinnest. After the first setting, you generally only need to run the pasta through each setting one time, unless you’ve folded any additional edges in and need to smooth them out again.
Then, stop at your desired thickness. For my pasta maker, I generally stop at the second-to-last thinnest setting. Take note of your pasta machine settings (sometimes the larger number is the thickest, and sometimes it is the thinnest).
Once it’s at the right thickness, lay or fold the pasta sheet on a semolina flour-lined baking sheet or countertop. If folding it, be sure to sprinkle it with semolina flour, too, so it doesn’t stick to itself. Continue rolling out each section.
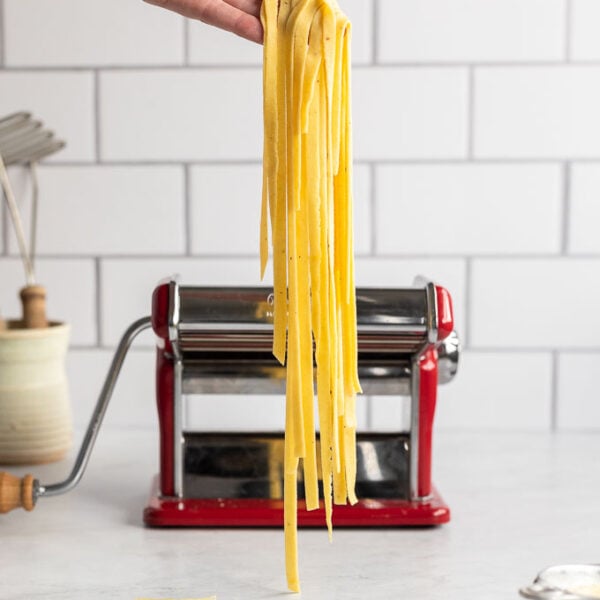
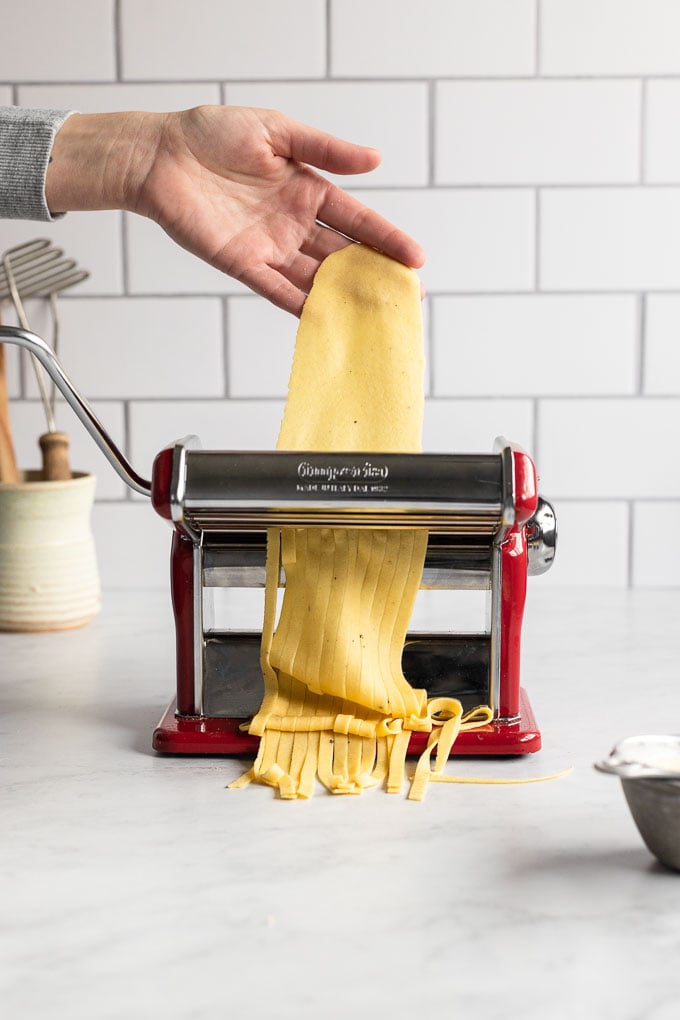
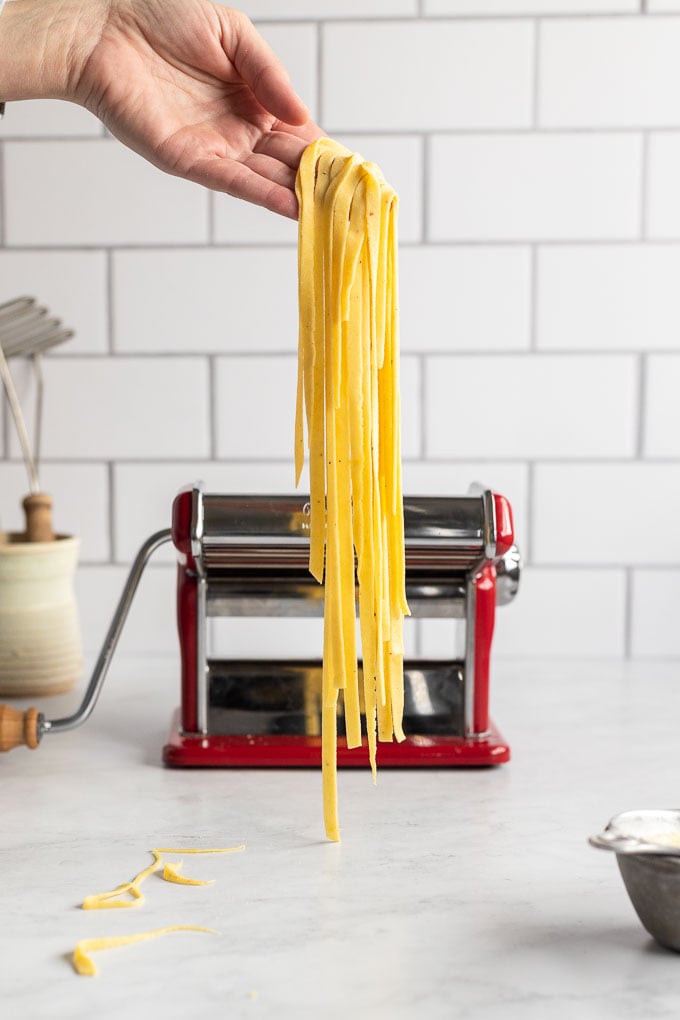
Step 4: The Noodles
From here, you can shape or cut the dough however you’re going to use it. The pasta sheets are best turned into fettuccine or spaghetti noodles.
It’s easy to do if you run it through the noodle attachment on the pasta machine. You can also either fold the sheets onto themselves, then cut out strips of pasta using a chef’s knife, or simply keep the sheet laid out and use a pizza cutter to slice out fettuccine-like strips of noodles.
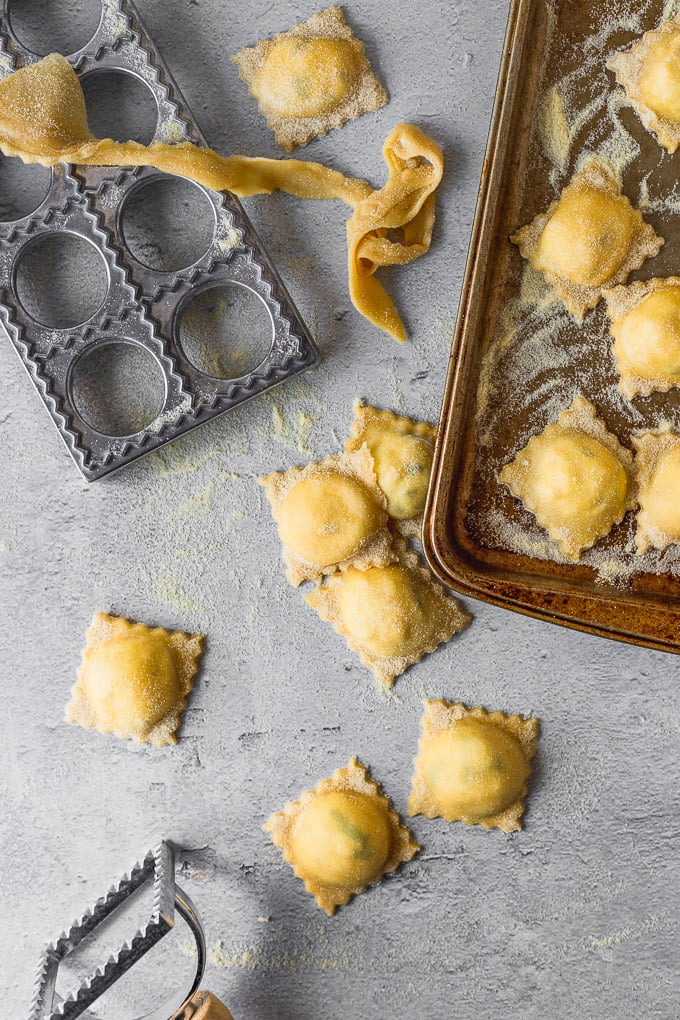
Or make homemade ravioli at this point.
How to Cook Fresh Pasta
The beauty is that fresh pasta cooks much more quickly than dried pasta, which means at this point dinner will come together quickly. That also means you need to keep an eye on it as to not overcook it. No one wants mushy pasta.
To cook fresh pasta, bring a large stockpot of salted water to a boil. I would recommend getting this started on the stove before you cut out the pasta, it’s what takes the longest! Once it’s boiling, add the noodles and begin stirring immediately to prevent them from sticking together. Do not add oil to the water as this will prevent the pasta from sticking to your noodles!
Cook the pasta to al dente, as you would any other pasta, however, the time will vary depending on the thickness of the noodles. When I roll fettuccine noodles to the next-to-last thinnest setting on my machine, the noodles cook for 1 1/2 to 2 minutes. I like to test a noodle once they begin floating for doneness.
Once they’re ready, use a pasta strainer or pasta server to remove the pasta from the water and transfer it directly into the pan. This method transfers over a little pasta water, ensuring the sauce sticks to your pasta, and leaves the pasta water in case you have more to cook or need additional pasta water for the sauce.
Once it’s cooked and prepared, you’re ready to enjoy it!
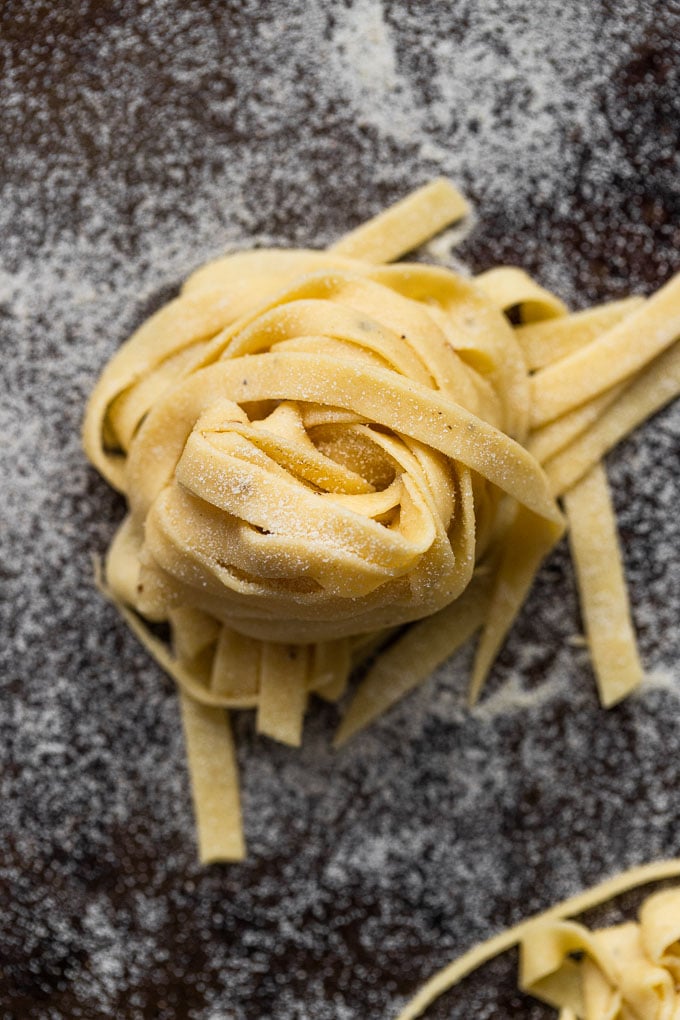
How to Store Fresh Pasta
If I’m being completely honest, I typically don’t store my pasta, as I cook it immediately (who wants to wait?!). You can dry it out for 30 minutes, on a pasta rack or a flour-coated baking sheet, as some would recommend right before serving, too.
If you’re not planning on cooking the pasta right away or would like to make it ahead of time, you can store the pasta dough in the fridge for up to 2 days, or freeze it for up to 3 weeks. Before storing, do let the pasta dry out for at least 30 minutes to prevent any additional pasta clumps during storage. Liberally sprinkle with flour to prevent any sticking, too.
If you’ve gone the frozen route, thaw the pasta at room temperature or in the fridge before cooking as directed.
Recipes to Make with Homemade Pasta Dough
- Homemade Cheese Ravioli
- Roasted Butternut Squash Ravioli with Brown Butter Poppy Seed Sauce
- Sweet Corn Basil Ravioli
- Vegetarian Spinach Lasagna
- Roasted Cherry Tomato Sauce
- Classic Tomato Sauce
Did you make this recipe? Please leave a star rating and review in the form below. I appreciate your feedback, and it helps others, too!
Get the Recipe Homemade Pasta Dough with Semolina Flour
Ingredients
- 1 cup (155 g) semolina flour, 155 g
- 1 cup (125 g) all-purpose flour, 125 g
- 1 teaspoon (1 teaspoon) fine sea salt
- ⅛ teaspoon (⅛ teaspoon) finely ground fresh black pepper, optional
- 2 (2) eggs
- 4 Tablespoon (4 Tablespoon) water
- 2 teaspoons (2 teaspoons) extra virgin olive oil
Instructions
 In a medium bowl, combine the flours, salt, and pepper. Stir to combine and create a well in the center of the dry ingredients.1 cup semolina flour, 1 cup all-purpose flour, 1 teaspoon fine sea salt, ⅛ teaspoon finely ground fresh black pepper
- Add the eggs, water, and olive oil into the center of the well inside the dry ingredients. Use a fork to whisk the eggs gently in the center. Begin stirring the wet ingredients into the dry ingredients from the outside in, until combined.2 eggs, 4 Tablespoon water, 2 teaspoons extra virgin olive oil
- Once a shaggy dough forms, use your (clean!) hands to continue mixing the dough together, incorporating any remaining flour in the bottom of the bowl.
- Knead the dough for 3-4 minutes until tacky and elastic, checking its elasticity by stretching the dough. If it stretches 8-12 inches without tearing, you're ready to move on to the rest. If it tears right away, continue kneading as the gluten needs to continue developing.
- Once tacky and elastic, place the dough ball in plastic wrap and let rest for 30-60 minutes.
- To roll fettuccine (or similar) noodles: Take approximately 1/4 of the fresh dough ball and use your hands form it into a rectangle shape, just thick enough that it will fit into the largest setting on your pasta machine (use a machine for best results, but a rolling pin will work, too). Roll it out on the largest setting, adjusting and folding into a rectangular shape again as needed, because each time you roll it out, it will expand how it was placed in.
- Once you’ve gone through the largest setting and have a solid ‘rectangle type base’, thread the dough through each smaller setting, one by one until you’ve reached your desired thickness. I like to go with the second to last the thinnest setting.
- Once you have the pasta sheet, you can use it to shape the type of noodle or pasta you'll be making. To make fettuccine noodles, thread dough through the fettuccine template of your pasta machine and place noodles on a baking sheet lined with semolina flour until ready to cook. Alternatively, liberally sprinkle flour on the pasta, then fold it over several times to make layers. Use a chef's knife to cut strips, unfolding them after cutting to reveal the noodles.
- To cook fettuccine (or similar) noodles: bring a large stockpot of salted water to a boil. Add noodles and cook to al dente. The time will vary depending on the thickness of the noodles, begin to test for doneness as the noodles begin to float. For noodles rolled to the second to the thinnest setting, they generally take 1 1/2 to 2 minutes. Transfer to the pasta sauce, reserving any pasta water you may need for the sauce.


Notes
This post was originally published in October 2016; a video was added in October 2020, and additional process shots and the text were updated in April 2021 for additional clarity.


I made this at the request of my hubs for his birthday. It was so easy and tasted great! I’m planning on making it again this weekend for guests. Thanks for the recipe!!
Yay! I’m so glad to hear. Thanks so much, Amanda!
I have tried to make this dough twice and it is not working. Following the instructions all the way.
Hi Melissa – sorry to hear. Can you give me more information about what isn’t working so I can try to help you troubleshoot? Is it too dry? Too wet? Can you tell me about what the kneading process is like when you do it?
Just made this recipe as is and the dough was too wet but I adjusted the flour as I kneaded to make it work. Made it again..reduce the water..it was too dry.
I figured out what worked on the 3rd try.
Thanks for sharing, Jess! It is a dough that sometimes takes adjustment depending on humidity/etc.
First of all, thank you and thank you for adding grams. I find game so much easier.
My new pasta maker comes in two days..and now I’m ready and armed to make my Italian husband homemade noodles.
I can’t wait
Robyn
You’re welcome! It’s so much easier to measure in grams when making dough. I look forward to hearing how it turns out!
Great and easy recipe. I loved that you broke down every step and added the pictures too! It’s my first time making pasta, and that made it, that much easier to follow. I made Ravioli with a pumpkin and ricotta filling and it turned out wonderfully.
I look forward to making other kinds of pasta soon again 🙂
I’m so glad to hear! It’s so fun to experiment with recipes once you get the dough down. Thanks for making and taking the time to leave your review, Nicole!
Can you make this dough a day before rolling?
Yep, just wrap it well and store it in the fridge. You might need to let it warm slightly room temperature to easily roll it.