I love tradition. Which is why I couldn’t ever imagine having anything other than pumpkin pie (with copious amounts of whipped cream) on Thanksgiving.
That is until I made Pumpkin Cheesecake Mousse. You see, it only takes a single delicious bite of this light and airy dessert for me to instantly be 100%, a-OK changing up the holiday tradition.
And count me in when it’s an easy, no-bake recipe. Right? The day is stressful enough between lack of oven space, counter space, and stomach space.
You can easily prep the cups of no-bake pumpkin mousse a day or so in advance and enjoy mid-food-come on turkey day. I wouldn’t recommend making them too far in advance though, because I’m all about the fresh of the fresh. Ahem, traditionalist and perfectionist? I digress…
How to Make Pumpkin Mousse
I am stoked to tell you that it is SO EASY. All you need is an electric mixer. And guess what? You could even make it in ONE BOWL. *gasp*
Did you even think it was possible? A no-bake, one bowl, light, and airy and sweet, and irresistible Thanksgiving (or fall, or anytime) dessert?!
I know, I didn’t either. But I like to be the bearer of amazing life-changing news. You’re welcome.
So if you’re going to go the one bowl route (recommended, because ain’t nobody got time for extra dishes), then you want to start by making the whipped cream.
Yes – homemade whipped cream is a MUST. All real ingredients, all the flavor, and no weirdness.
Homemade Whipped Cream Tips
- Start with a cold bowl. And cold heavy cream.
- Basically make sure everything is cold. This helps the cream to whip more quickly.
- Beat the heavy whipping cream (and a bit of sugar if desired) until it starts to thicken.
- Continue beating just until peaks form. You don’t want to beat too much or you’ll end up with butter.
Voila! Store in the fridge, and if it’s been sitting a while, just whisk it up again to bring it back to fluffy life!
Now for the Pumpkin Cheesecake Part
Ok, so you have the whipped cream. Transfer it to a whipped cream bowl (which, ok, that’s two bowls that you technically use, but I’m thinking storage doesn’t count, ok?).
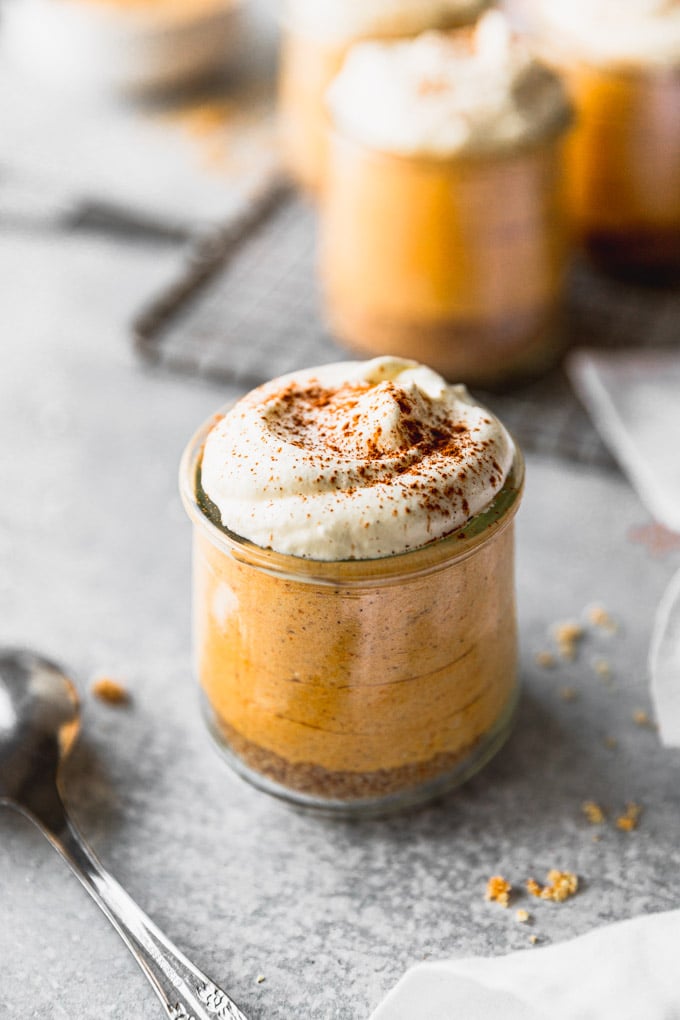
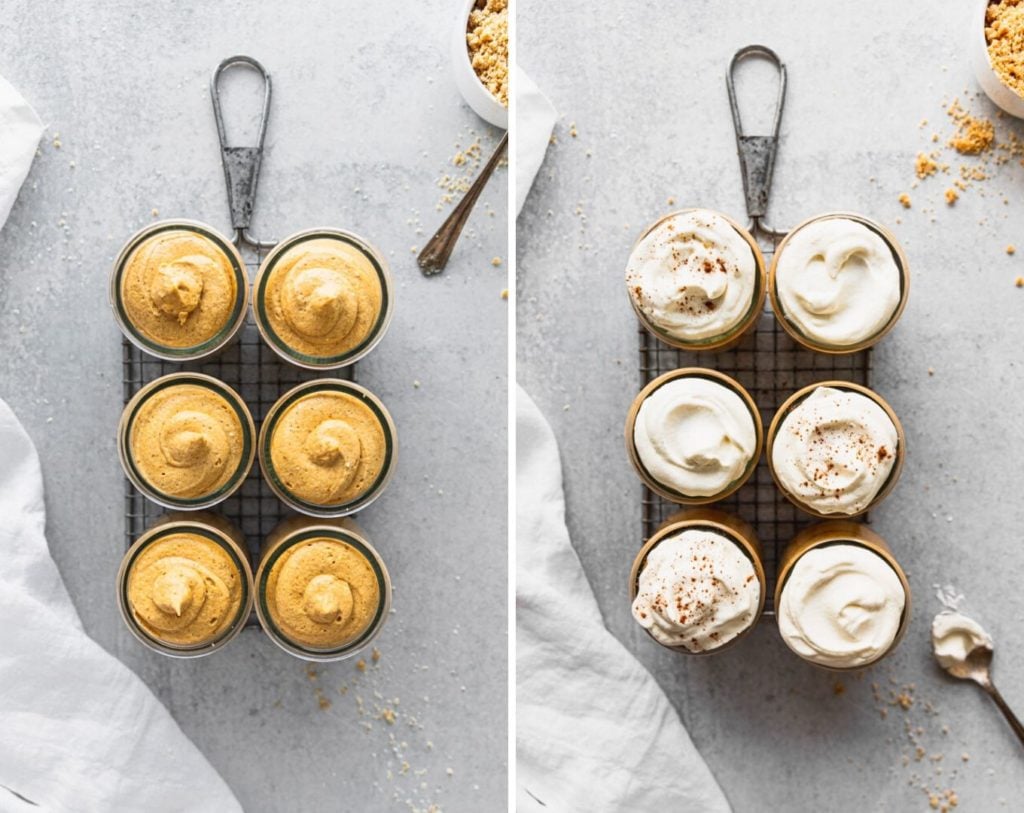
Using your electric mixer again, you’ll beat together the cream cheese, pumpkin pie spices, sugar, and of course, the pumpkin puree (pure pumpkin – not pumpkin pie filling). Once it’s all settled together, gently fold in the whipped cream.
Folding the whipped cream delivers the light and airy texture we’re going for. Paired with the creamy and tangy cheesecake part. Hea-ven.
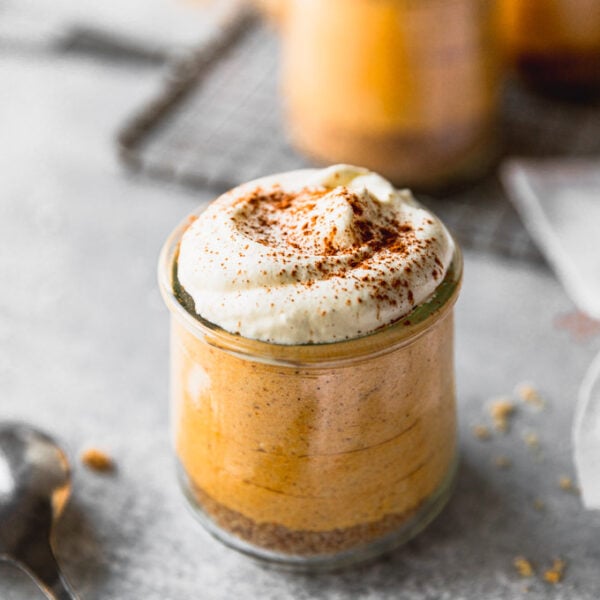
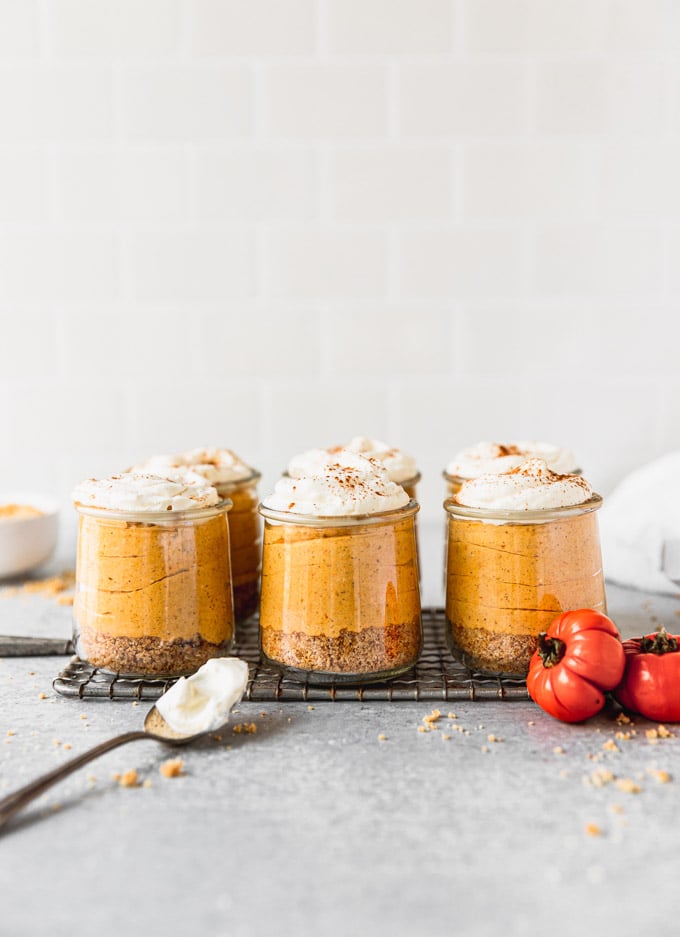
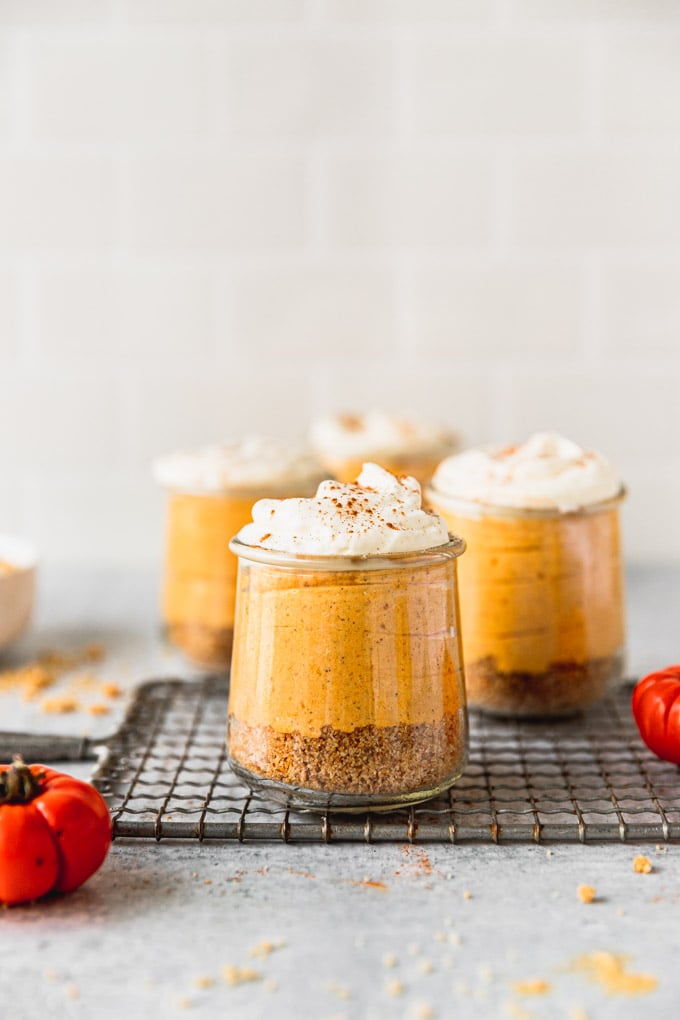
Assemble the Jars
You can use jars (anyone recognize the little Oui yogurt jars here?!) or ramekins. Really, anything that is scoopable and small-ish will work (or large, I won’t judge).
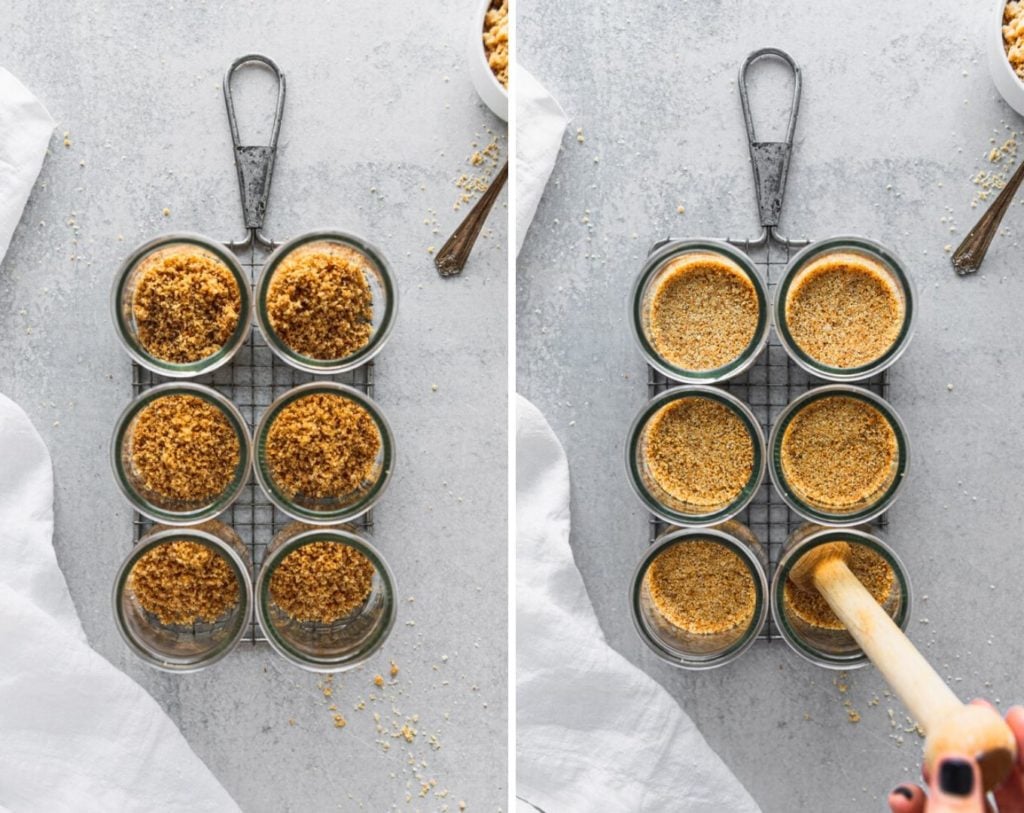
Layer in the graham cracker crust (hey, gingerbread snap crust is excellent here too – just sub out the amount!).
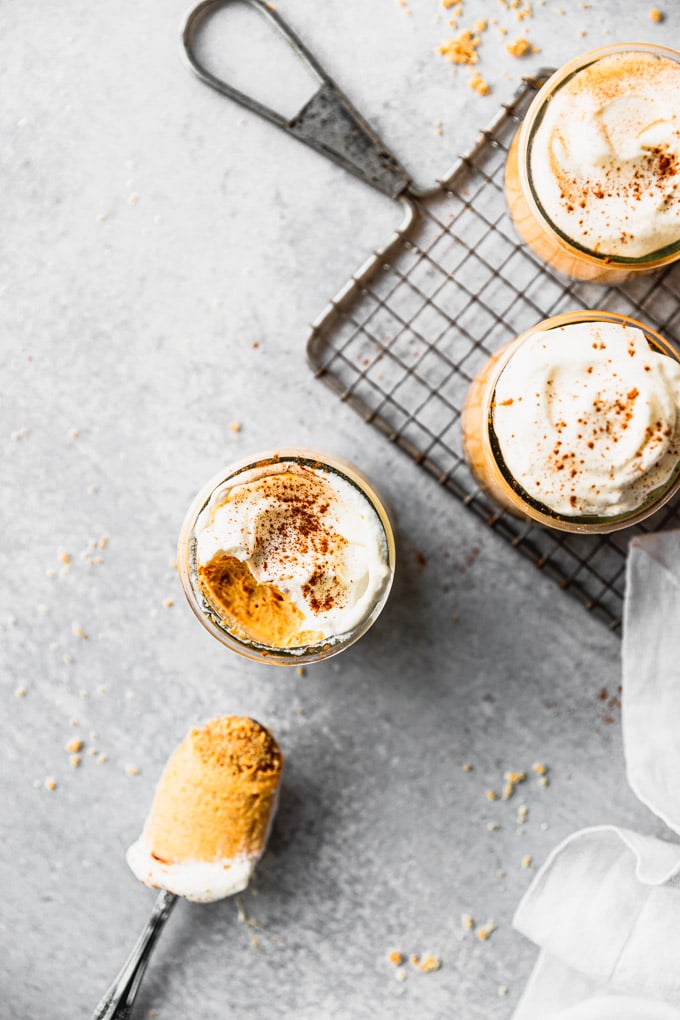
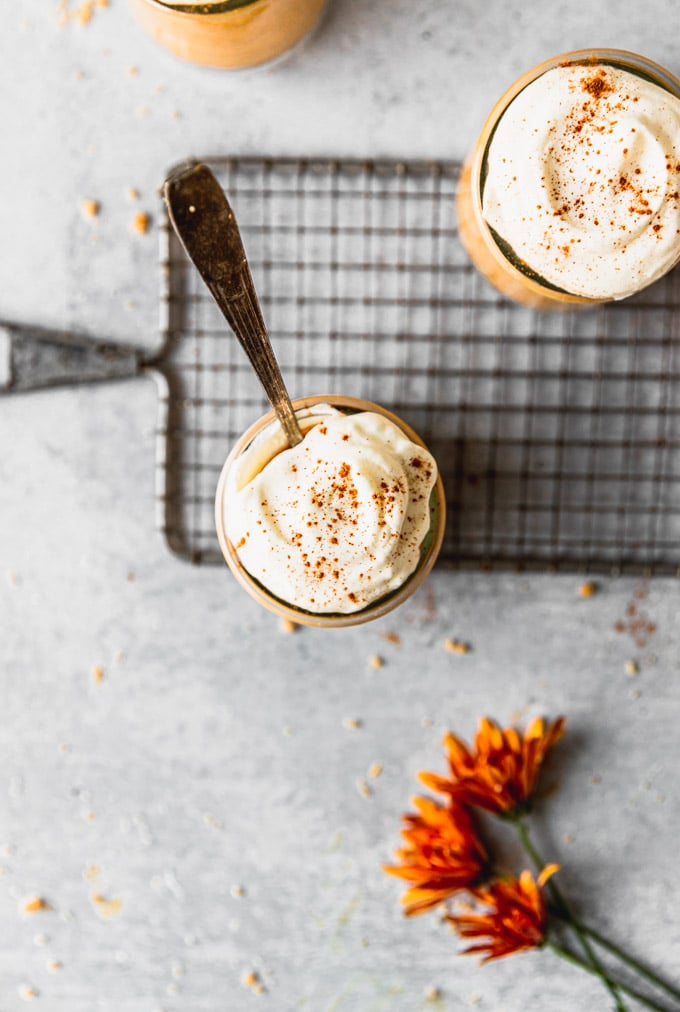
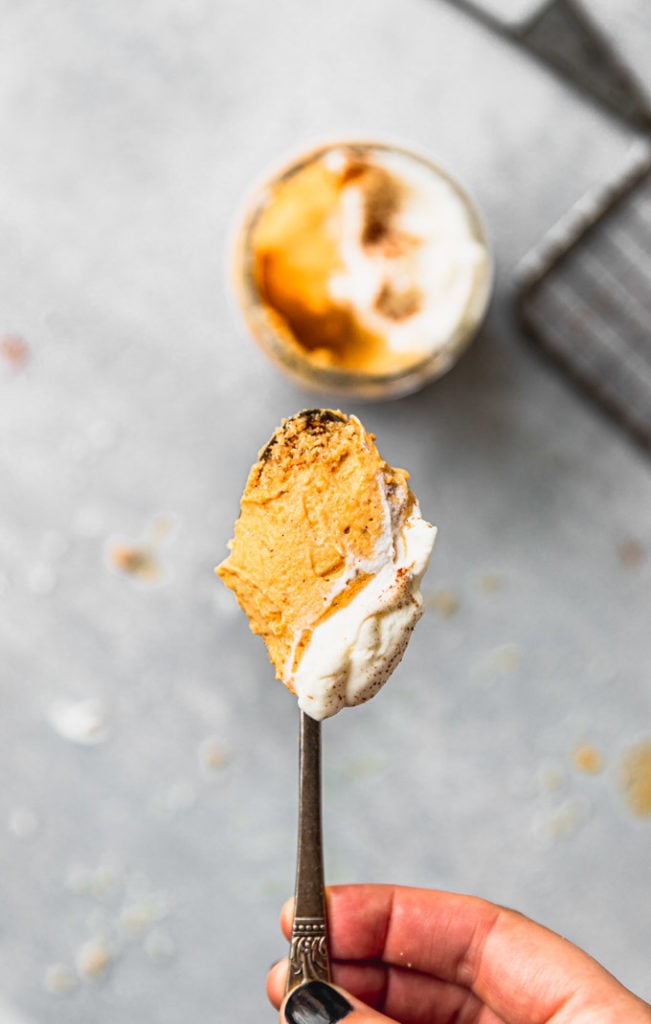
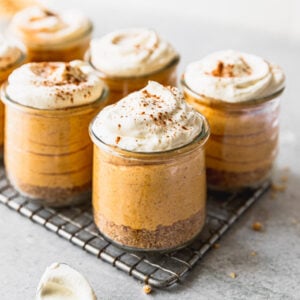
Add in the pumpkin mousse filling. Then top off with a heavy hand of whipped cream. Have the spoons closeby because you’ll want to dig in ASAP (and you can! remember, they’re no-bake).
So go ahead, chill them or dig in, either way, you’ll be coming back for seconds, guaranteed.
The best part? You can make them anytime for dessert, it doesn’t have to be a fall holiday! WIN!
Love Fall Desserts? Check these out!
- Pumpkin Bars with Cream Cheese Frosting
- Easy Apple Crisp Without Oats
- Apple Cider Cupcakes
- Caramel Apple Cake
Get the Recipe Pumpkin Cheesecake Mousse
Ingredients
CRUST:
- 1 cup graham cracker crumbs, ~7-8 full sheet crackers
- 4 Tablespoon unsalted butter, melted
- 2 Tablespoon granulated sugar
- 1/4 tsp salt
Whipped Cream
- 1 1/4 cups heavy whipping cream
- 3 Tablespoon granulated sugar
No-Bake Cheesecake
- 8 oz. cream cheese, room temperature
- 1/4 cup + 2 TBSP granulated sugar
- 1/2 tsp vanilla extract
- 1 tsp pumpkin pie spice
- 1/2 tsp cinnamon
- 1 15-ounce can pure pumpkin puree
Equipment
Instructions
- In a food processor, pulse graham crackers into a fine crumb. Stir 1 cup of the crumbs together with the melted butter, 2T sugar, and salt. Scoop approximately 2 TBSP crust into 8 6-ounce ramekins and press down to create the crust. Set aside.
- In a chilled mixing bowl (from a stand mixer works best), combine heavy cream and sugar. Begin to beat the cream on medium speed until it thickens, approximately 3-5 minutes. Remove once soft peaks have formed and the whipped cream can hold its shape. Transfer to a bowl for storage.
- In the same mixing bowl, cream together the room temperature cream cheese and sugar until combined. Add vanilla extract, pumpkin pie spice, cinnamon, and pumpkin puree. Beat on low until combined. Reserve approximately 1/2 cup whipped cream for topping and fold the remaining whipped cream gently into the pumpkin cream cheese mixture.
- Either pipe or gently scoop the pumpkin mousse filing into the ramekins. Top with fresh whipped cream and serve immediately or chill in the fridge until ready to serve.


5 STARS!
This was so delicious and I appreciated how easy it was to make. This dessert was a hit at our Thanksgiving dinner! I don’t know the size of our jars that I made the dessert in, but in my opinion I could have added some more crust. My brother in law suggested to layer the ingredients (crust, pumpkin mousse, cream, repeat – keep in mind he kept extra servings at his house to eat in the first place). These were so light & creamy (but filling) and I am hoping to make them for Christmas dessert. 🙂
I am SO happy to hear you all loved it! Love the layering idea, too! 🙂 Thanks so much, Cassie!
This was my Thanksgiving dessert. Very fun to try something different yet still with the traditional pumpkin. AND – very nice to be able to make it the day before AND not need an oven or very much effort – all a plus for a big holiday meal. Only downside … there were no leftovers!
Love it! So many up-sides to this recipe, right?! 😉 I’m glad you enjoyed!
This year we are having a micro-Thanksgiving. I usually make my most requested dessert, cheesecake. But this year we opted for something lighter and faster. Your recipe is just that. We didn’t have any jars to put it in so we opted for small bowls. Used the crust as a topper instead. Still delicious!
Love it! Thanks so much for taking the time to comment! Happy Thanksgiving, Pamela!