Potatoes are one of the most versatile vegetables, and when it comes to making easy vegetarian side dishes, they are my go-to.
There’s no better combination than potatoes and garlic. Whether it’s scalloped potatoes, stacked potatoes, or roasted potatoes, the two are an unbeatable pair.
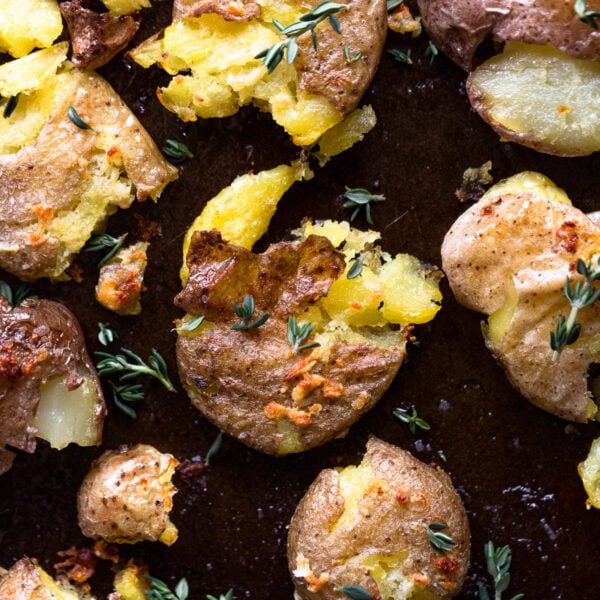
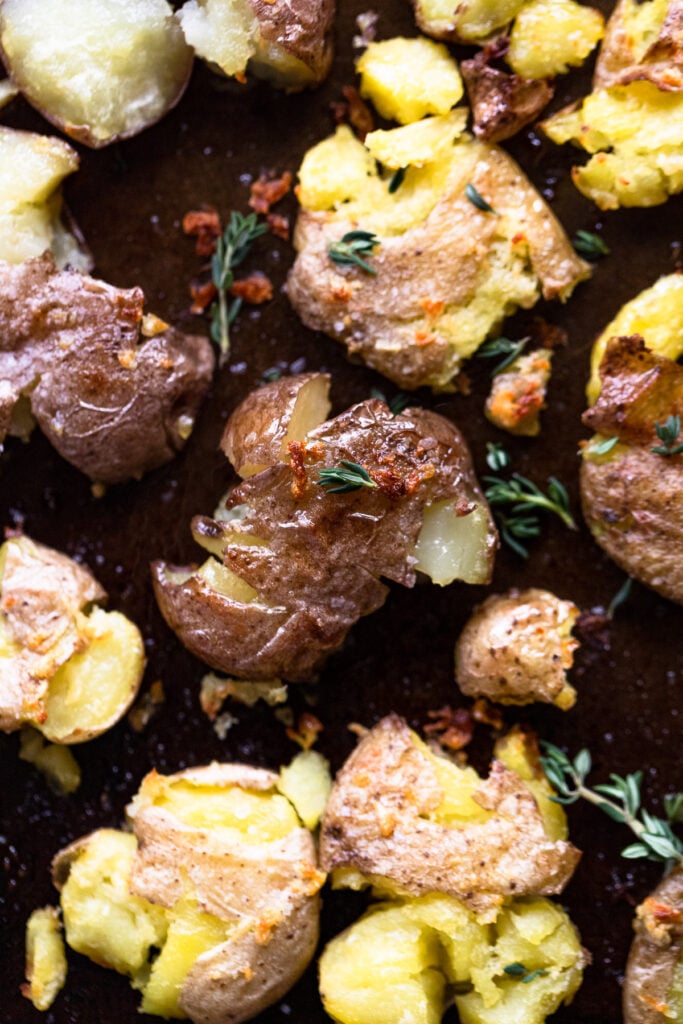
Crispy smashed fingerling potatoes are no exception. After a surprisingly quick cooking process (despite including two steps) the result is incredible. Colorful baby potatoes retain their butter, and fluffy interior and have the most mouthwatering crispy exterior.
Not to mention their doused in a healthy dose of butter and garlic.
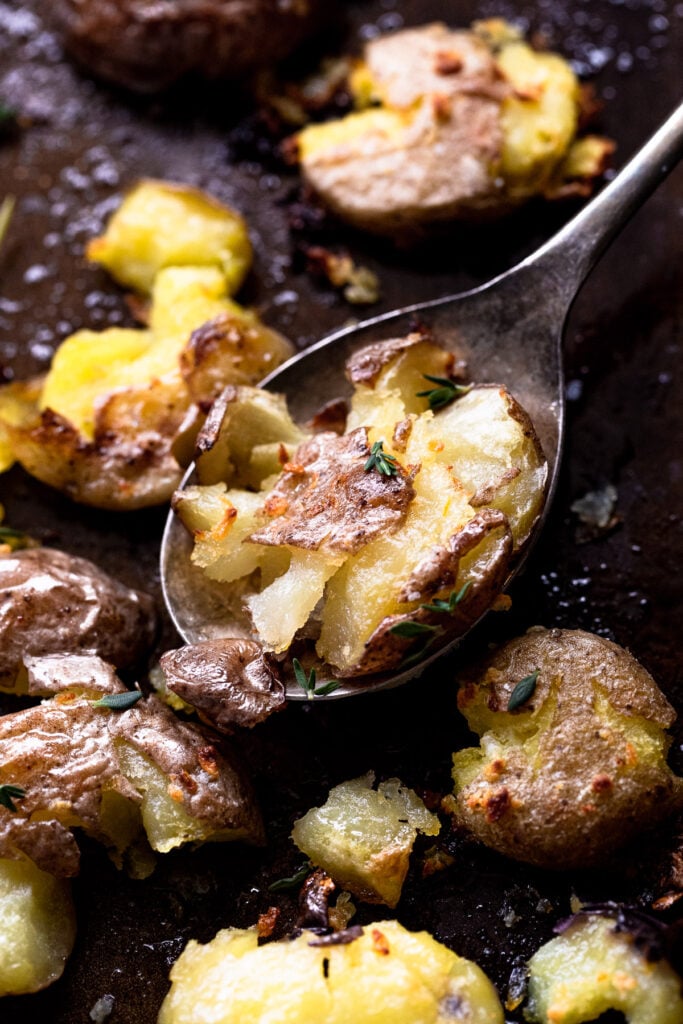
You will want to eat them straight off the pan when they’re hot and crispy. And honestly, I will be the first to encourage such behavior. Just be careful…or there won’t be any left to serve. Maybe go ahead and make a double batch…
Are Smashed and Mashed Potatoes the Same?
One letter makes all the difference when it comes to differentiating between smashed potatoes and mashed potatoes. They are in fact, very different.
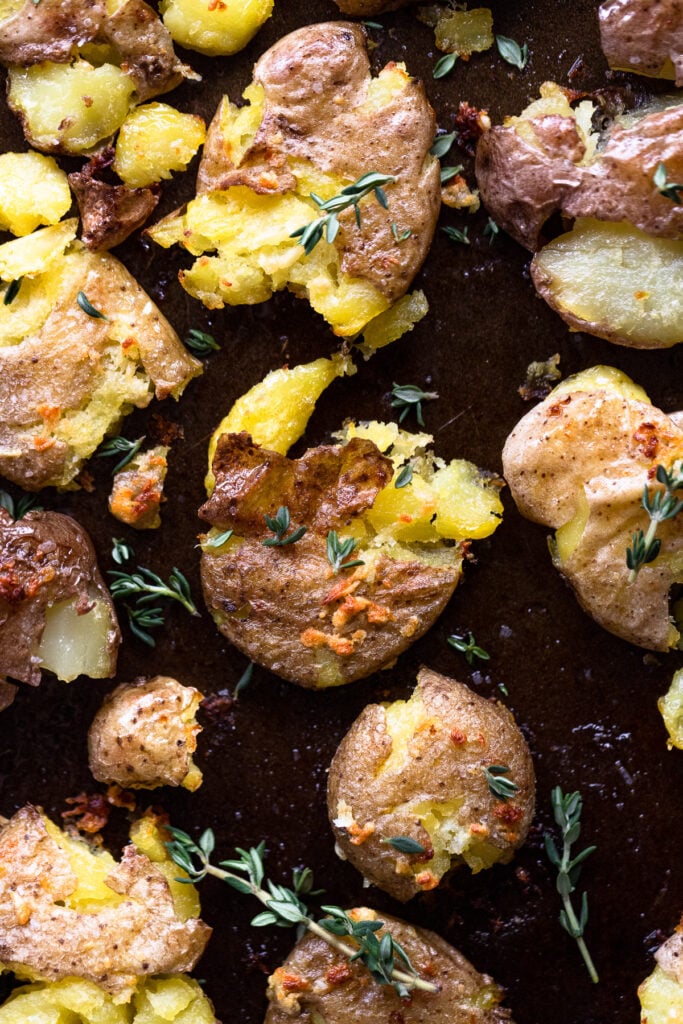
Smashed potatoes are the result of boiling baby potatoes to cook them through. Then, the potatoes are actually smashed down into small discs. This breaks apart the potato, encouraging a crispy outside during their final roast in the oven.
Mashed potatoes, on the other hand, are actually boiled and then smoothed together with a potato masher or ricer. The smooth puree has a luxuriously creamy texture but is much different than what comes from smashed potatoes.
Simple Ingredients
This recipe is one to have on hand for several reasons. The texture and…well, garlic… are huge reasons. And that there’s no peeling required. And that they’re easy yet elegant and elevated and all the things.
Most importantly, you only need a few simple ingredients to make it. And I’m willing to bet you have quite a few of them in your pantry already.
What kind of potato to use
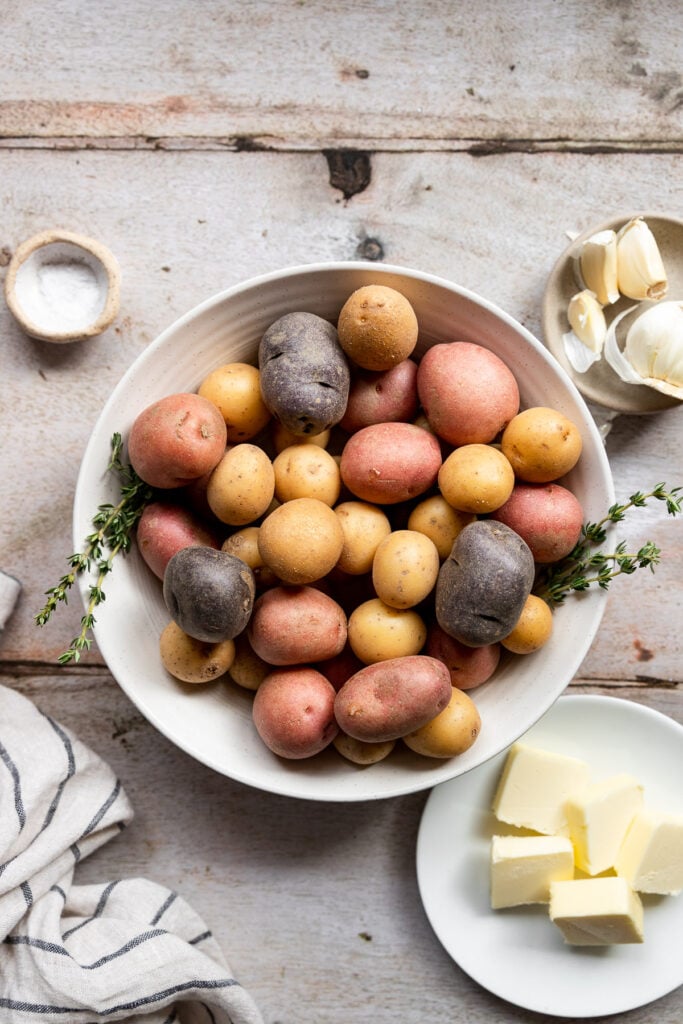
The first, and most important, ingredient: the potatoes. While I love using fingerling potatoes when making crispy smashed potatoes, it’s not your only option. And note, in the reshoot, I used other waxy baby potatoes which are a great option when you can’t find fingerling.
Let’s get into the details for your potatoes:
- Fingerling Potatoes: they are small and narrow potatoes, similar in shape to a (you guessed it) finger. A stubby finger, anyway. They’re waxy with a buttery, nutty flavor.
- New potatoes, Baby Potatoes, or Small Yukon Gold Potatoes: are also great substitutes, because they, too, are waxy, buttery potatoes.
Regardless of the type of waxy potato used, be sure they’re no larger than 1 1/2 to 2-inches in diameter and roughly the same size all around. Large potatoes will not smash well.
Additional Ingredients
- Butter: this is our fat to help the potatoes crisp up. If you need to make these vegan or prefer another option, substitute olive oil.
- Garlic: that’s right, raw, fresh garlic is pressed and then roasted on top of the potatoes for the most garlic flavor. Feel free to substitute with garlic powder for a more subdued flavor, or if you’re worried about the garlic burning.
- Salt: an obvious ingredient, right? Use the variety of salt you’re familiar with for seasoning food. Keep in mind if you use salted butter, you’ll want to add less additional salt.
- Thyme: an optional herb for garnishing. Thyme is one of my favorite fall and winter herbs, and works so well with potatoes. Other excellent herb options include fresh parsley, dill, or rosemary.
How to Make Smashed Potatoes
I mentioned this is a two-step cooking process that involves both boiling and broiling. Tricky to read side-by-side, but easy to accomplish. The two methods are key for the resulting texture we’re looking for. Remember, fluffy interior, crispy outside.
Step 1: Boil the Potatoes
Boiling the potatoes ensures that they are cooked all the way through. The result is their creamy, light, soft inside texture that we know and love. Don’t forget the best part: no peeling is required with these petite potatoes!
Start with the potatoes in a large stock pot and make sure they are covered with cold water. Starting the pot cold, as opposed to adding potatoes to already boiling water, means they cook evenly. Otherwise, it takes too long for the boiling water to return to a simmer, and the potatoes likely won’t be cooked all the way through.
Add a generous pinch of kosher salt to the water, similar to pasta, it will help infuse flavor into the potatoes since they will absorb the salt.
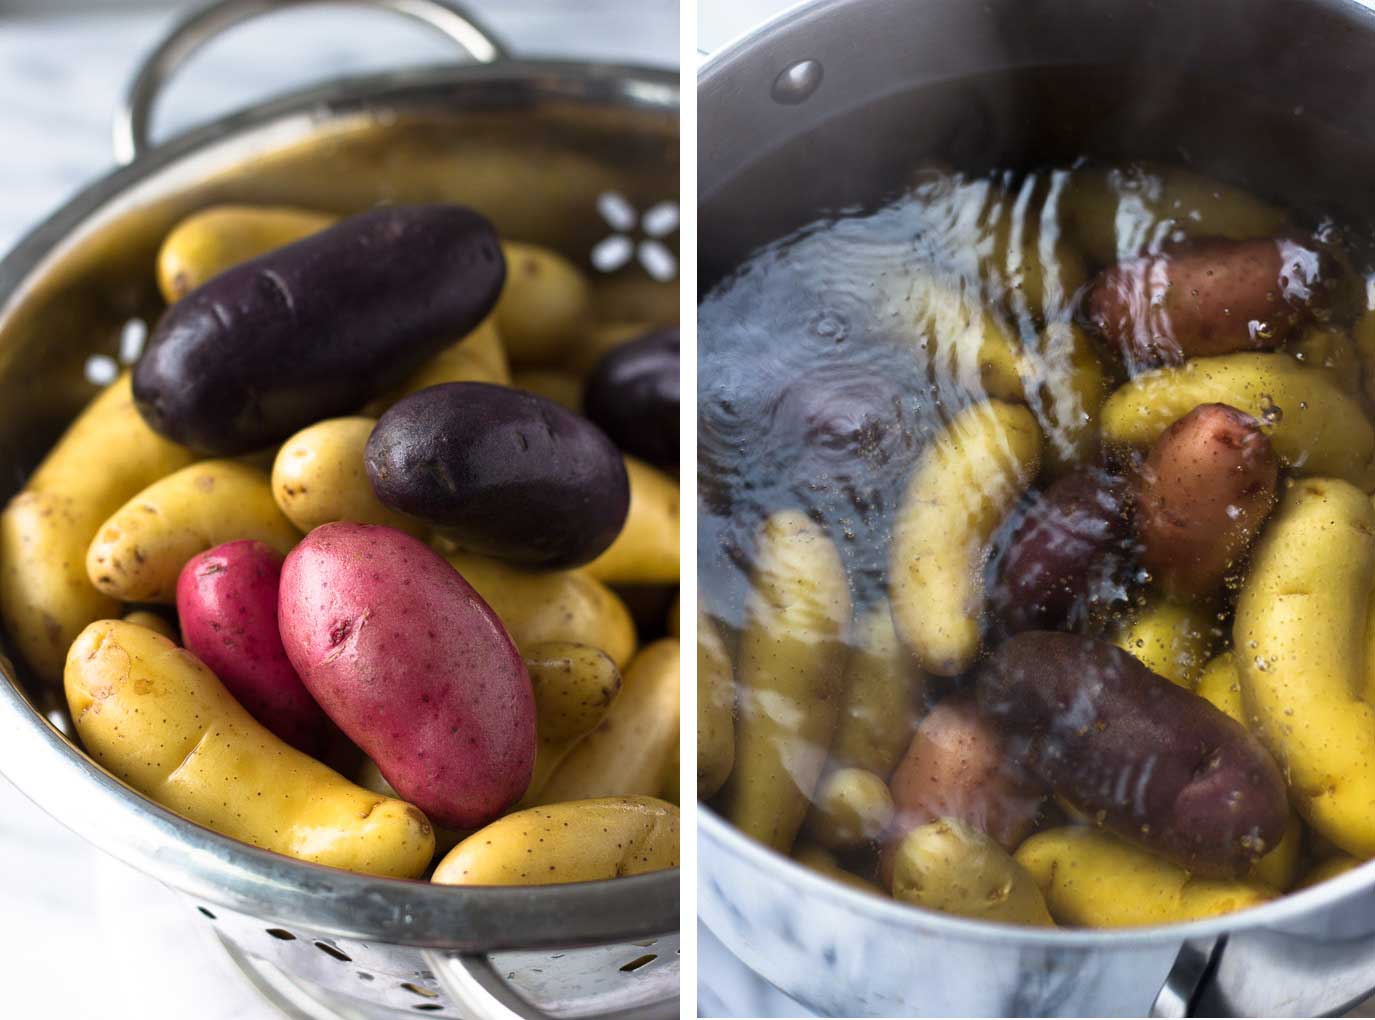
Once the water is at a boil, reduce to a simmer for about 10-15 minutes, until the potatoes are fork tender. This means that when pierced with a fork, the spokes slide in the potato easily, and then the potato slides right off.
The cook time will mostly depend on the size of the potatoes you’re using. Smaller baby potatoes will need less time. Bigger fingerling potatoes will need a few minutes longer.
Then, drain and rinse with cool water to speed up the cooling process.
Step 2: Smash the Potatoes
This step is especially fun if you have some extra energy to get out.
Once the potatoes are slightly cooled, transfer them to a large rimmed baking sheet. I highly recommend having a half-sheet pan on hand for this recipe and more – the size is a must!
I do like to spray the cooking sheet with olive oil (or brush it on) to help encourage extra crispiness. I don’t always do this though, and still have great results. So, your choice!
Next up, either toss the potatoes around in the olive oil, or simply give the tops of them a spray of cooking oil. Again, this helps them get extra crispy and helps make sure the potato doesn’t stick to the glass when smashed.
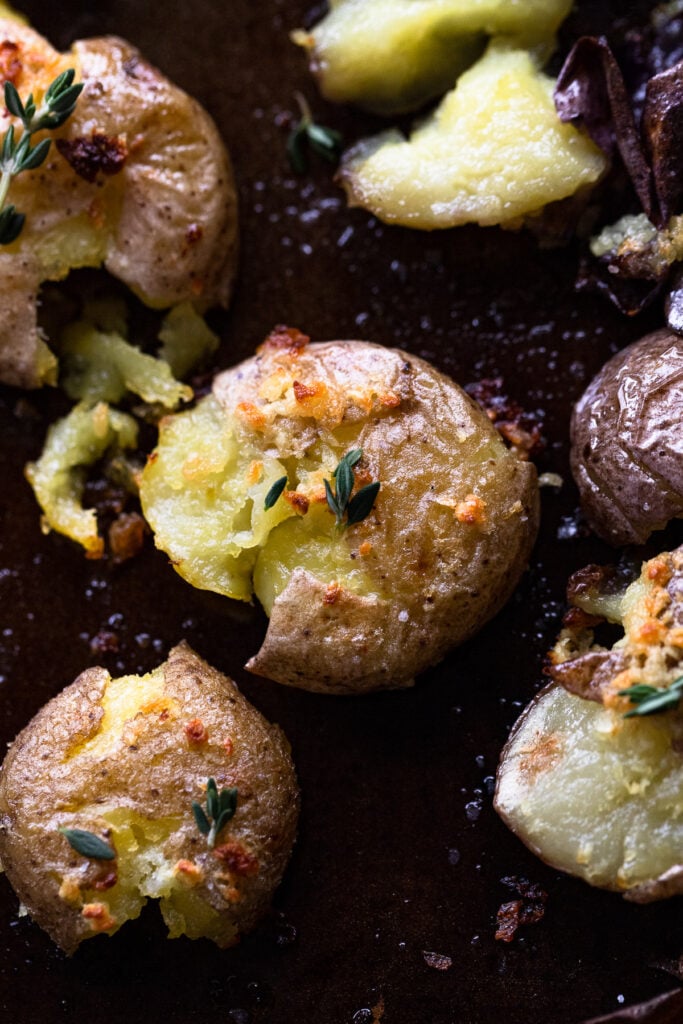
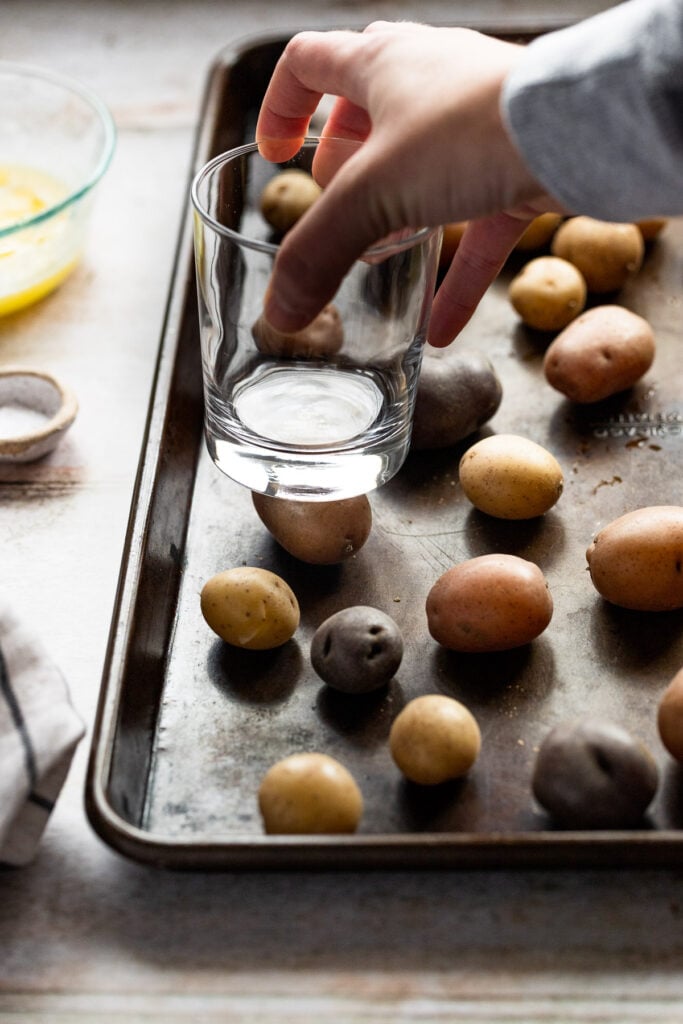
Use a flat-bottomed glass to gently press the potatoes into a flat disc. Don’t press too hard, or they will completely break apart.
You can also use the back of a large spoon, a potato masher, or a hard spatula.
I recommend flattening them out to about 1/2 inch. You’ll get in a rhythm of smashing and figure out the best process for you. Once smashed, it’s time for the good stuff.
Step 3: Garlic Butter
Oh, garlic butter, how you’ve stolen the hearts of us all.
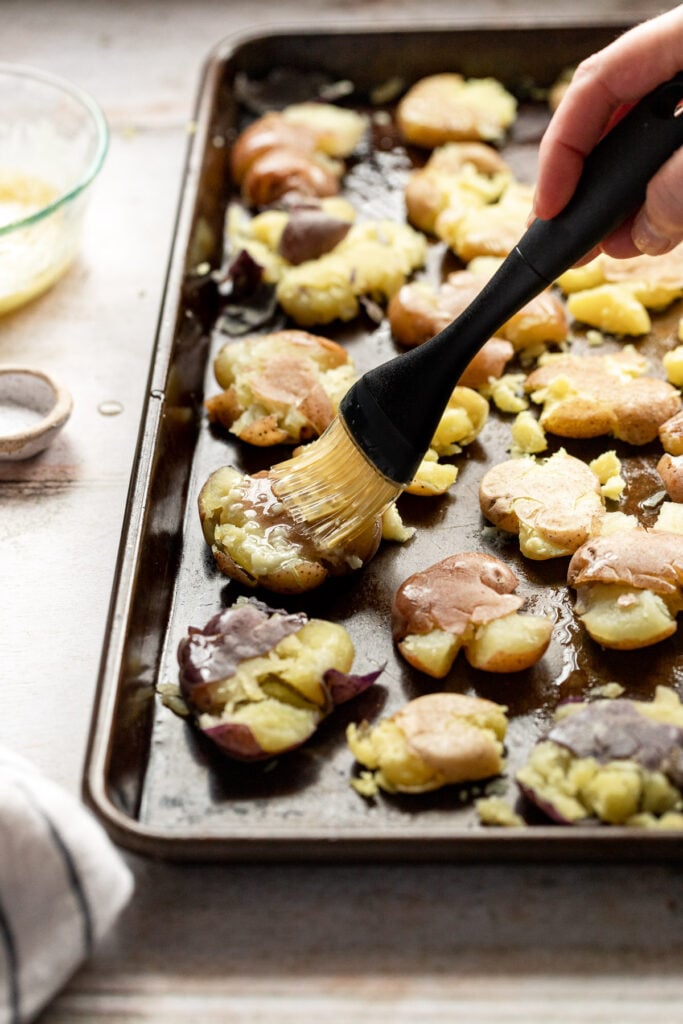
Melt together the butter and pressed garlic. It’s important the garlic is finely minced with a garlic press, Microplane, or really finely chopped so that it infuses into the butter. And most importantly, so that there’s enough to go around to all of the potatoes.
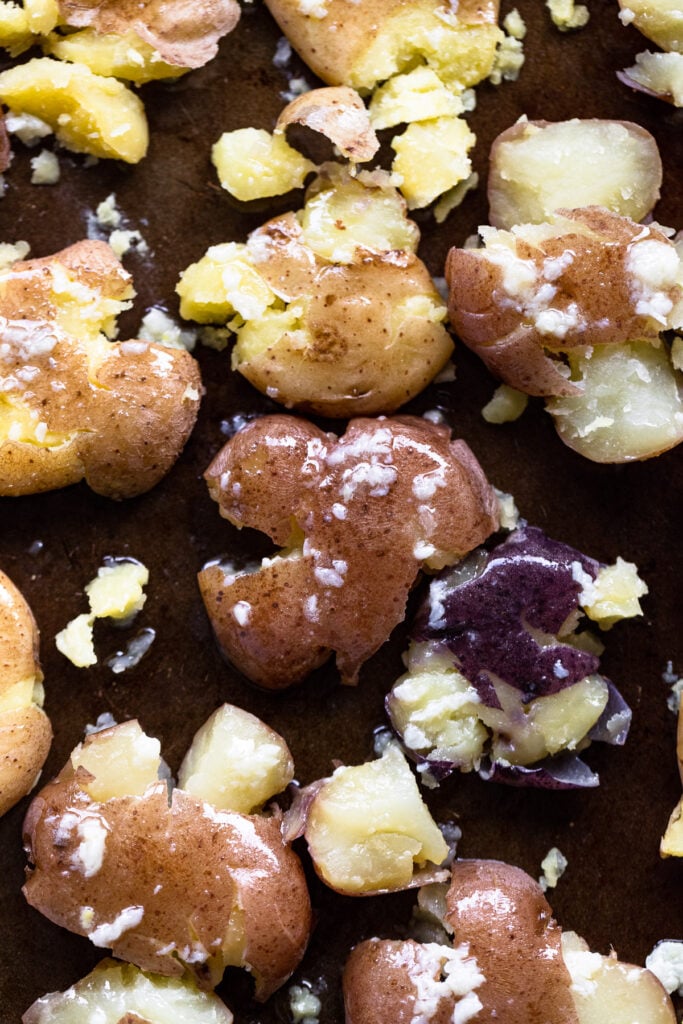
Brush the melted butter mixture on top of the potatoes, sprinkling with sea salt.
Step 4: Broil
To get the potatoes crispy, and fast, I like to use the broiler. You could also simply roast them at a high temperature.
Place the rack in the center of your oven or in the notch just above it. You don’t want the pan too close to the actual broiler, or the garlic will likely burn.
Broil for around 10 minutes until crispy. Feel free to garnish with fresh herbs as you’d like. Then, it’s time to eat!
Sauces to Drizzle or Dip
Drizzling sauces on roasted vegetables is one of my favorite things. Mostly because I love sauces. And dipping, too.
While the potatoes are absolutely dang delicious on their own and don’t really need a sauce, per se, if you’re a sauce lover, try one of these.
- Roasted Garlic Aioli – why not up the garlic?
- Tzatziki Sauce – excellent for a little Mediterranean yogurt sauce flair.
- Blue Cheese Dressing – you know it’s great with potatoes.
- Easy Romesco Sauce – a favorite on everything.
- Chimichurri Herb Sauce – for a totally bright, fresh flavor!
Check out our other sauce recipes to pair with potatoes for more ideas!
Serving Ideas
When it comes to serving smashed potatoes, you really cannot go wrong. They’re easy enough to make for a weeknight dinner, yet elegant enough to find their way to your holiday table.
They are also delicious with all the traditional Thanksgiving and Christmas dishes, too, making themselves right at home during those feasts.
If you love cheese, feel free to garnish them with grated parmesan cheese or even gruyere (so good!). A little freshly ground black pepper or red pepper flakes also add a little kick.
Enjoy them with a simple green salad, or another favorite green salad. They’re also excellent with other veggie sides like air fryer brussels sprouts, roasted broccolini, or steamed carrots.
For heartier vegetarian main dishes, try them with whole roasted cauliflower or stuffed mushrooms. Seafood lovers will enjoy them with baked salmon or crispy rosemary fish. And meat eaters…well, they go with just about any meat. They are potatoes, after all!
Storage + Reheating
Store leftover potatoes in an airtight container in the fridge for up to 4 days.
To reheat, place them in the oven, toaster oven, or air fryer to keep their crispiness. 350°F until heated through, or 325°F in the air fryer.
Make Ahead
You can also make these potatoes ahead of time for busy holiday dinners.
Prepare the potatoes all the way until the baking point. You’ll boil them, then smash on the baking sheet. At this point, cover the baking sheet with plastic wrap or foil and place in the fridge. When you’re ready to bake, spread on the butter mixture and broil until crispy!
Did you make this recipe? Please leave a star rating and review in the form below. I appreciate your feedback, and it helps others, too!
Get the Recipe Smashed Fingerling Potatoes
Ingredients
- 16 ounces fingerling potatoes, substitute baby potatoes, small yukon gold potatoes, or new potatoes
- Sea salt, to taste
- 5 Tablespoons unsalted butter
- 5 garlic cloves, pressed, grated, or finely minced
- olive oil or cooking spray, for greasing
- 2 teaspoons fresh thyme, optional, for garnish
Equipment
Instructions
- Place cleaned potatoes in a large stock pot and add water until they are covered, about an inch above. Add with water and add a generous pinch of salt. Bring to a boil, then reduce to a simmer for 10-15 minutes, until potatoes are fork-tender. This means you can easily poke them, and they slide off the fork. Drain and rinse with cool water.
- Meanwhile, preheat the broil setting of your oven to 475°F and make sure the rack is in the middle or in the top third of the oven – just not right below the broiler. Lightly grease a large rimmed baking sheet or spray with cooking oil.
- Then, add butter and garlic to a small bowl. Warm them in the microwave in 15 second intervals until completely melted. Alternatively, do this in a small saucepan on the stove.
- Transfer slightly cooled potatoes onto a large, lightly greased baking sheet. Lightly spray the tops of the potatoes or roll them around in the oil on the pan. Use a flat bottomed glass (see notes for more smashing options) gently press the potatoes down into about 1/2 inch disc.
- Brush garlic butter mixture evenly on top of potatoes, being sure to get garlic bits on each potato. Sprinkle sea salt on top of potatoes.
- Place the pan in the oven under the broiler. Cook potatoes for 10-12 minutes until golden and crispy. Keep an eye to make sure the garlic doesn't burn. Garnish with thyme as desired and serve immediately (you might not be able to resist them right off the pan!).
Notes
- Boil time will vary depending on the size of the potatoes (i.e. larger fingerling potatoes will take longer; if they’re all small baby potatoes, they will likely need less time).
- Smash with anything flat and sturdy; use a hard spatula, measuring cup, serving spoon. Feel free to get creative!
This post was originally sponsored by Potatoes USA via CLEVER in March 2018. The photos and text were updated in November 2022.


We are SO on the same page and I love it!! These look FANTASTIC – absolutely gorgeous photos!
Thanks, girl! We so are and I love it!
These are so cute + classy at the same time, which is saying a lot for potatoes! Lovely photos! I’m totally with you with making the quickest meals possible most weeknights. I could definitely eat nothing but these 🙂
Aw, thanks, Ruby! That is saying a lot for potatoes! 😉
Soooo delicious!
I’ve made these with thyme or rosemary as finishers and they’re awesome every time! Great side dish!
Met all my requirements, Crispy and delicious, not to mention not complicated at all. I’ll make these again.
So glad to hear! Thanks, Kelley!!